Without caregivers in AveeCare, there's nothing to schedule and nothing to pay. This guide gets your first batch on the roster: demographic info, real certifications with expiration dates so the dashboard can warn you before they lapse, a pay rate so payroll actually works, and a login when they're ready to use the caregiver app.
1. Decide: enter one at a time or import a spreadsheet
Both paths live on the Caregivers page action bar. Add Caregiver opens the long form for a single record. Import CSV bulk-loads a spreadsheet. Most agencies coming from another platform start with the import.
Open Caregivers. The action bar has Add Caregiver, Import CSV, and a few row-aware actions.
Add Caregiver and Import CSV are always live. Make Inactive and Delete grey out until you tick a row. The full surface is covered in the Caregiver list reference.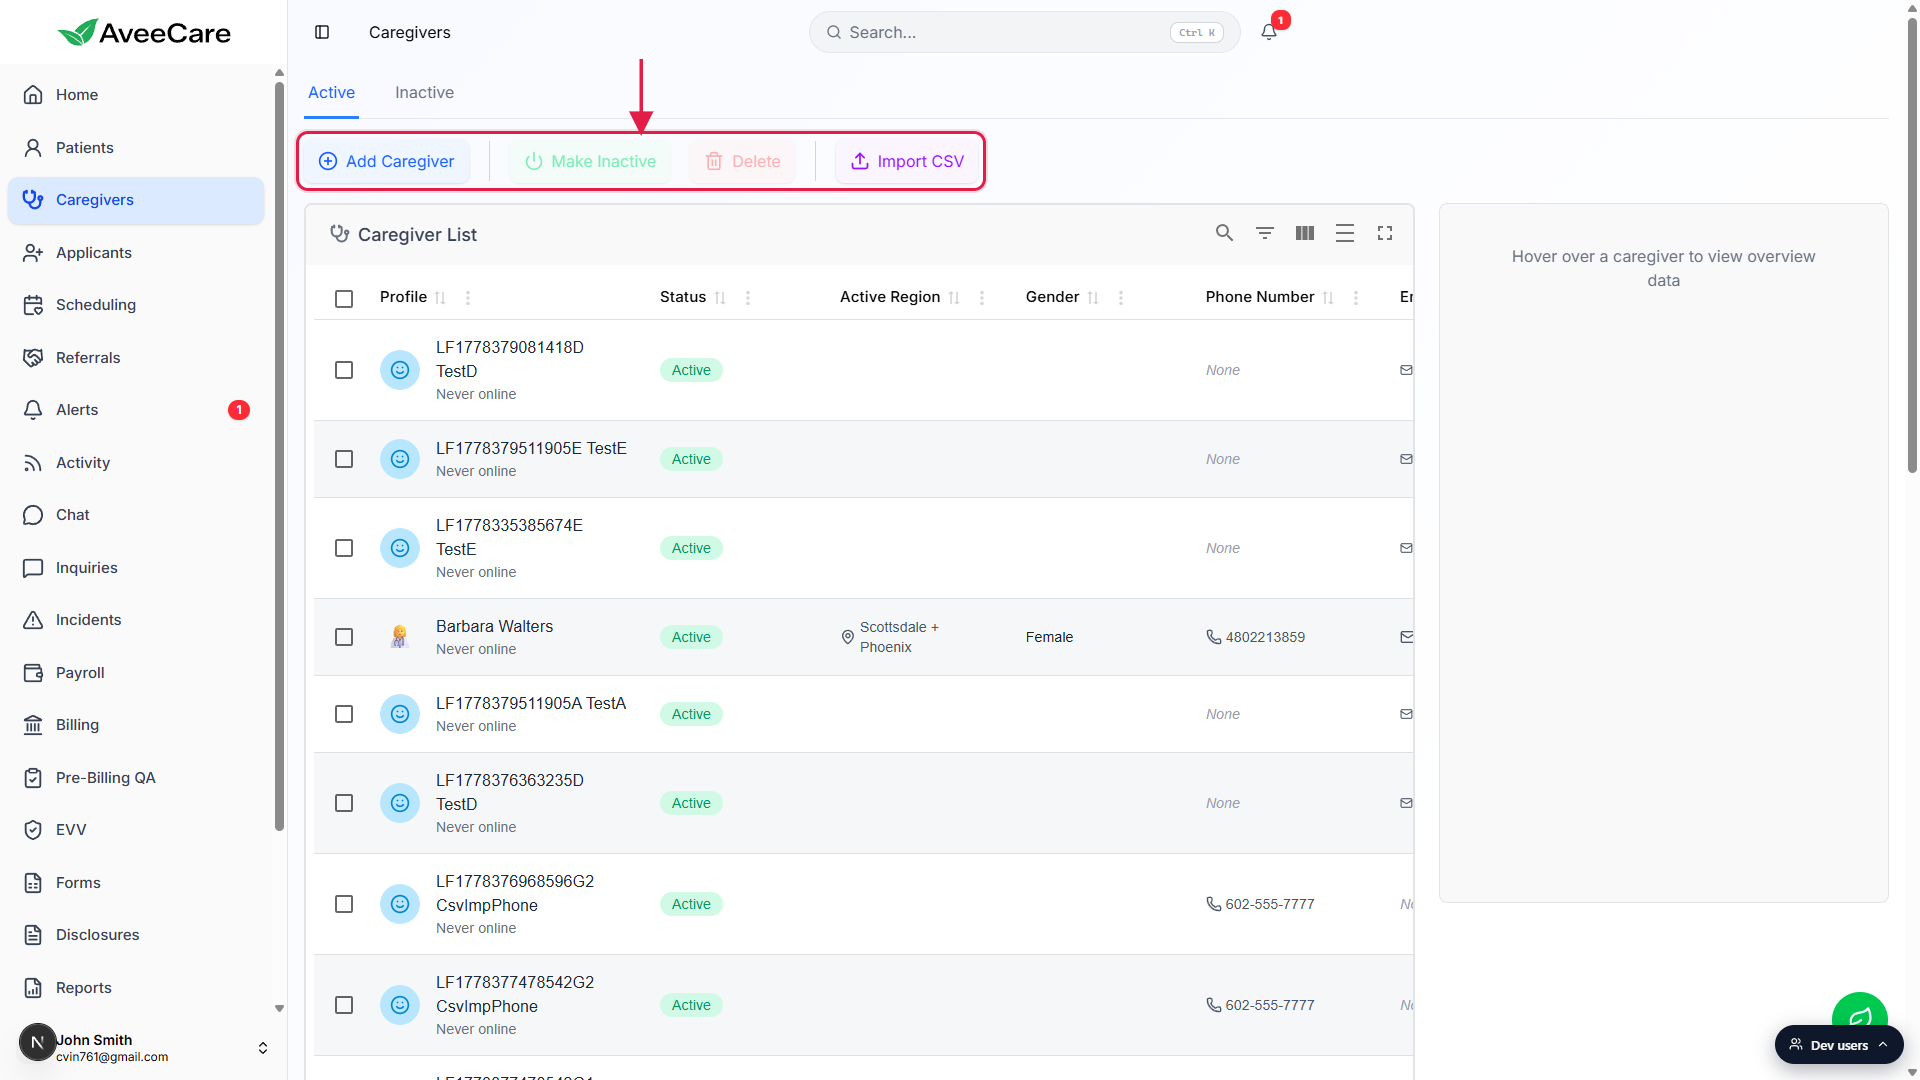
Pick CSV import for migrations. Pick Add Caregiver for new hires.
Coming from Wellsky, ClearCare, or AxisCare? Export your roster and use Import CSV to pull everyone in at once. The pattern mirrors Bulk Patient Import: upload, preview, fix validation errors, then run the import. For one-off new hires going forward, use Add Caregiver.
2. Add a caregiver through the New Caregiver form
The New Caregiver form is a single long page (no step pills), so you can fill any section in any order. Required fields are starred with a red asterisk. Required fields only is enough to save.
Click Add Caregiver in the top-left of the action bar.
The New Caregiver full-screen modal opens. The full section-by-section reference is the Add Caregiver wizard page; this guide hits the highlights you need on day one.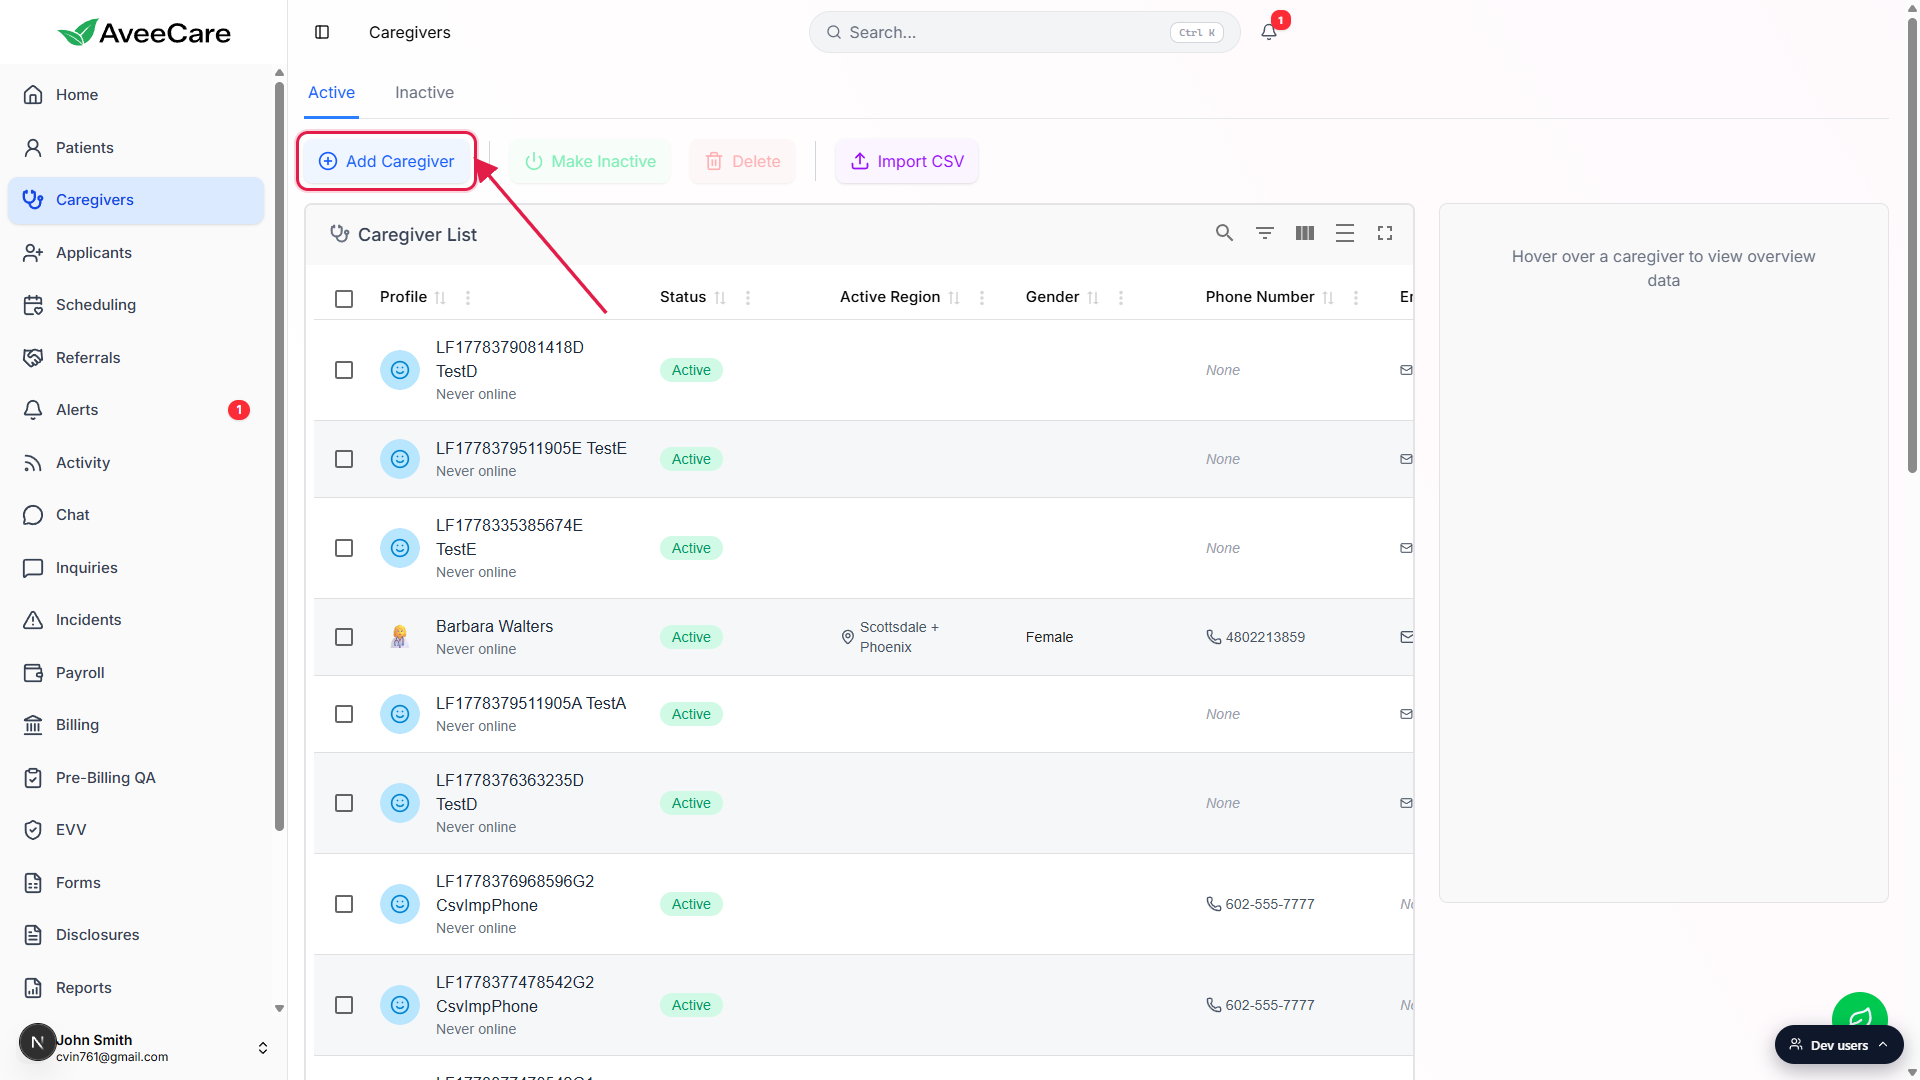
Fill Account Information: name, DOB, gender, address, language, Active region.
The starred fields are required. Active region drives which office-filtered scheduling lists this caregiver appears in, so set it deliberately even on day one. Office / Location is optional and defaults to No office assigned.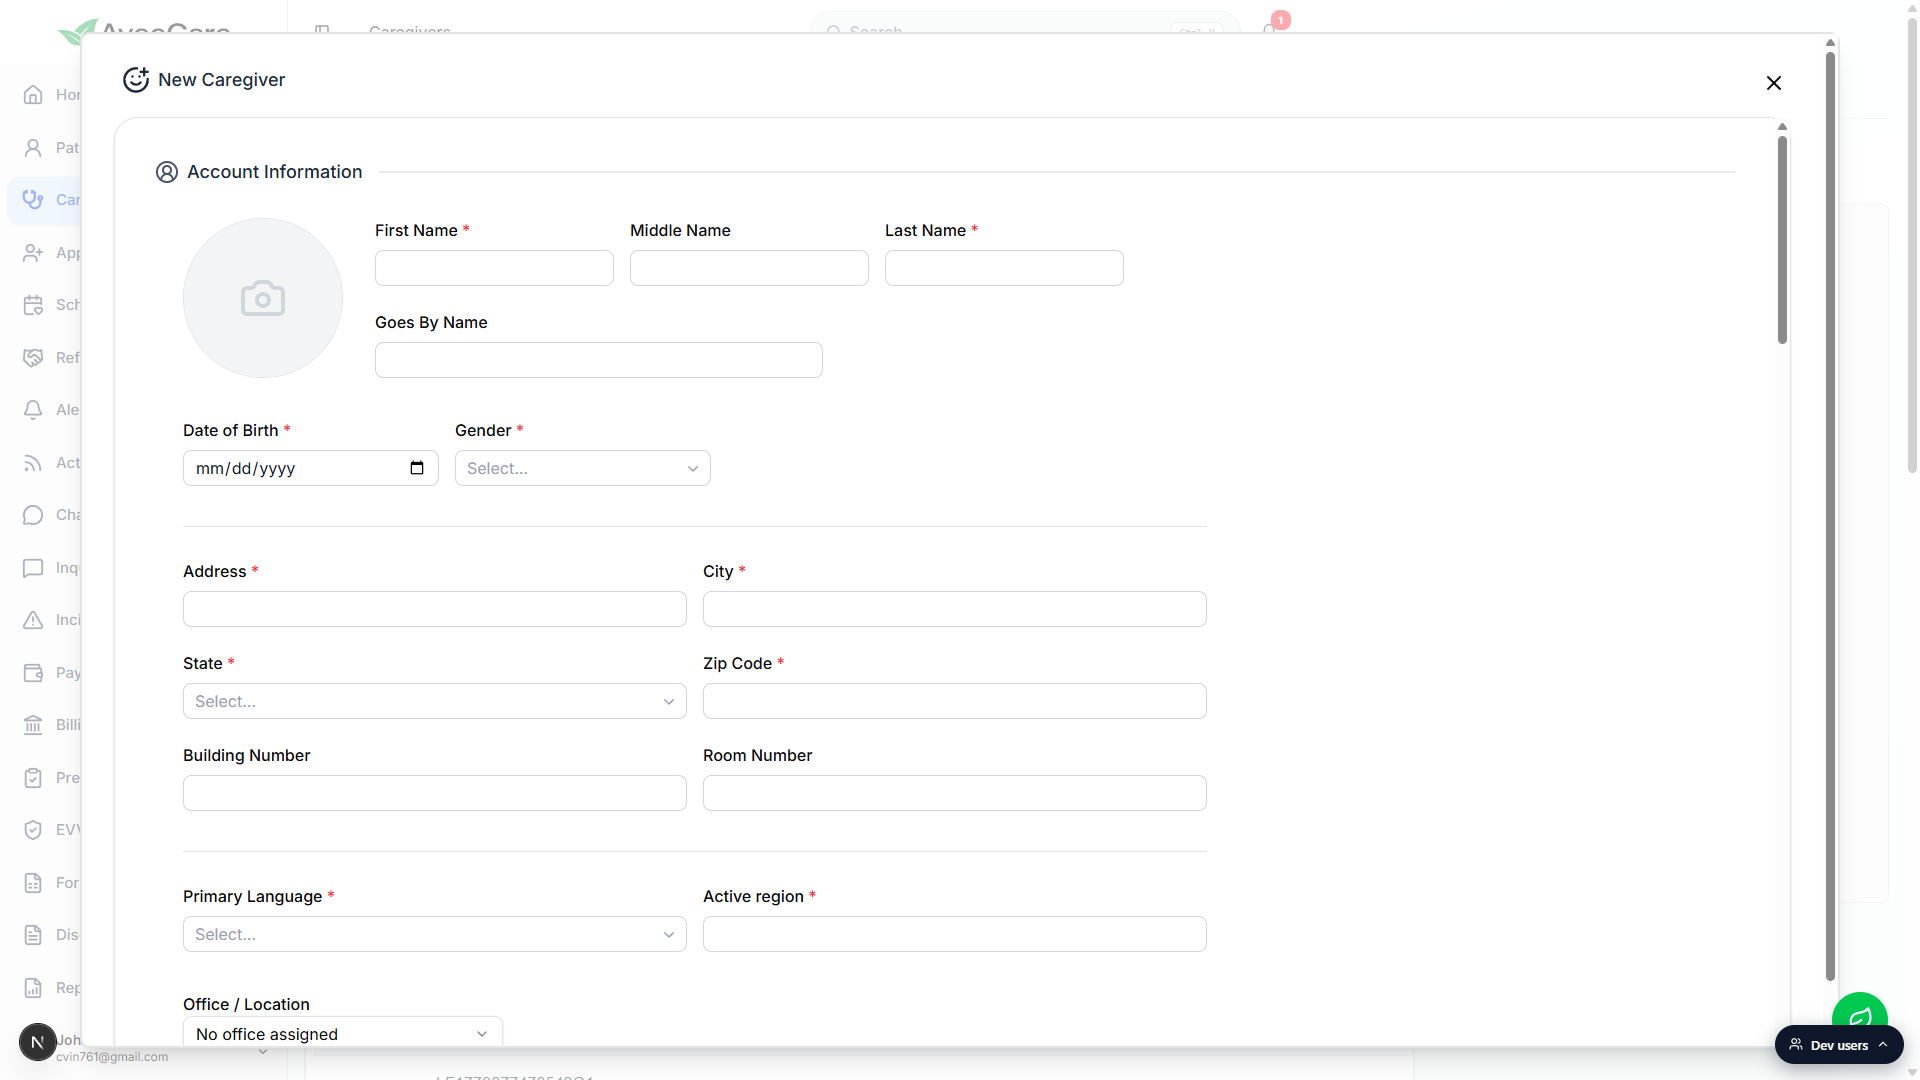
Add NPI and Taxonomy Code if you bill Medicaid or Medicare.
NPI is the 10-digit National Provider Identifier on insurance claims. Taxonomy Code is the provider specialty (for example, 251E00000X for Home Health Aide Services). Both are optional in the form but required for clean public payer claims. Click Common Taxonomy Codes inside the form for a quick reference.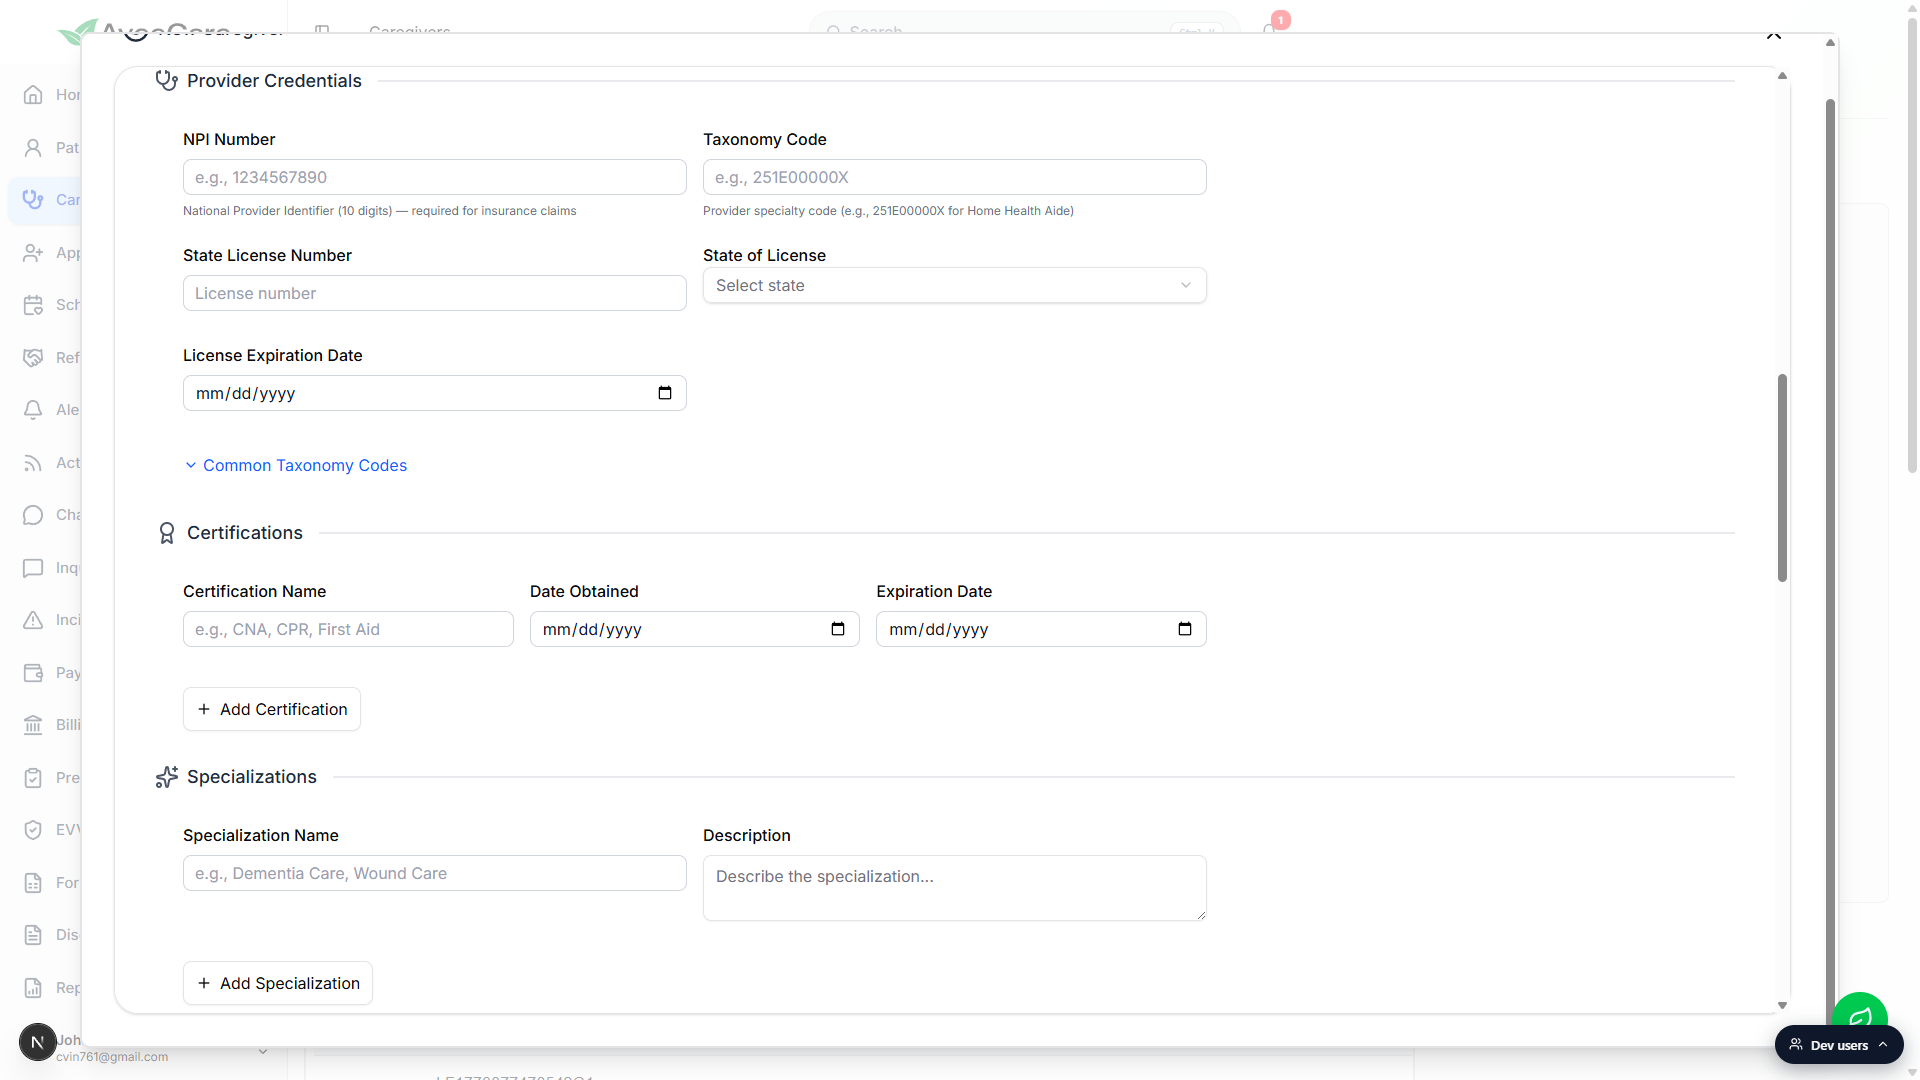
Pick Caregiver Status (default Active) and click Create Caregiver.
Most new hires go in as Active. On Leave keeps them on the roster but out of scheduling rotation, Inactive hides them from default lists. Click Create Caregiver at the bottom of the form to save. The new row lands in the Active tab of the Caregivers table.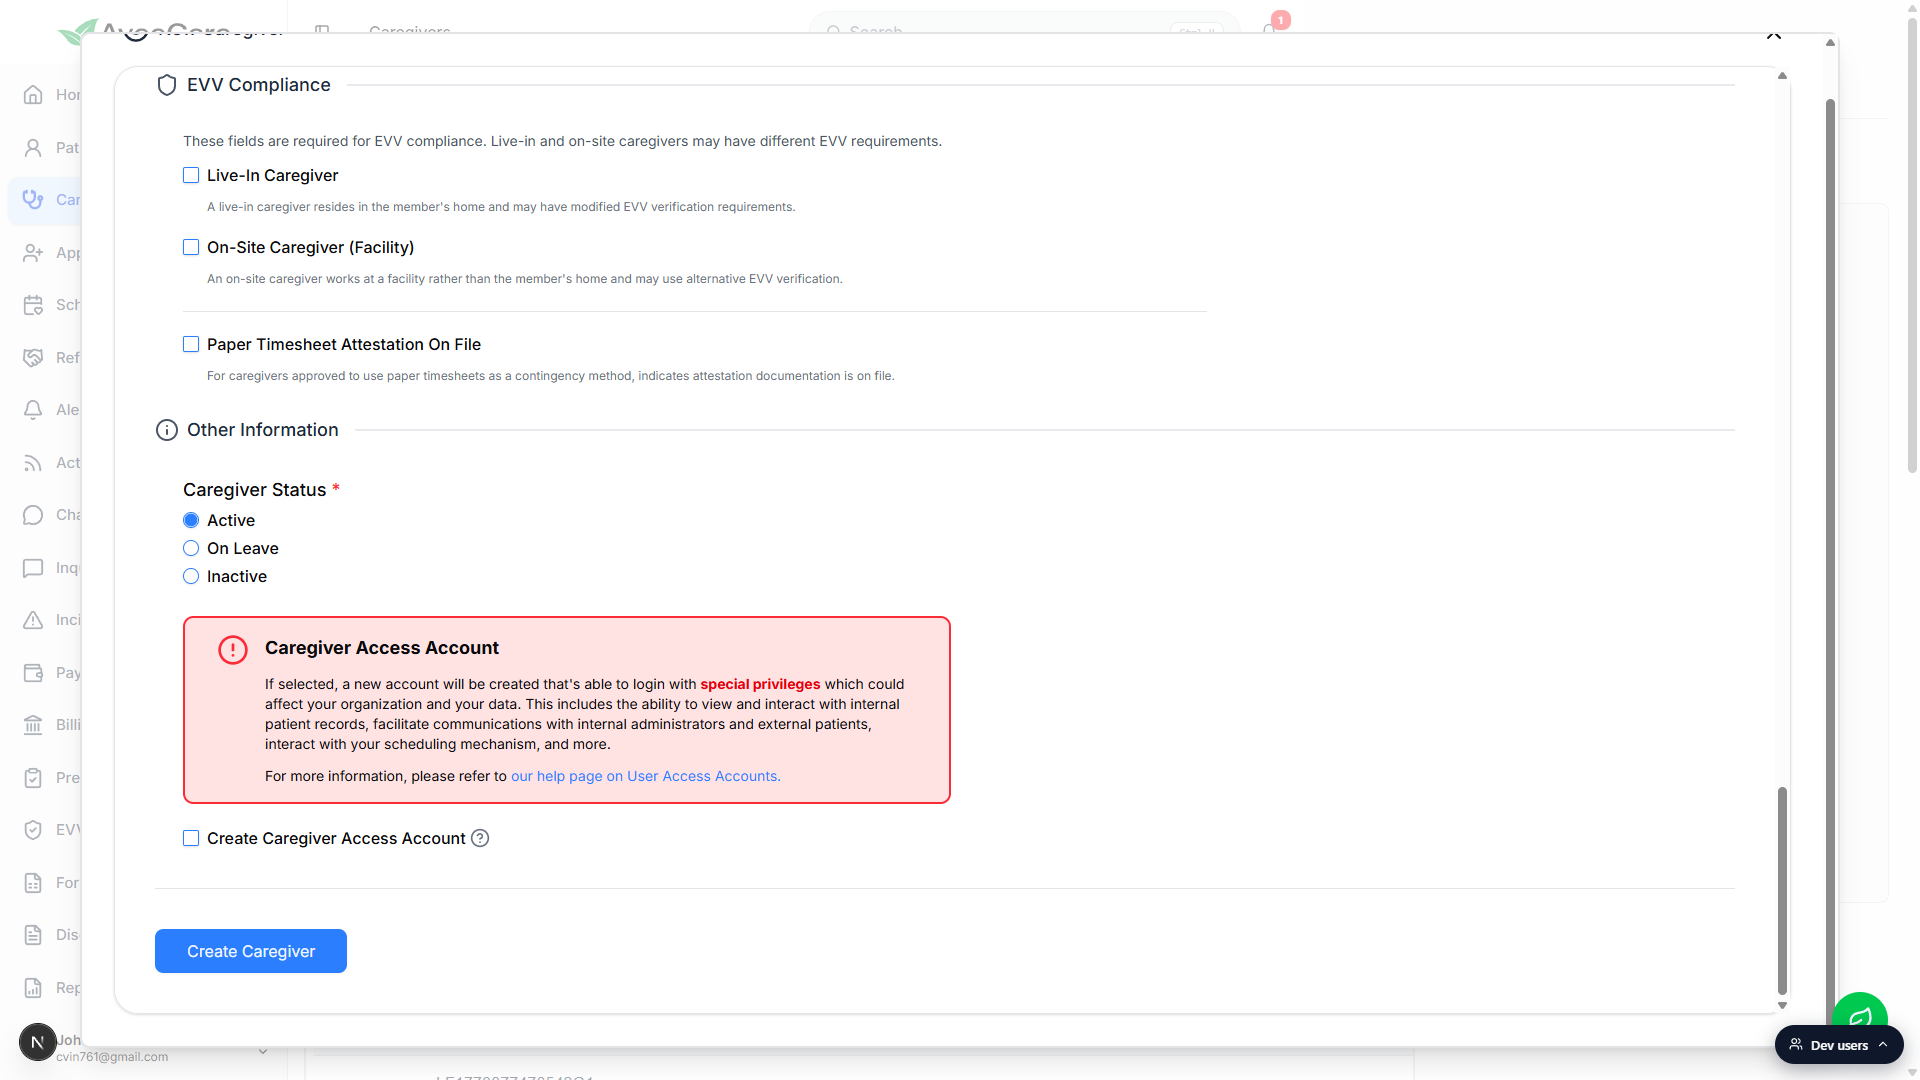
3. Log every certification with an expiration date
Certifications can be added inline on the New Caregiver form, or after the fact from the Certifications tab. Either way, the rule is the same: set the expiration date on every credential that has one. That's what feeds the dashboard Credential Expirations panel so a lapsed CPR doesn't catch you mid-shift.
Open the caregiver and click the Certifications tab.
The empty state shows until you add the first cert. The blue + Add Certification button is in the top-right above the list.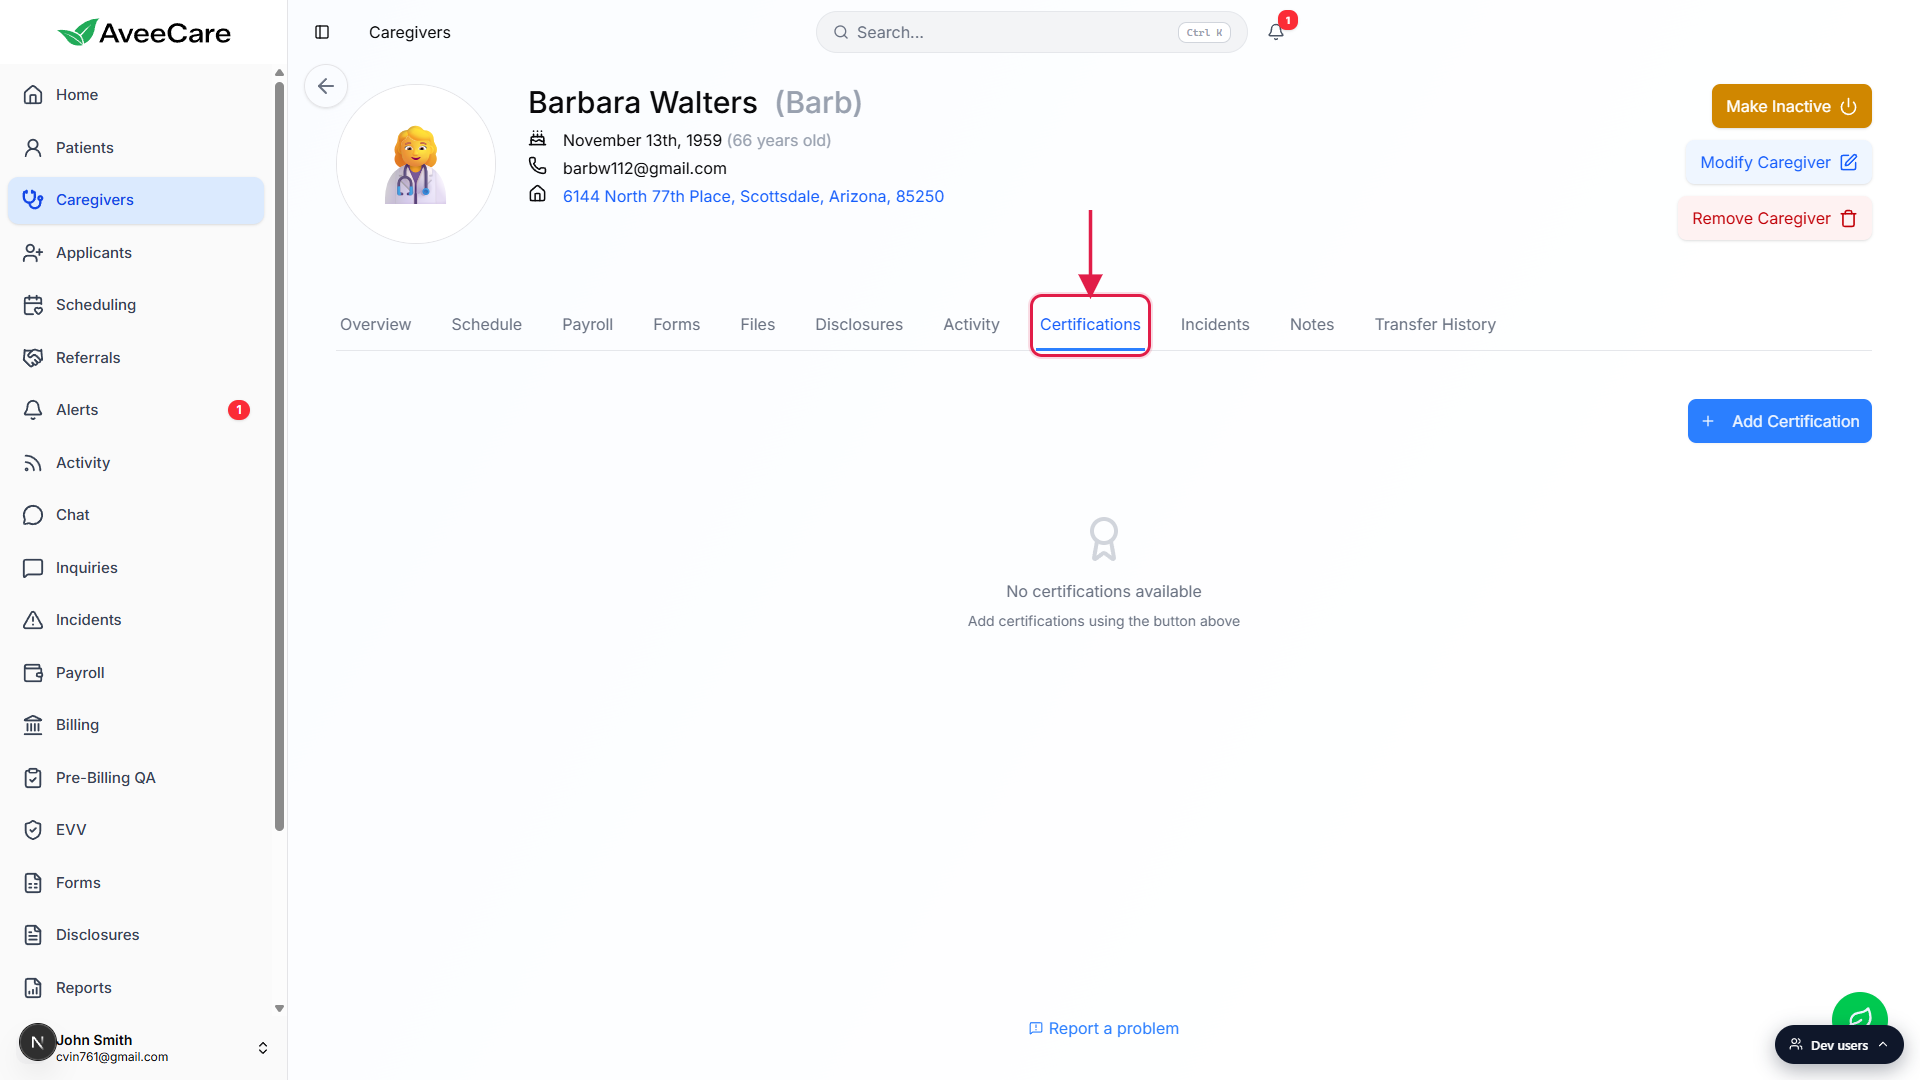
Click + Add Certification, then Name, Date Obtained, and Expiration Date.
Pick a consistent label per credential (always CPR Certification, not a mix of CPR and Adult CPR) so reports group cleanly. Set the expiration date even though it's marked Optional, because a blank expiration silences the warnings.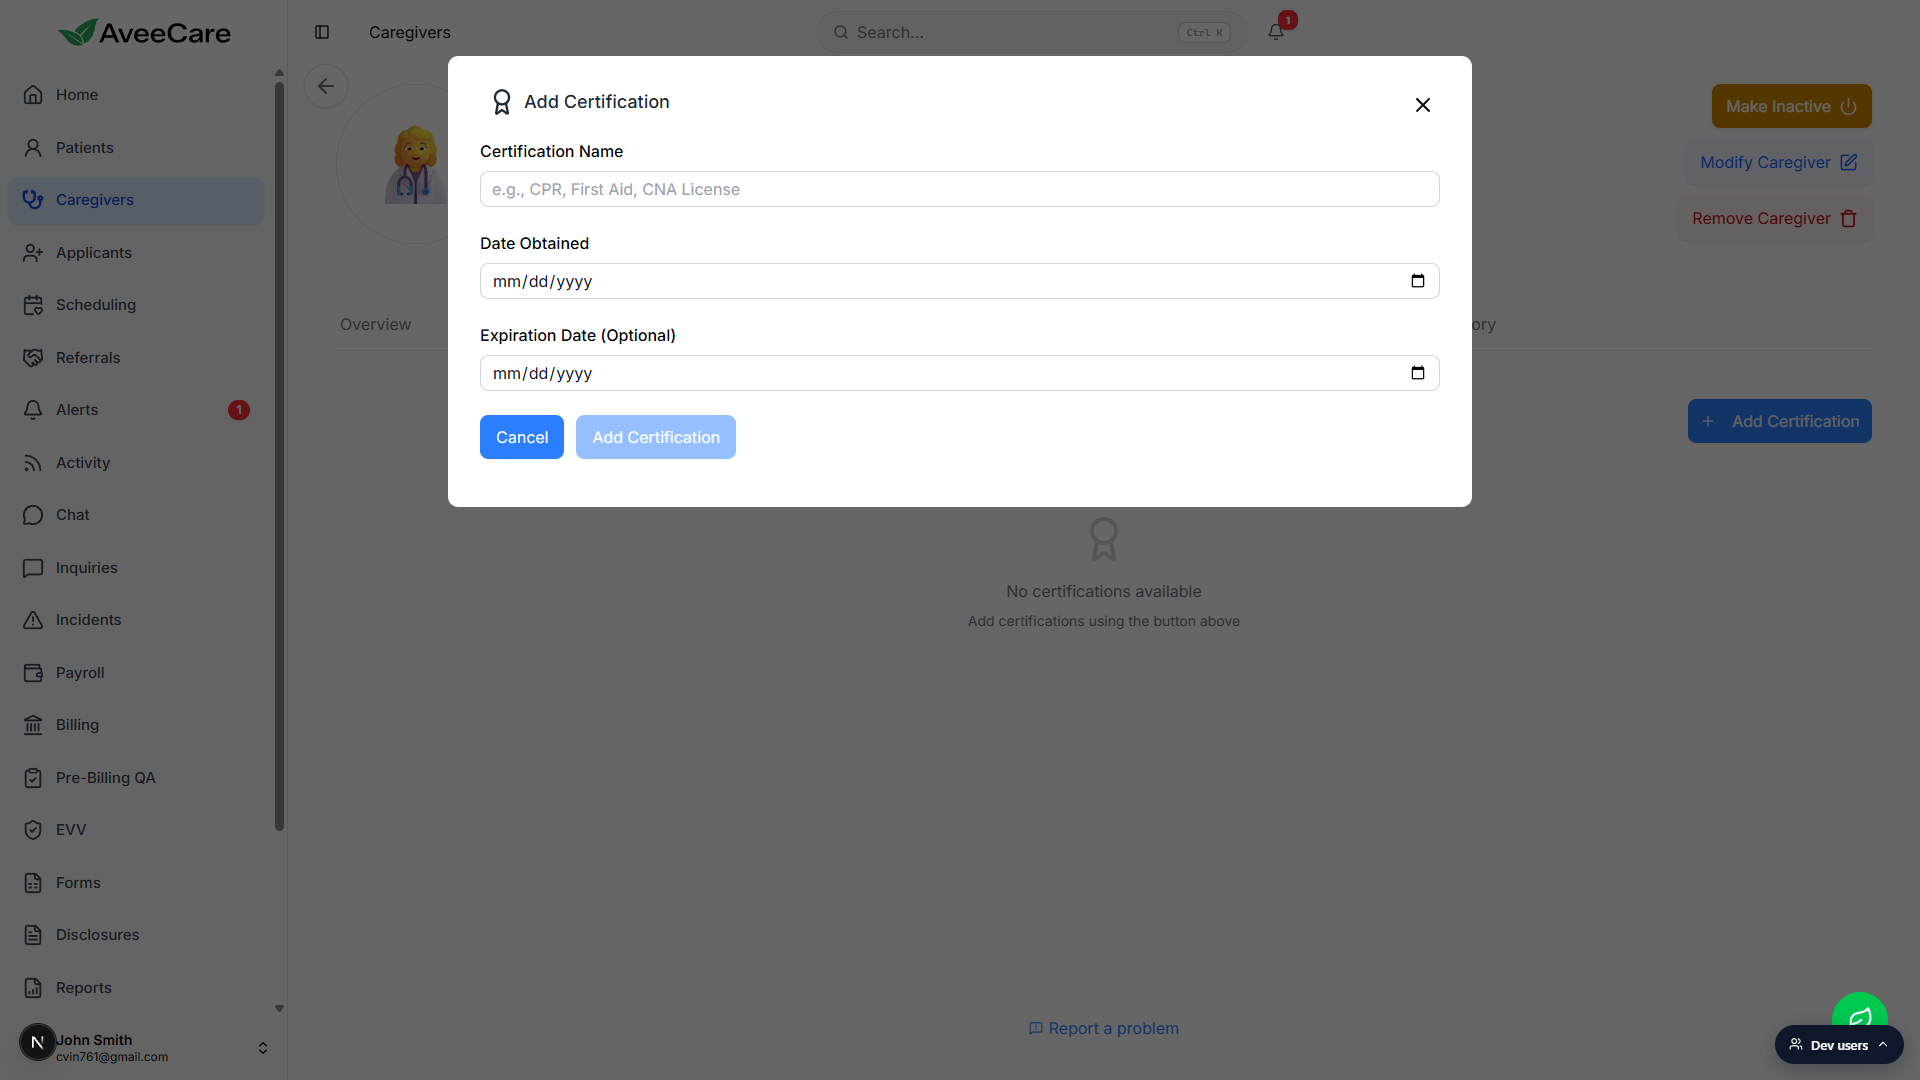
Watch the color of the Expires column to triage renewals.
Red (Expired) is past the expiration date. Orange (Expiring Soon) is within roughly the next 30 days. Plain text is in good standing. When a renewal comes in, click the pen icon to edit the existing row, not add a new one. Full reference: Caregiver certifications.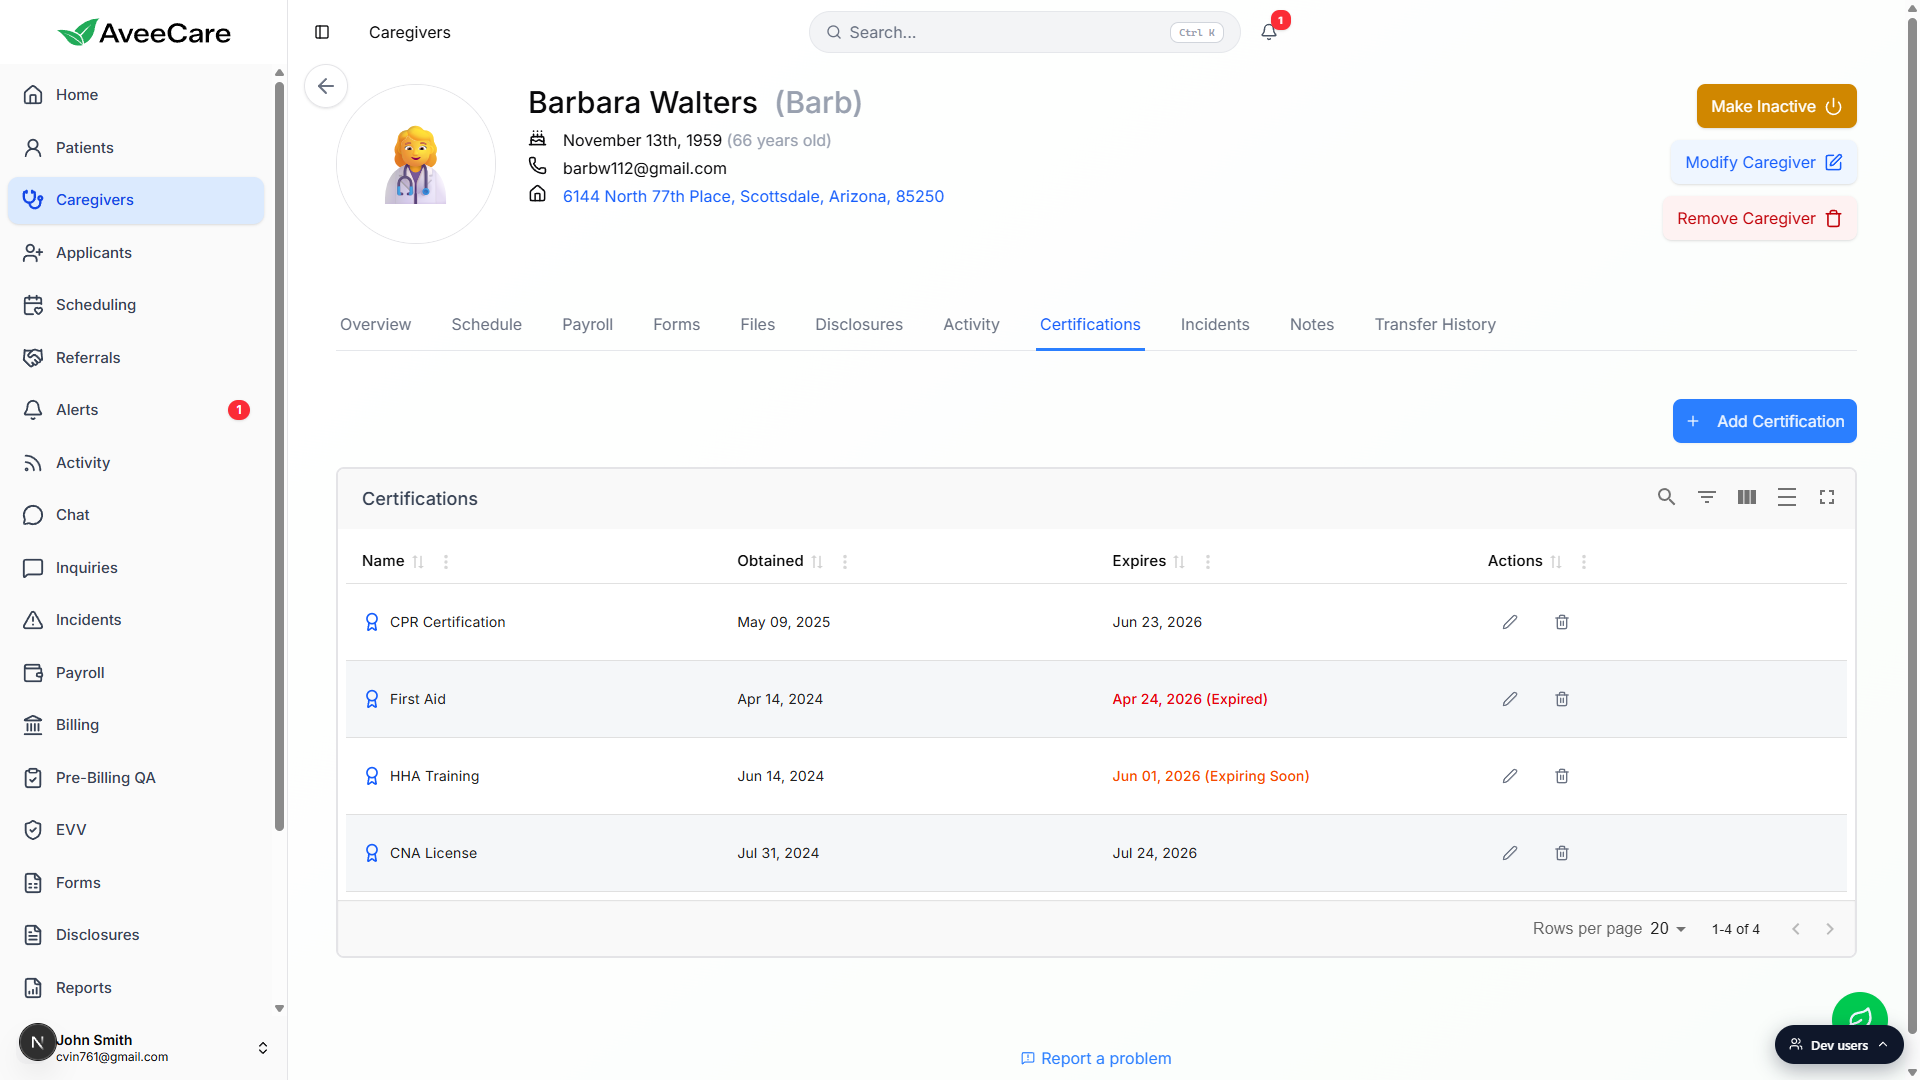
4. Set the pay rate on the Payroll tab
Pay rate is not on the New Caregiver form. Visits assigned to a caregiver without a default pay rate fall through payroll calculations, so this is the first thing to do once a caregiver is on the roster.
Open the caregiver and click the Payroll tab.
The tab loads with the pay rate field, the payroll profile, the payroll provider link, and a history of paid visits. The full reference is Caregiver payroll and pay rate.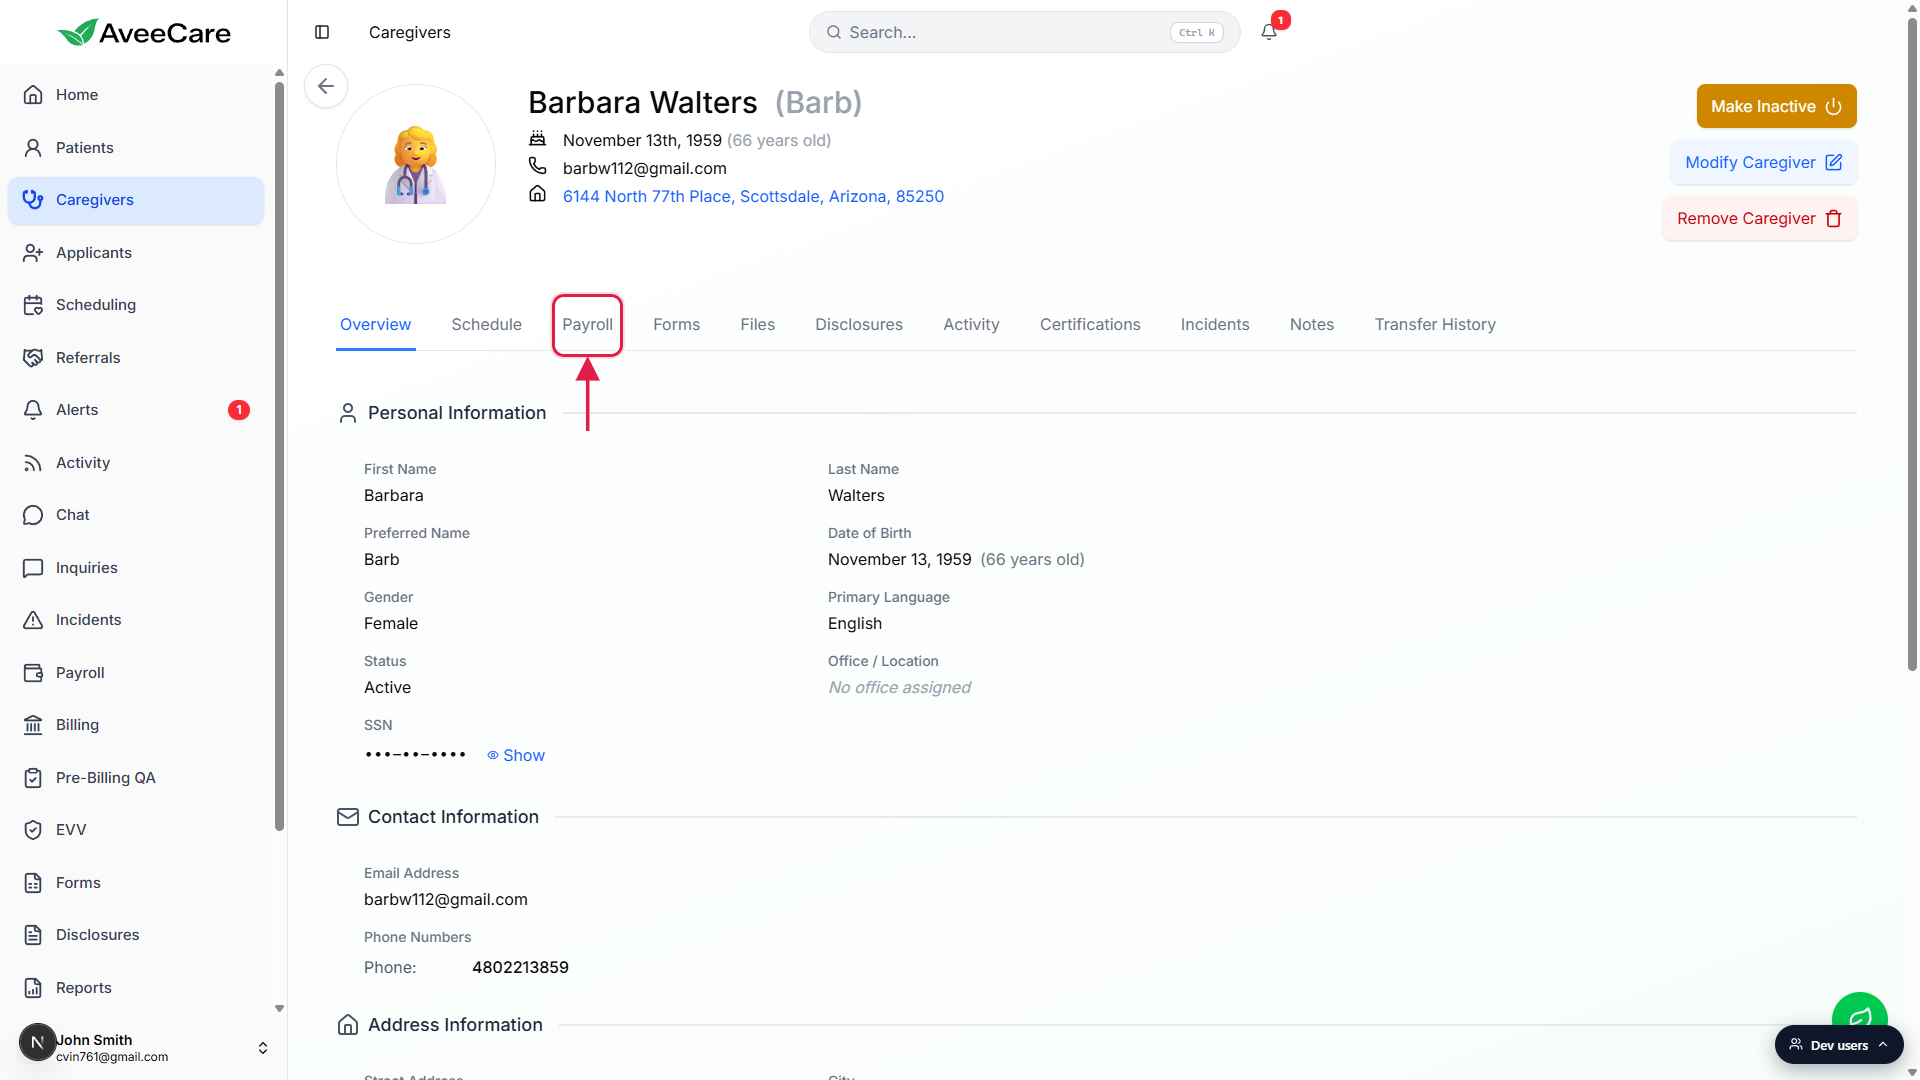
Set the default Pay Rate.
The rate you set here is used on every visit unless overridden on the specific visit or by a patient billing preference. Use your standard hourly rate to start; you can override per visit or per service later.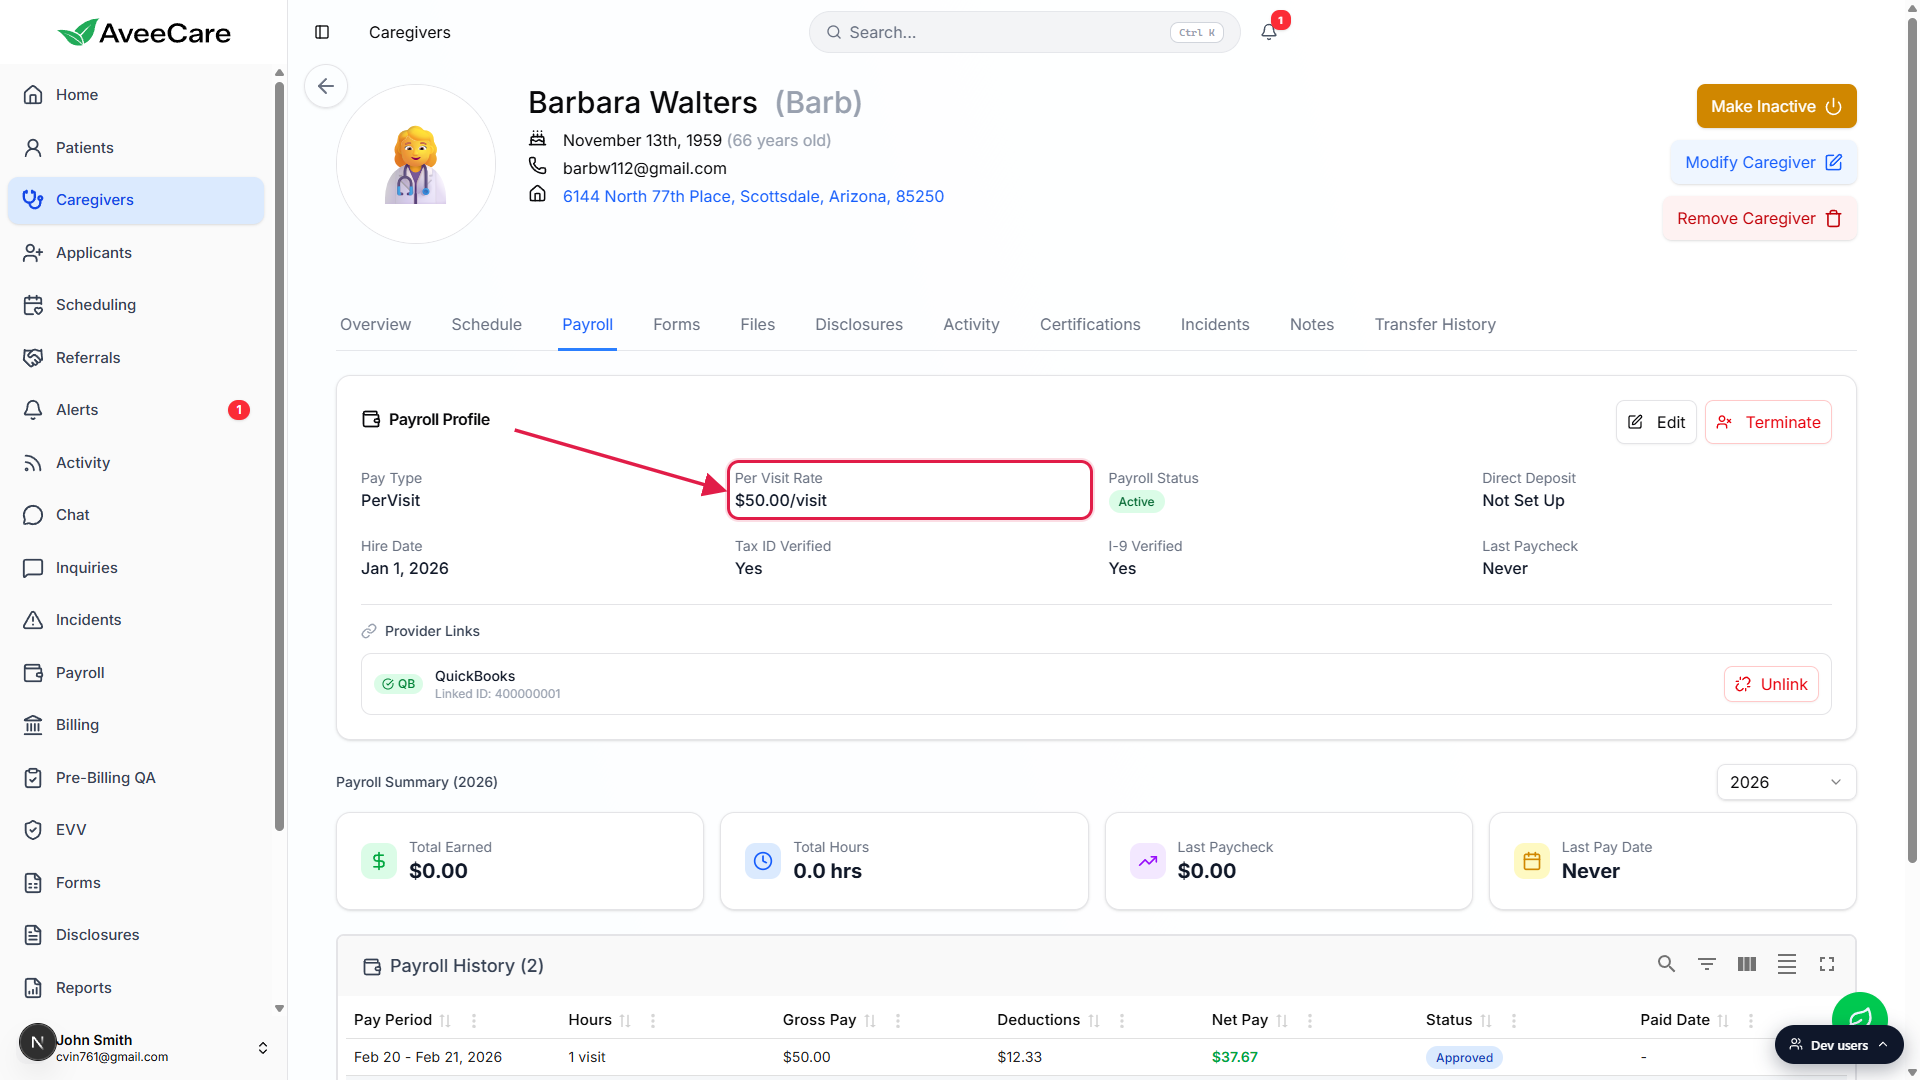
Link the payroll provider if your agency already uses one.
If you've already set up QuickBooks, Paychex, ADP, or Gusto in Settings → Payroll Integration, link this caregiver's record to the matching person on the provider side. If you haven't set up payroll yet, follow the Configure billing and payroll guide and come back.
5. Give the caregiver a login when they’re ready
A caregiver record on the roster doesn't mean the caregiver can sign into the app yet. Most agencies wait until the caregiver is about to take their first visit, then create the login so the temp password email isn't sitting in their inbox for weeks.
Open Accounts and click Link Caregiver.
Only caregivers without a login yet appear in the list. Pick the caregiver, confirm or change the email (it pre-fills from the caregiver record), check the five Platform Legal Agreements, and submit.AveeCare emails them a temp password. They sign in and reset it.
After their first sign-in, the caregiver lands on the caregiver app shell: only their own visits, only their own schedule, only their own profile. The full Accounts walkthrough is in Invite your office staff and set permissions.
Related
- Add Caregiver wizard (every field, every section)
- Caregiver certifications
- Caregiver payroll and pay rate
- Caregiver list and filters
- Invite your office staff and set permissions