AveeCare runs OCR on paperwork through the PDF Form Assistant panel inside the Create New Form modal. Drop in a PDF, the assistant pulls native text out of digital pages first, then falls back to Tesseract OCR on scanned pages, and sends the combined text to a HIPAA-compliant AI model on AWS that returns a structured field list. There is no separate OCR tab and no OCR feature for ID cards or insurance cards. Paperwork OCR lives inside the form builder.
Quick answer
Open Forms, click New Form, and look at the PDF Form Assistant column on the right. Click Upload PDF, pick a scanned or digital PDF, then click Generate Form Components. The assistant runs PDF text extraction, then Tesseract OCR on the rendered page, sends the text to AWS Bedrock, and drops the AI-built fields onto the canvas for you to review and save.
What the OCR pipeline actually does
The PDF Form Assistant runs a hybrid extraction in the browser, not a plain image-to-text OCR. The status line on the Generate button walks through each stage so you can see what is happening:
- Loading PDF. The file you uploaded is read into memory.
- Extracting native PDF text. PDF.js pulls any embedded text out of the current page. Digital PDFs return clean text here and the OCR step adds very little.
- Rendering page for OCR. PDFium renders the page to a high-resolution image. This is what feeds OCR for scanned pages.
- Performing OCR analysis. Tesseract.js runs on the rendered page and returns recognized text.
- Analyzing form with AI. The combined native text plus OCR text is sent to a model on AWS Bedrock with instructions to return a JSON array of form fields.
- Adding fields to form. The JSON is converted into real Text Input, Date, Checkbox, Radio, Signature, and other field components and dropped onto the canvas.
Only scanned or image-only PDFs depend on the OCR step. Digital PDFs lean almost entirely on native text extraction. Either way the AI sees the same combined output, so a single scanned page works the same as a digital page in the end.
1. Open Forms and start a new form
Click Forms in the left sidebar, then click New Form.
The Create New Form modal opens with three columns. Form Components is on the left, the Form Builder canvas is in the middle, and PDF Form Assistant is on the right. The OCR pipeline lives in that right column.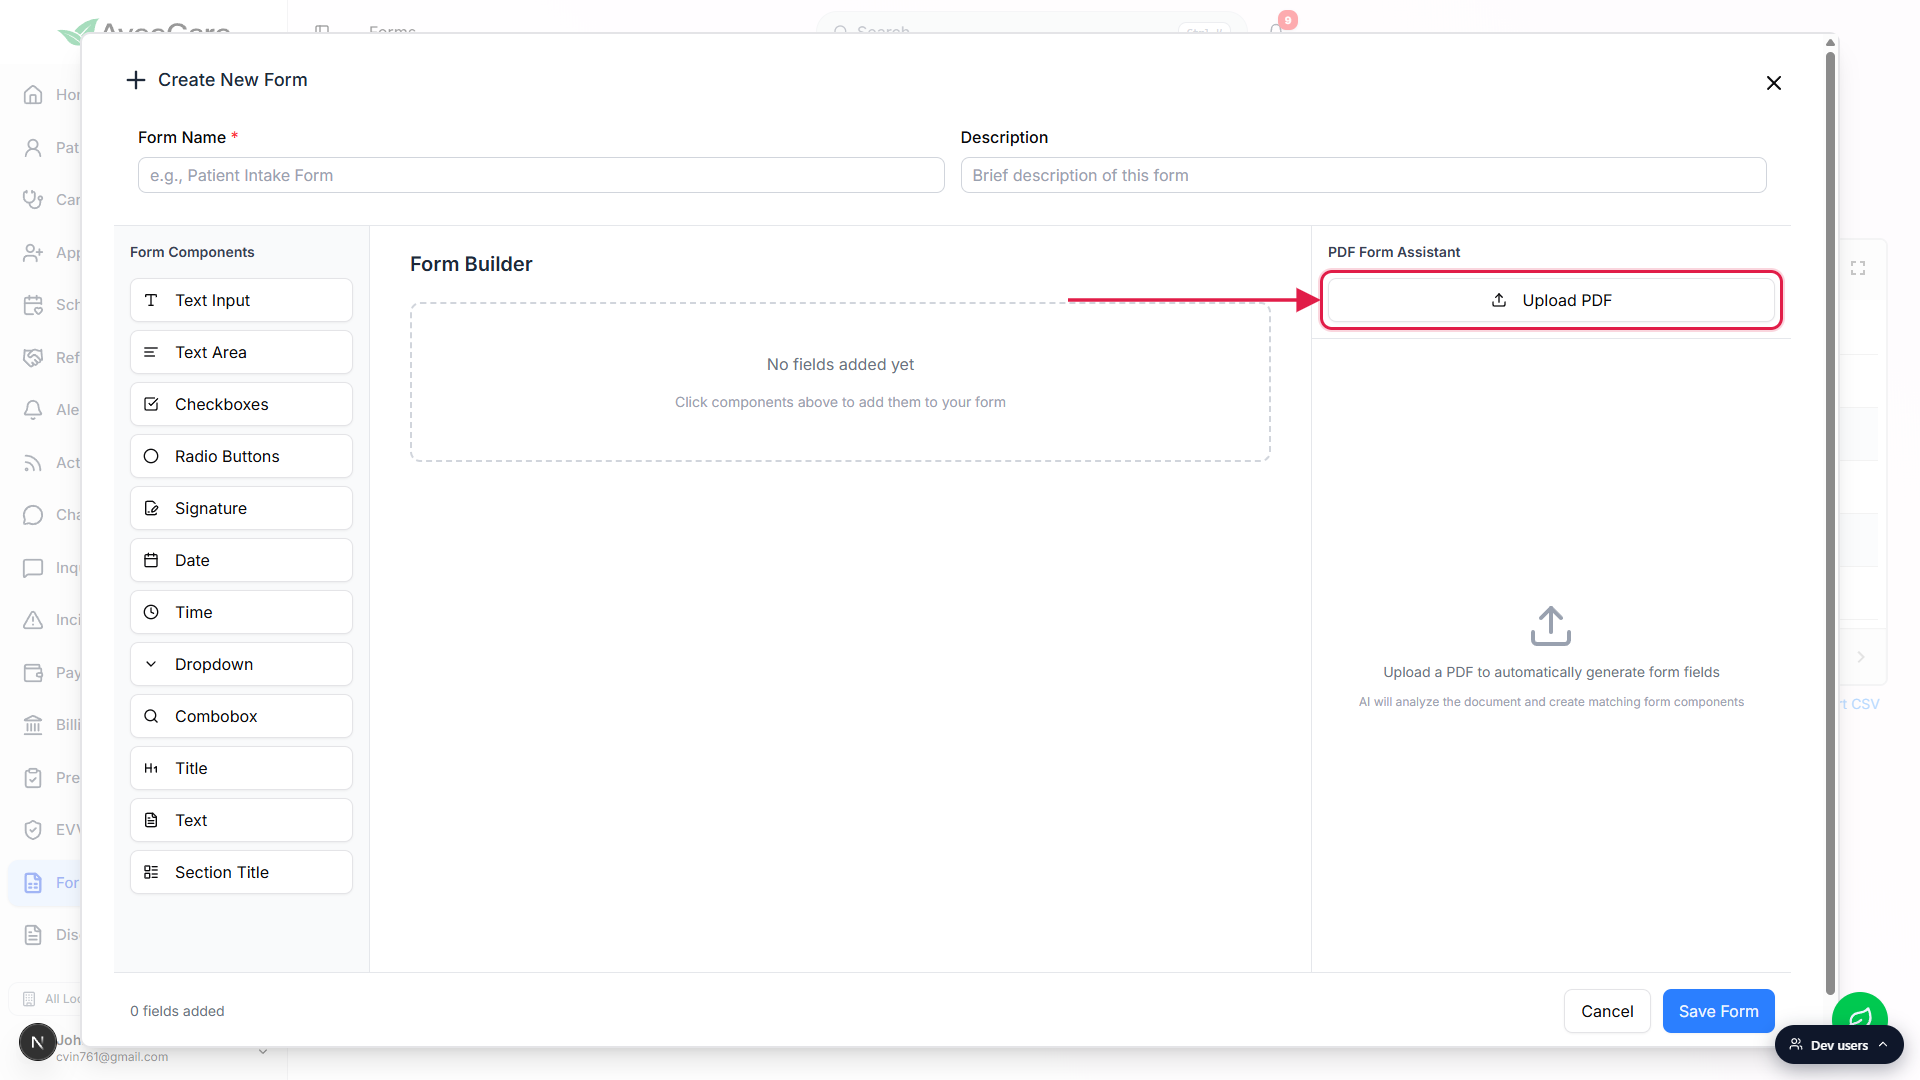
2. Upload a PDF or scanned page
Click Upload PDF in the PDF Form Assistant header.
The native file picker opens. The panel only accepts PDF, so a JPG of an ID card or a phone photo will not upload here. Scan the document to PDF first, then upload.Confirm the file name and page count appear in the panel.
After upload the file name shows under the PDF Form Assistant heading with a Page N of M counter. Use Previous and Next to land on the page you want the OCR pipeline to read first. The assistant processes one page per Generate run, so for a multi-page intake packet you Generate, then walk to the next page, then Generate again to append more fields.
3. Click Generate Form Components to run OCR
Click the blue Generate Form Components button.
The button is right under the file name. A progress bar appears and the status line walks through Loading PDF, Extracting native PDF text, Rendering page for OCR, Performing OCR analysis, Analyzing form with AI, and finally Adding fields to form.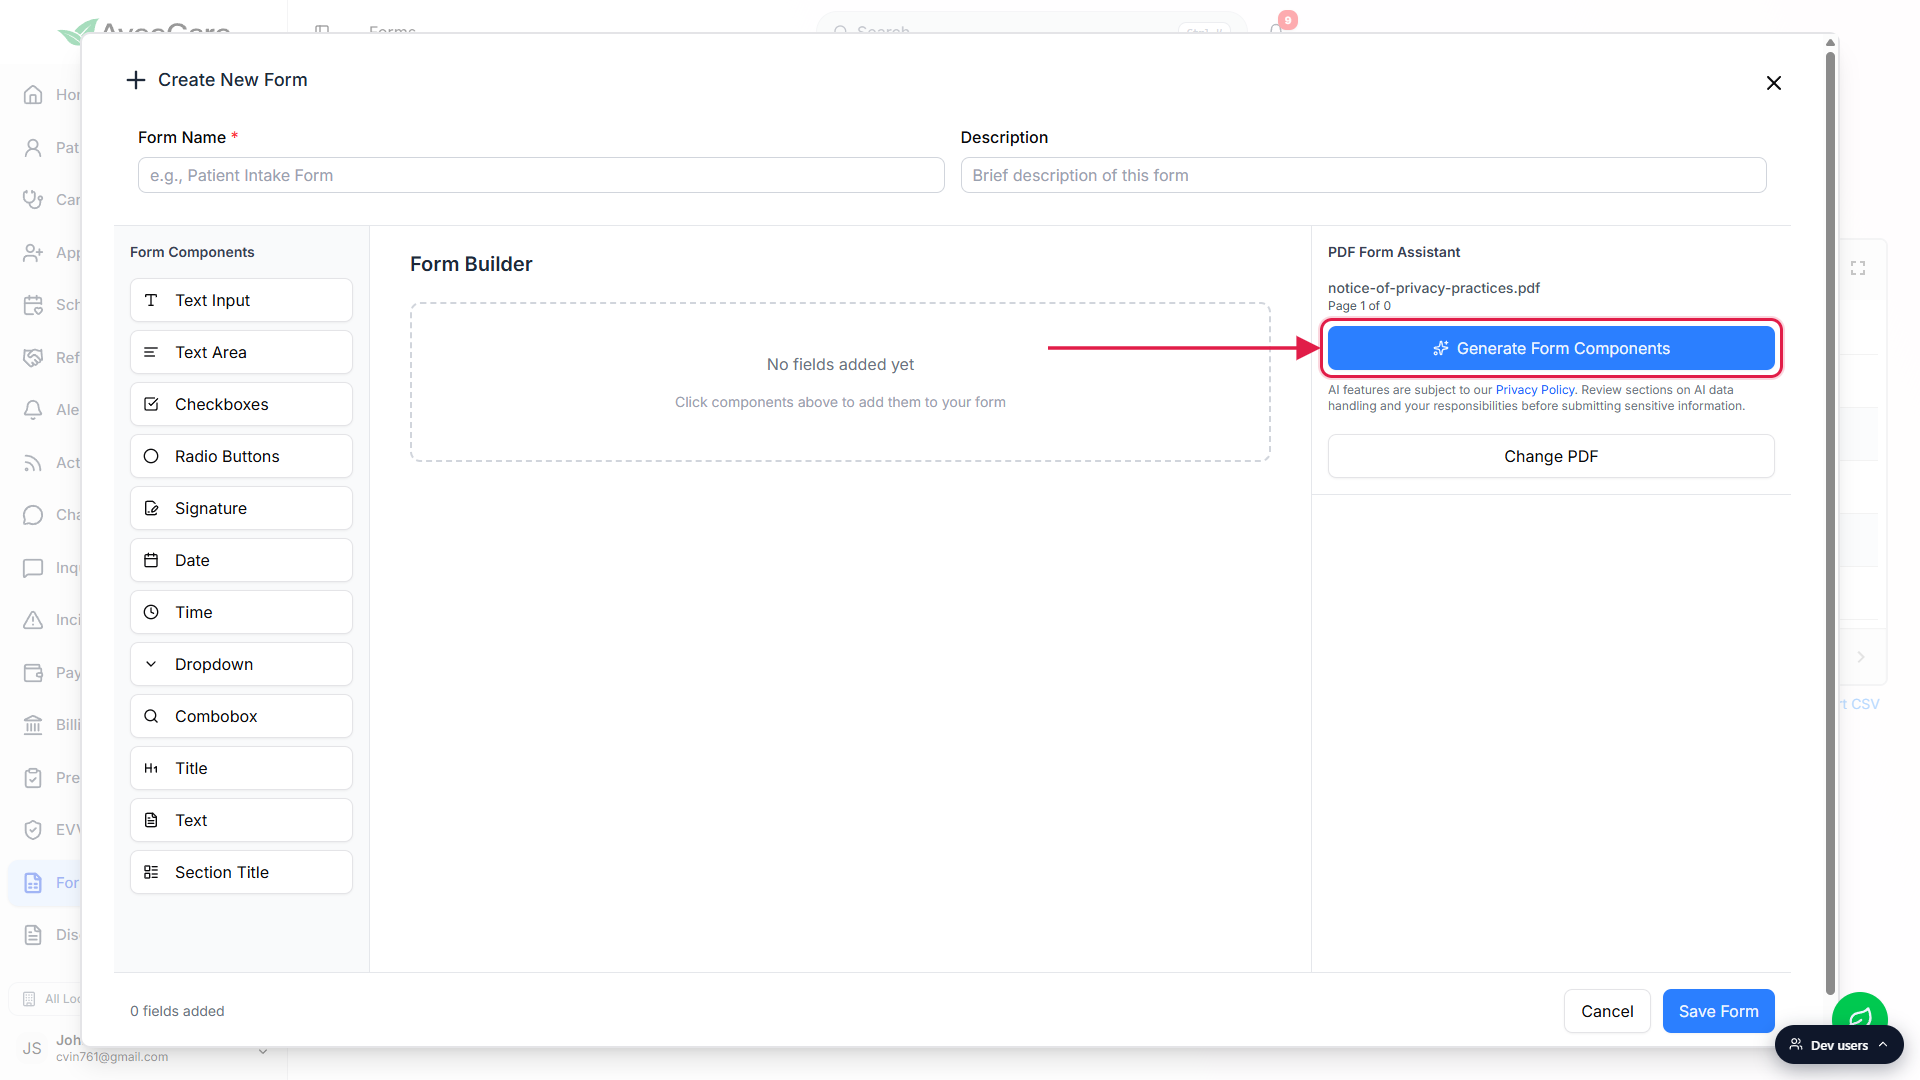
Wait for the toast that confirms how many fields were added.
On a clean scan the toast reads Successfully added N fields to your form and the canvas fills with the new components. On a poor scan or an image with no detectable text the toast reads Failed to generate form fields. Rescan at higher DPI, deskew the page, or try a different page.
4. Review the AI usage notice before uploading PHI
Read the AI usage notice under the Generate button.
The notice reminds you that AI features are subject to the AveeCare Privacy Policy and asks you to review the AI data handling section before submitting sensitive information. The Privacy Policy link opens the public policy in a new tab. AveeCare AI runs on AWS Bedrock inside our HIPAA boundary, but it is still good practice to scrub a paperwork scan of patient identifiers when the goal is just to scaffold the form structure.
Click each scaffolded field on the canvas and fix labels and types.
OCR text often misses checkboxes, picks up smudges as stray characters, and reads a row of underscores as one long line. Click each field on the canvas to open Edit Field on the right, fix the label, flip Required Field on where it belongs, and replace the type from the Form Components palette if OCR chose wrong. See Form builder for the panel walkthrough.Name the form and click Save Form.
Form Name is required, Description is optional. Save Form creates the preset and reloads the Forms list. From there you assign the preset to a patient or caregiver, see Assign form to patient or caregiver.
Common pitfalls
- Looking for a separate OCR tool. There is no standalone OCR page in AveeCare and no OCR upload for insurance cards or photo IDs. Paperwork OCR is part of the PDF Form Assistant only. For uploaded photos and signed PDFs that just need to live on a patient record, use Patient Files instead, which stores the file without trying to extract fields.
- Photos and JPGs. The Upload PDF button rejects JPG, PNG, and HEIC. Scan the document to PDF first, even a single-page scan, and then upload that PDF.
- Low-quality scans. Tesseract is good on clean high-DPI scans of printed text and struggles on faded copies, crooked pages, and handwriting. If the resulting fields look random, rescan at 300 DPI or higher and retry. Cropping the margins also helps the AI focus on the form layout.
- Expecting per-occurrence OCR. Generate processes the current page only. For a multi-page intake packet, walk page by page through the assistant and click Generate on each one. The canvas appends new fields each run rather than replacing them.
- AI Features Disabled message. If an admin has turned off AI for the tenant, the panel renders an AI Features Disabled message instead of the Upload PDF button. Ask the admin to flip AI back on under Settings, see AI settings.
- Uploading PHI you do not need. The AI only needs the form layout, not the patient data. Redact names, dates of birth, and other identifiers when the source PDF contains a filled-in sample. The AI usage notice in the panel asks you to review what you send.
Related
- AI form builder (PDF Form Assistant walkthrough)
- AI form assist
- Avee AI chatbot
- Patient paperwork (Files, Disclosures, Forms)