The AI form builder in AveeCare is the PDF Form Assistant panel that lives on the right side of the Create New Form modal. Upload a PDF of a paper or scanned form, click Generate Form Components, and AI reads the page and scaffolds matching fields onto the canvas for you. From there you tidy up labels in the regular form builder and save.
Quick answer
Open Forms and click New Form. The right column of the modal is the PDF Form Assistant. Click Upload PDF, pick the file, then click Generate Form Components. The AI reads the page, builds a matching field set, and drops it on the canvas. Edit labels and Required flags in the regular form builder, name the form, and click Save Form.
What it does, and what it does not
The PDF Form Assistant runs hybrid text extraction on the uploaded PDF. It pulls native text out of digital PDFs first, then falls back to OCR for scanned pages, combines both sources, and sends the result to a managed AI model on AWS. The model returns a JSON list of fields with types, labels, options, and Required flags that AveeCare converts into real form components on the canvas.
It is not a free-text brief. There is no chat box where you type “build me a fall risk assessment.” The whole flow is driven by an actual PDF you upload. If you only have a list of questions in your head, the regular form builder is faster, see Form builder.
1. Open the form builder and find the PDF Form Assistant
Click Forms in the left sidebar, then click New Form.
The Create New Form modal opens with three columns. Form Components is on the left, the Form Builder canvas is in the middle, and PDF Form Assistant is on the right.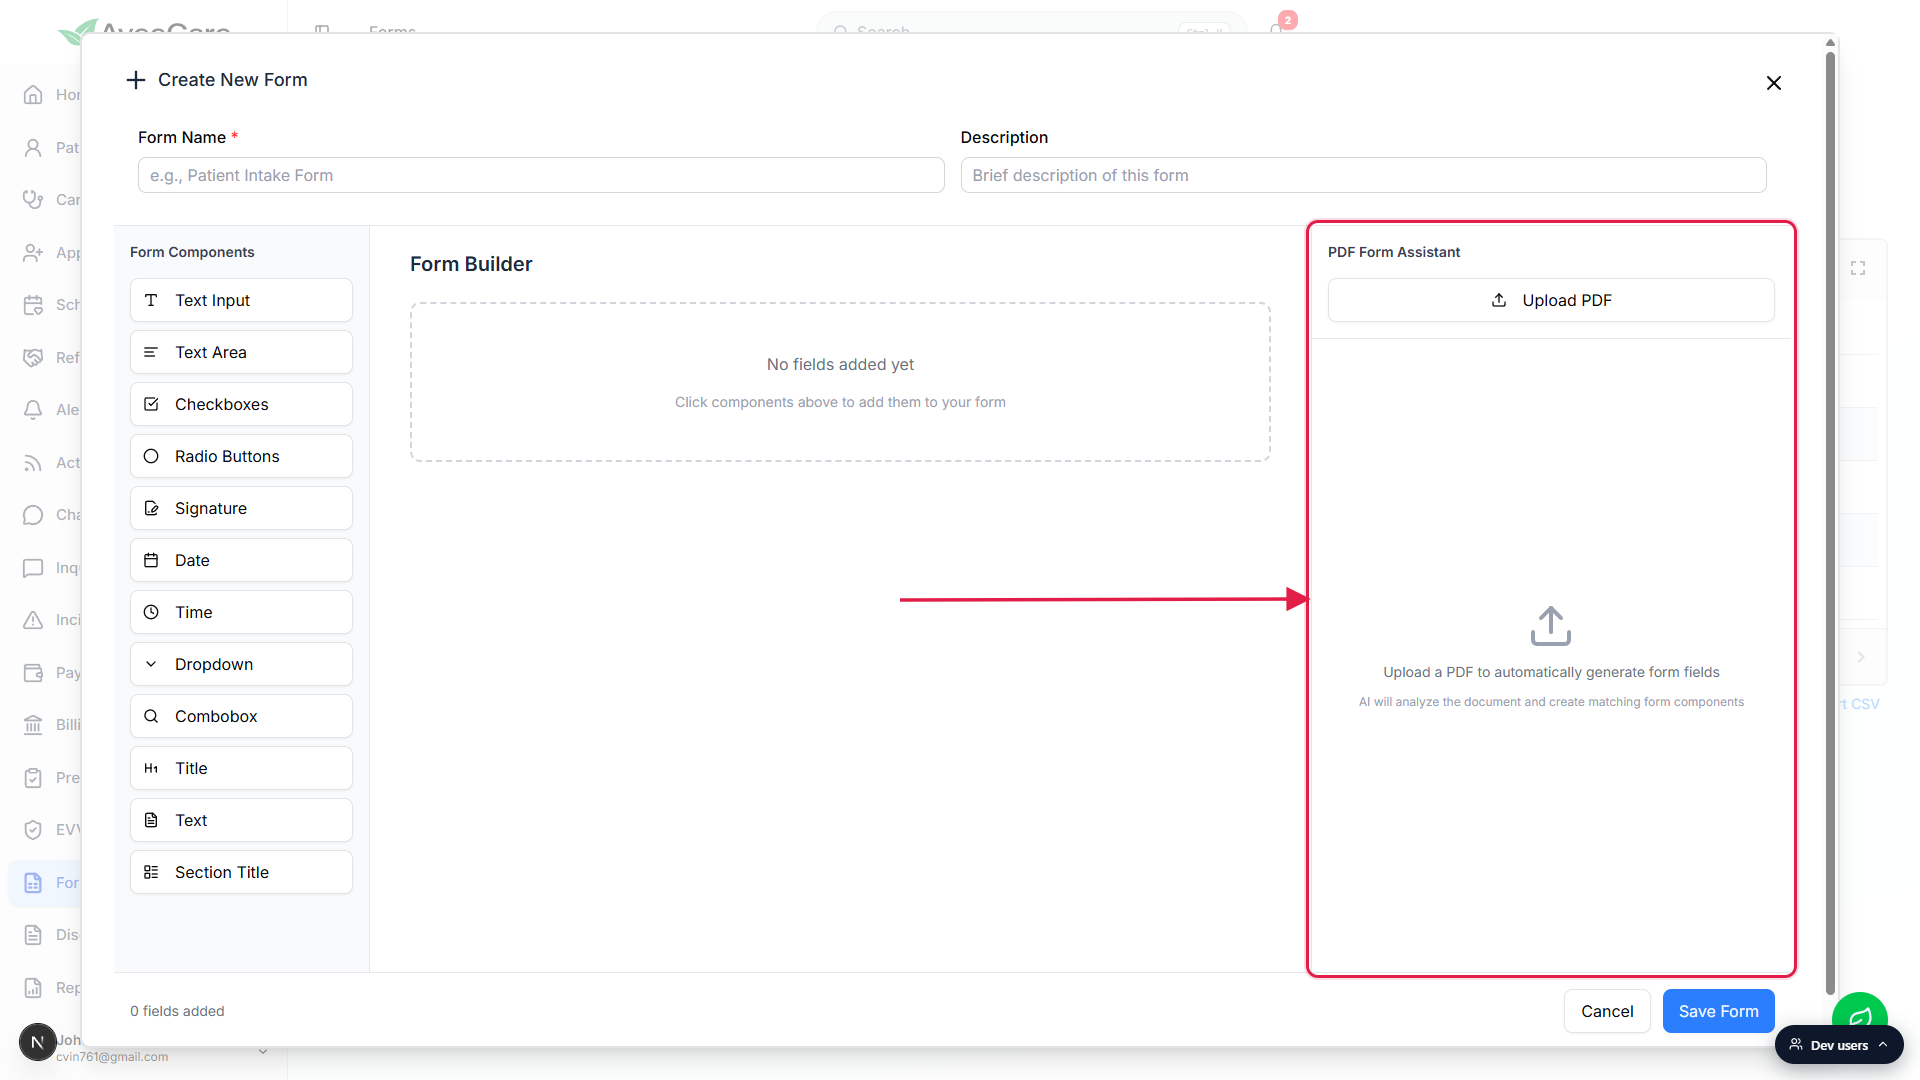
If AI features are disabled, the panel shows AI Features Disabled.
Company-wide AI controls live under Settings, Business Settings. If your administrator has switched AI off, the right column renders an AI Features Disabled message instead of the Upload PDF button. Ask the admin to re-enable AI before you can use the assistant.
2. Upload a PDF of the form you want to recreate
Click Upload PDF in the PDF Form Assistant header.
The native file picker opens. Pick a PDF, the panel does not accept other file types. After selection the file name and page count appear in the panel, with a small thumbnail preview of the current page below the action buttons.Use Previous and Next to land on the page you want the AI to read.
The assistant processes one PDF page at a time. For a multi-page form, walk to the page that has the field set you want to scaffold first. You can change pages and run Generate again to append more fields to the canvas.
3. Click Generate Form Components
Click the blue Generate Form Components button.
The button is in the panel header right under the file name. A progress bar appears beneath it with a status line that walks through Loading PDF, Extracting native PDF text, Rendering page for OCR, Performing OCR analysis, Analyzing form with AI, then Adding fields to form.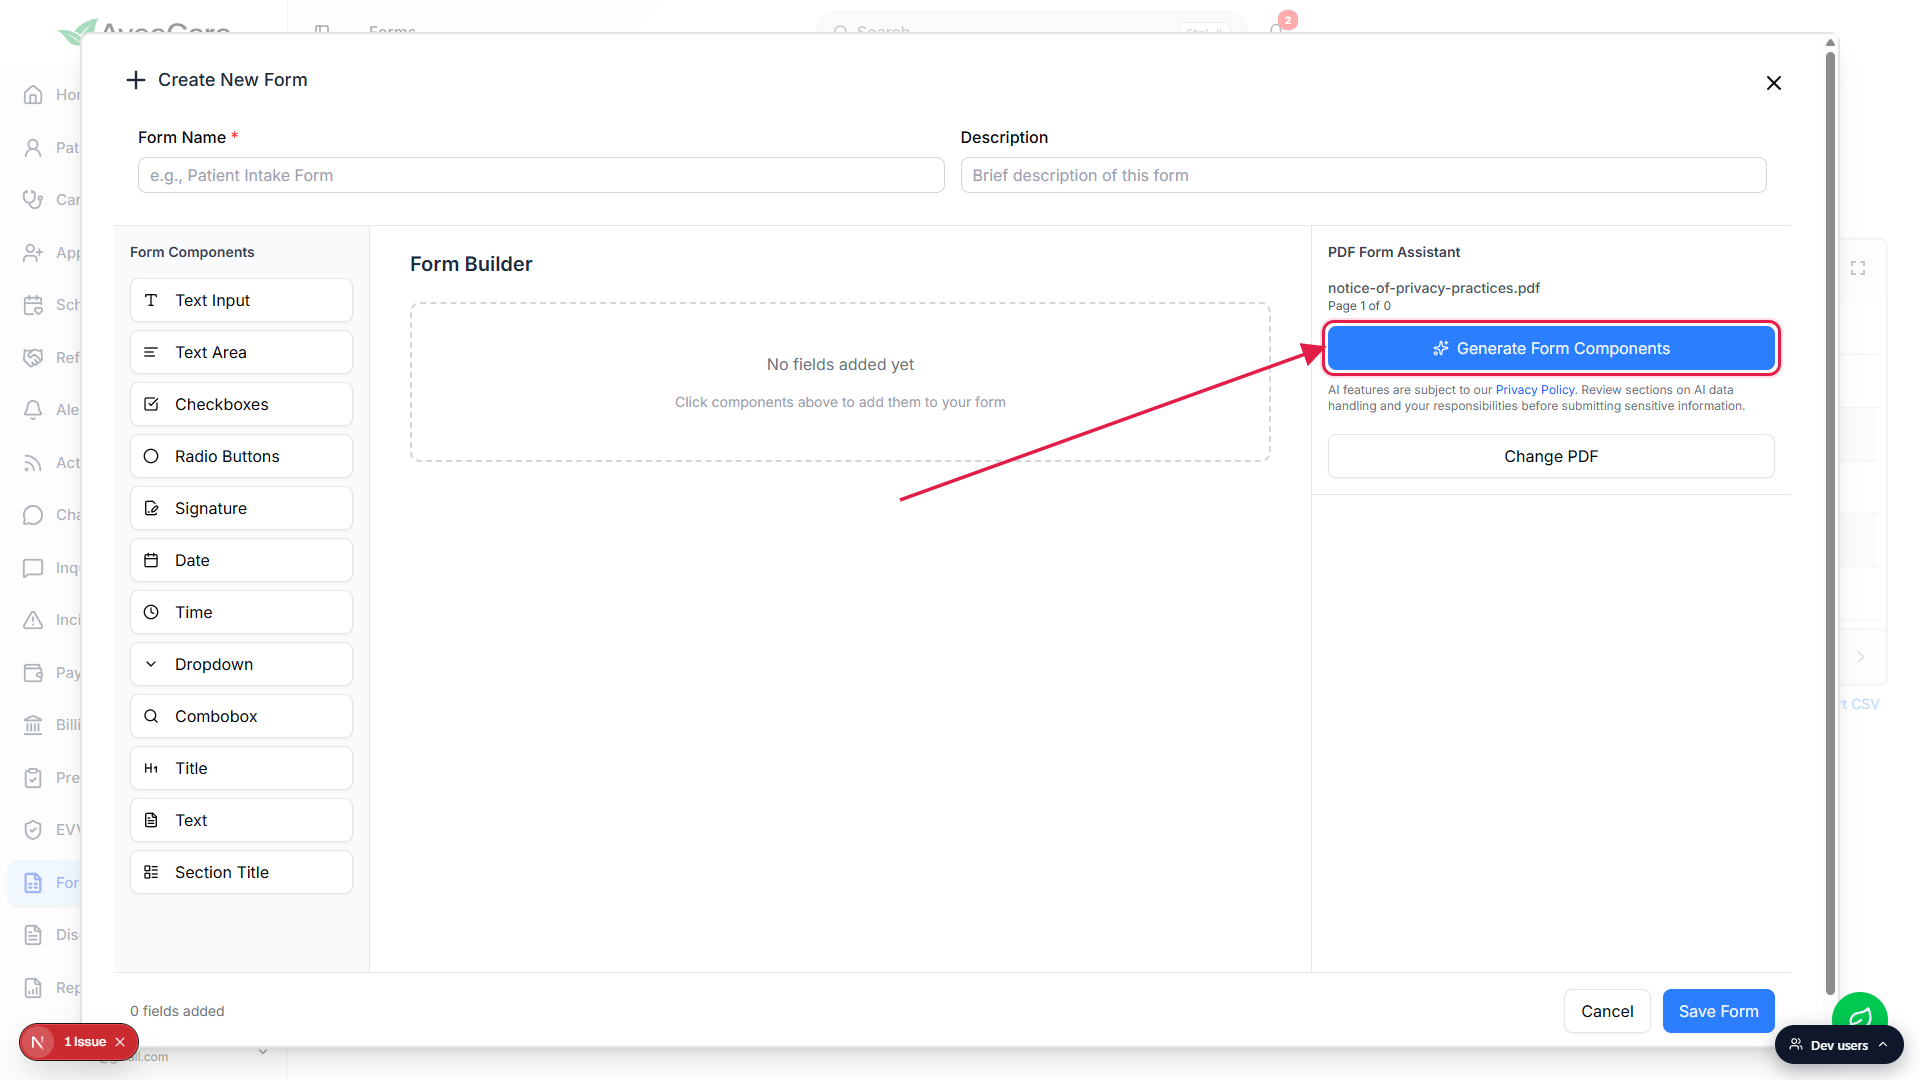
Wait for the toast that confirms how many fields were added.
On success you get a Successfully added N fields to your form toast and the canvas in the middle column fills with the scaffolded components. If the AI returns nothing usable, the toast says Failed to generate form fields and the canvas stays empty. Try a clearer page, an OCR-friendly scan, or a different page of the PDF.Read the AI usage notice under the Generate button.
The notice reminds you that AI features are subject to the AveeCare Privacy Policy. The Privacy Policy link opens the public policy in a new tab. Skim the AI data handling section before you upload anything that contains PHI.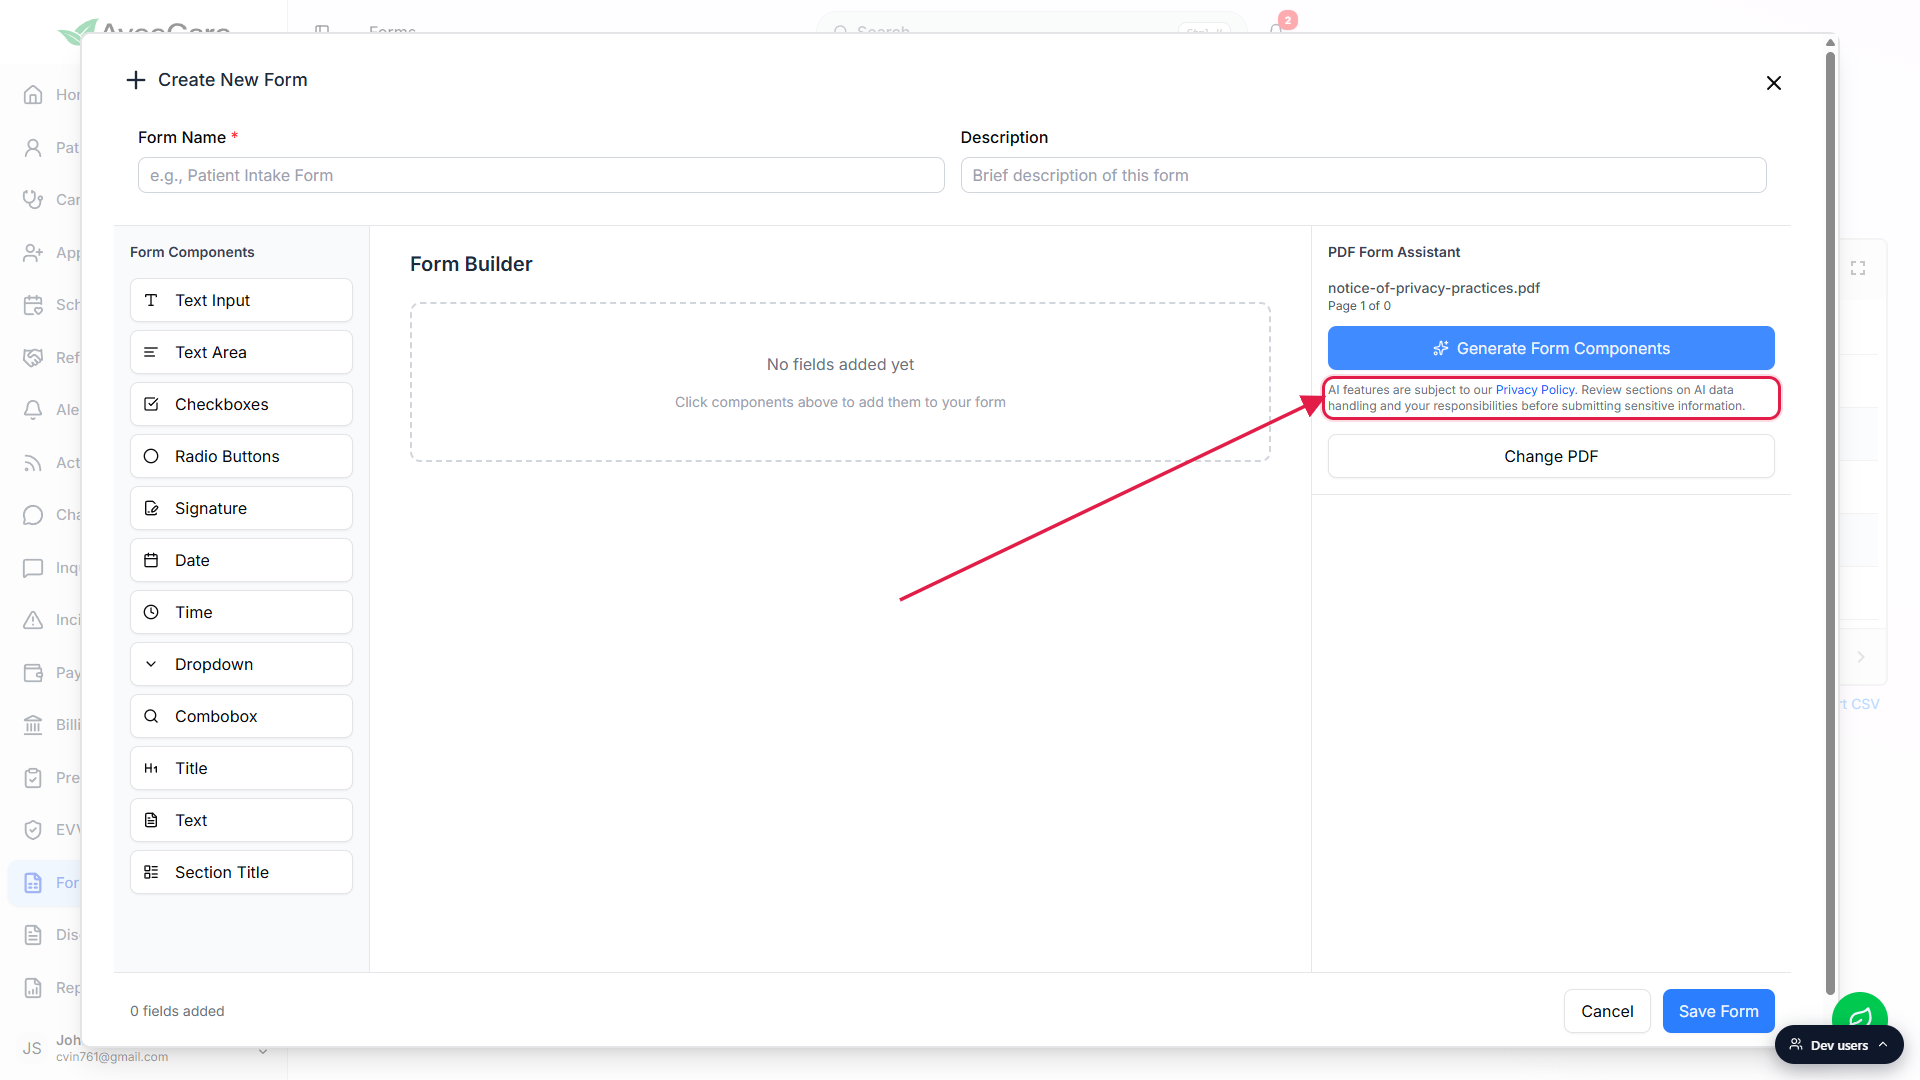
4. Review the scaffolded fields and save
Click any new field on the canvas to open Edit Field on the right.
The AI does its best with labels and options, but it does not know your agency's phrasing. Fix the label, add a description, add or remove options, and flip Required Field on the fields that need it. Edit Field works the same as it does in the regular form builder, see Form builder for the panel walkthrough.Reorder fields with the grip handle if the AI got the order wrong.
Each field card has a six-dot grip on the left edge. Drag up or down to move the field. The order on the canvas is the order respondents see when the form is assigned.Type a Form Name, then click Save Form in the bottom-right.
Form Name is required, Description is optional. Save Form creates the preset and reloads the Forms list. From there the preset behaves exactly like a hand-built one. Assign it to patients or caregivers, see Assign form to patient or caregiver.
Common pitfalls
- The panel shows AI Features Disabled. An admin has turned AI off for the whole tenant. The Upload PDF button is hidden and the panel renders the disabled message. Ask the admin to flip AI back on in Settings, Business Settings.
- Generate fails with a Failed to generate form fields toast. Usually the page had too little extractable text, or the OCR confidence was too low to feed the model. Try a sharper scan, a digital PDF if you have one, or a different page that has more form fields and less marketing copy.
- Wrong field types. The AI is heuristic. A line of underscores becomes a Text Input even when you wanted a Date, a checklist might come back as a Radio Group when you wanted multi-select Checkboxes. Click the field, flip the type by replacing it from the palette, or edit options in Edit Field.
- One PDF page at a time. The assistant processes the current page only. For a multi-page intake packet, generate page by page, the canvas appends new fields each run.
- Image-only scans need clean input. The OCR step uses Tesseract under the hood, which struggles with low-contrast scans, rotated pages, and handwriting. Rescan at higher DPI, or retype the form in the regular builder if OCR keeps returning garbage.