Forms is the central library of every form preset your agency uses, intake forms, consent forms, assessment forms, custom checklists. The Forms page lists every preset in one table so admins can create, edit, and clean up templates in one place. Drag-and-drop field editing and AI generation live behind the Edit and New Form buttons.
Quick answer
Open Forms. The Form Presets table shows every template with Name, Description, Field Count, Created At, Updated At, and a Controls column with Edit and Delete buttons. Click New Form at the top to add a preset.
1. Open Forms to see every preset
Click Forms in the left sidebar.
The page loads with two pieces: a New Form tile at the top, and the Form Presets data table below it. Each row is one template.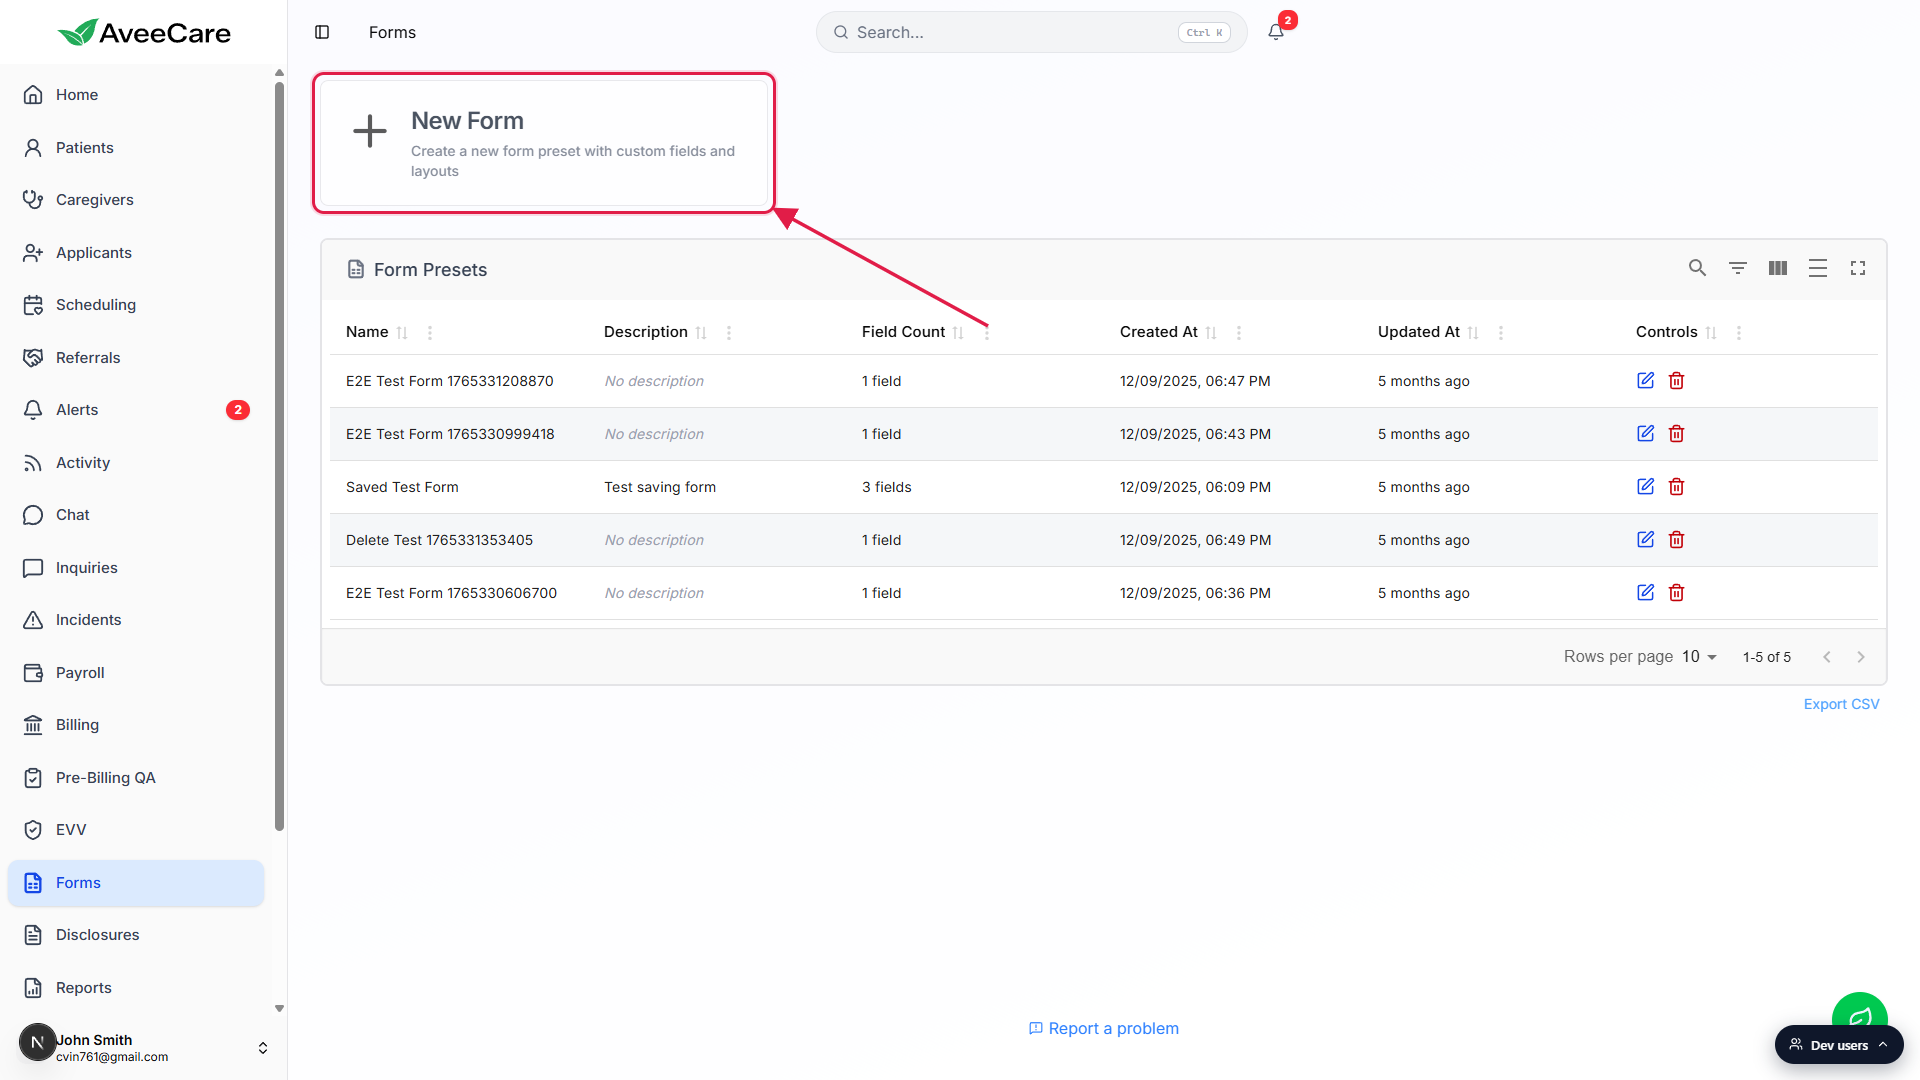
Read the row at a glance.
Columns show Name, Description, Field Count (for example “3 fields”), Created At as a date/time, Updated At as a relative phrase like “5 months ago,” and a Controls column on the right.
2. Create a new form preset
Click the New Form tile at the top of the page.
A full-screen Create New Form modal opens. That is the same builder you would land in from Edit, just starting empty. Drag-and-drop fields and AI scaffolding live inside the modal, covered in the Form builder and AI form builder articles.Save inside the modal. The new preset appears in the table.
After saving, the modal closes and the table reloads with the new row at the top by Created At. There is no separate publish step, saved means available.
3. Edit or delete a preset from the row controls
In the Controls column, click the blue pencil to edit.
Hovering the icon shows an Edit Form tooltip. Clicking opens the Edit Form Preset full-screen modal pre-filled with this template, same builder as New Form. Saving updates the preset in place.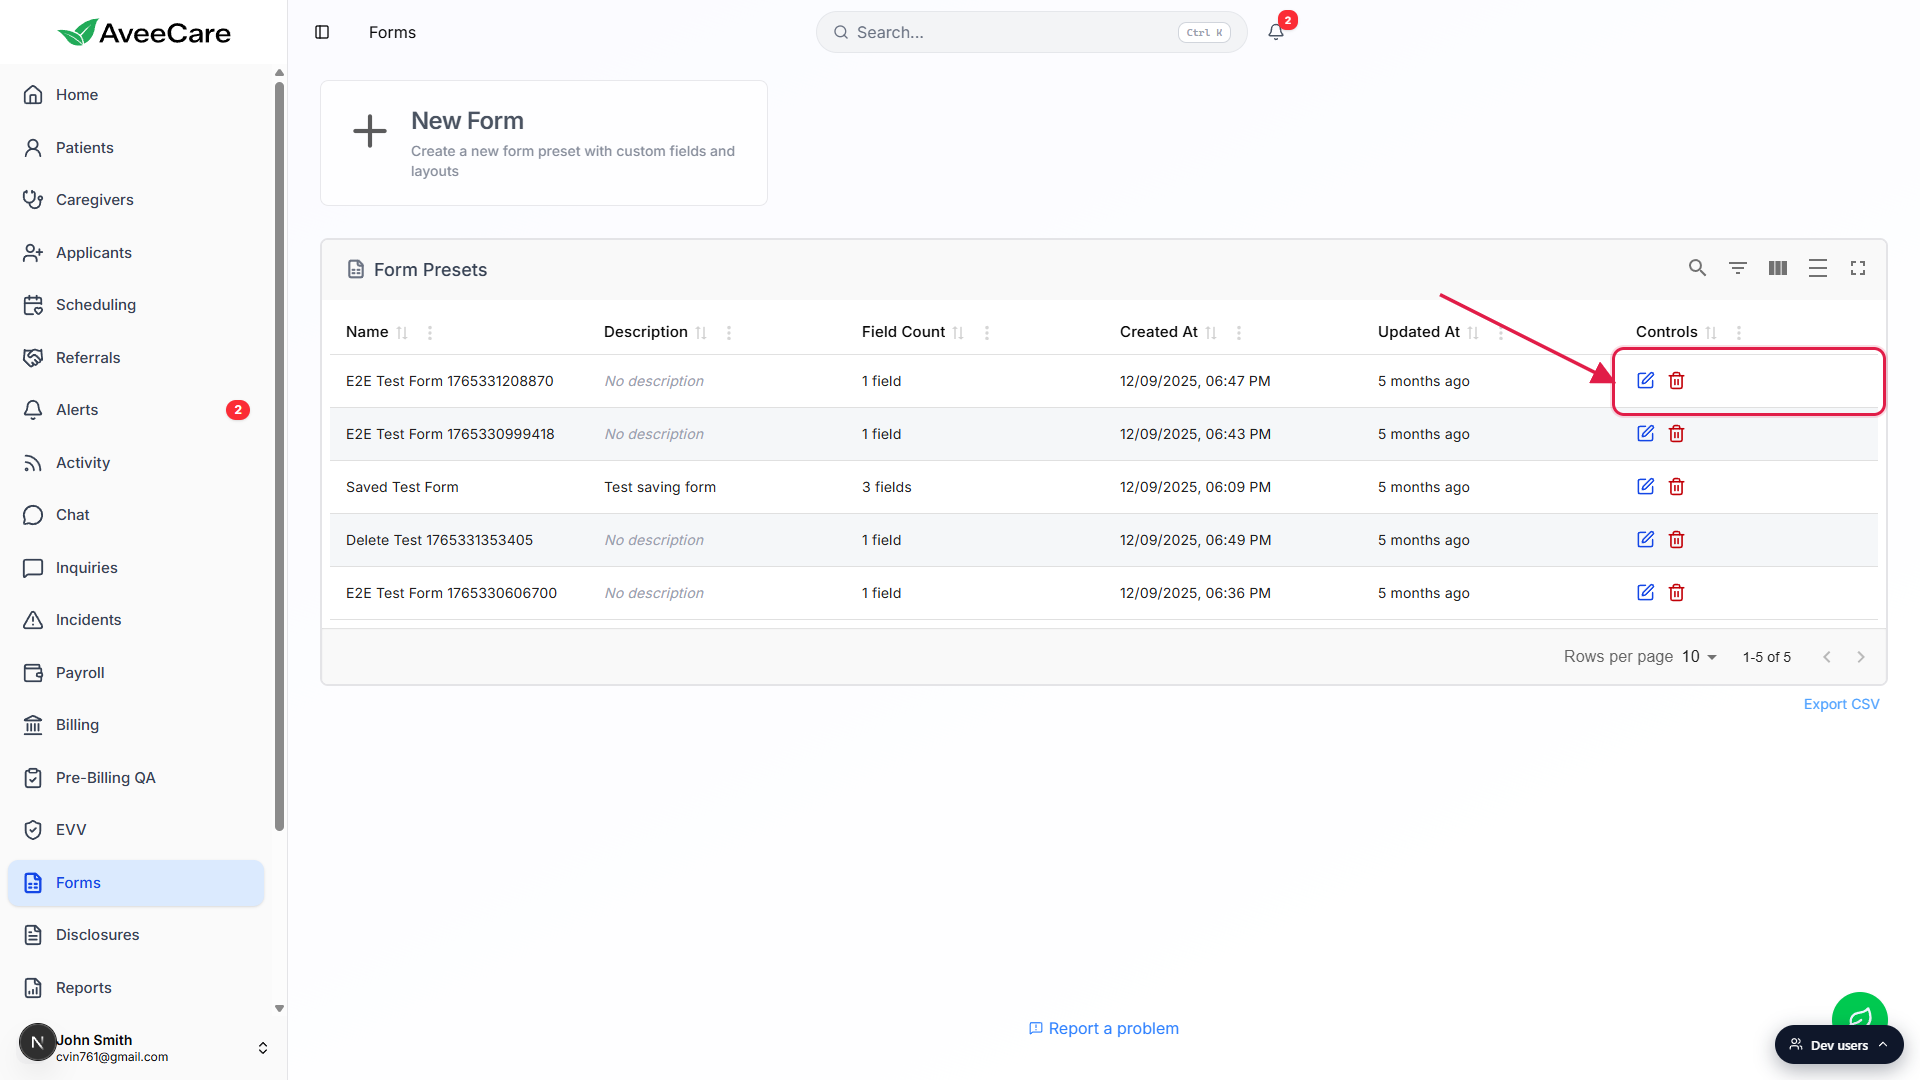
Click the red trash icon to delete the preset.
Hovering shows a Delete Form tooltip. A confirmation dialog asks “Are you sure you want to delete the form preset ‘X’?” before anything is removed. Past responses for this preset are kept for audit, the template itself stops being assignable.
4. Search, filter, and export the table
Use the toolbar above the column headers.
Five icon buttons sit on the right of the Form Presets bar: Show/Hide search, Show/Hide filters, Show/Hide columns, Toggle density, and Toggle full screen. They flip in extra rows in the table chrome for searching by name, filtering by column, hiding columns, switching between comfortable and compact density, and blowing the table up to full screen.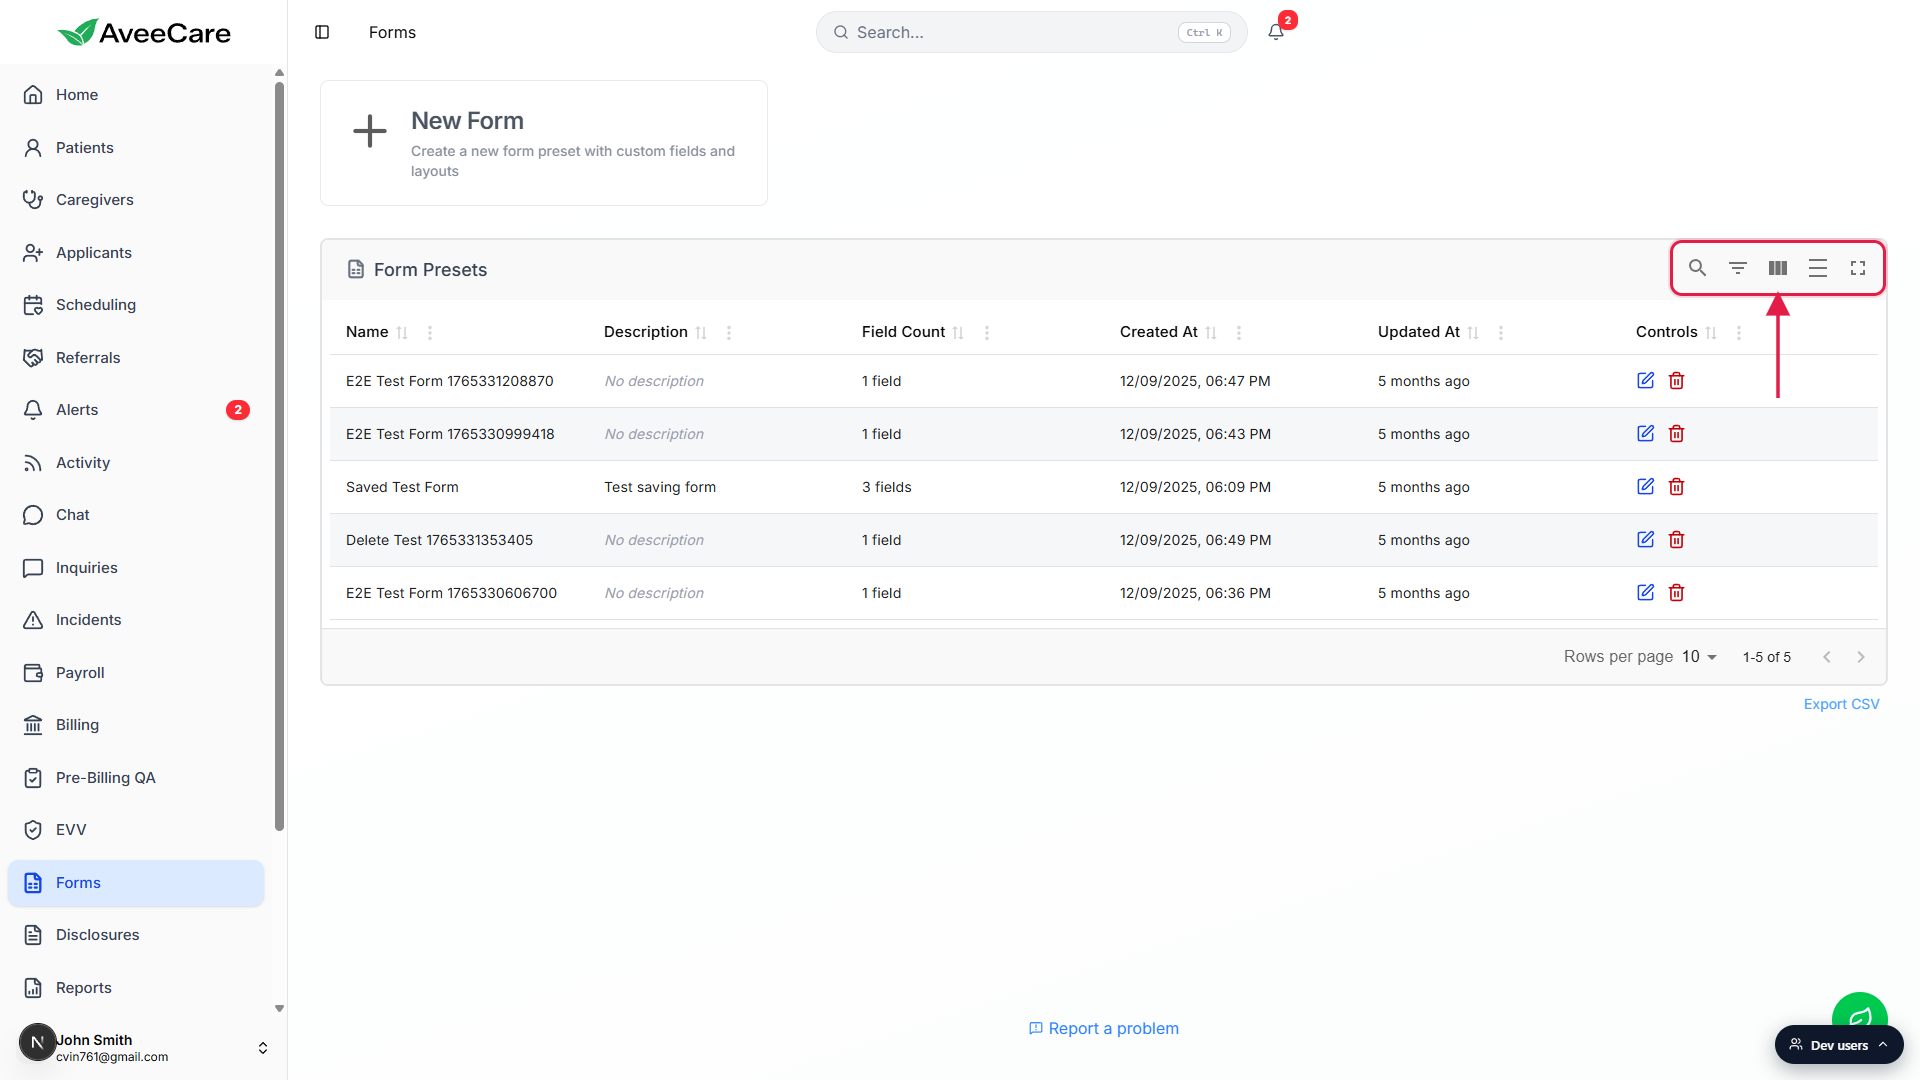
Export the visible rows to CSV.
The Export CSV link sits below the table on the right. It exports the current row set to a file named likeform-presets-YYYY-MM-DD.csvusing today's date, useful for compliance or migration backups.
Common pitfalls
- No Duplicate button on the row. The Controls column has Edit and Delete only. To clone a template, open Edit, change the Name, and save. The original keeps its data because save with a new name creates a new preset.
- Delete is not undoable in the UI. The confirmation dialog is your only stop. Past responses are retained for audit, but re-creating the template means rebuilding it in the builder.
- Assigning a form lives elsewhere. The Forms page is for managing templates. To send a preset to a patient or caregiver, open the patient or caregiver record and use the Forms tab there.
- Field Count is for the latest version. If you edit a preset and add fields, the Field Count column updates the next time the table loads. Older responses still reflect the field set that existed when they were filled out.
- Quick visual scan beats search for short lists. The Show/Hide search button is hidden by default. If you only have a dozen presets, Updated At sorting is faster than typing a query.