AveeCare turns OASIS assessments into the batch files your agency uploads to iQIES. This guide is for a Medicare home health agency starting out: choose the OASIS setup, save the IDs every file needs, and take one assessment from start to export.
Quick answer
In Settings → Business Settings, choose OASIS submission only. On the OASIS page, fill in the setup checklist (iQIES agency ID, CCN, NPI and state), then press New Assessment. You can fill in assessments before the checklist is done; only exporting waits for it.
1. Choose OASIS submission only
Switch it on in Settings.
Sign up as usual. Then open Settings, then Business Settings, and under The kind of care you provide choose OASIS submission only. AveeCare shows what will change before you confirm. It changes what the sidebar lists and turns OASIS on. It never changes anyone's permissions or deletes data, and you can switch back at any time.
2. Fill in the setup checklist
Open OASIS and find Set up OASIS submission at the top.
The checklist shows until the four required IDs are saved, and explains each one: the iQIES Agency Submission ID (your iQIES Security Official sees it under your agency's details), the CMS Certification Number (CCN), the Agency NPI and the Agency state. Branch ID (optional) is only for agencies whose branches have their own CMS IDs.Type them in and save.
AveeCare checks the shape of each one as you save: a CCN is six letters or digits, the NPI must pass its check digit, and the state is the two-letter code. The same fields live in Settings, under Business Settings.
3. Start your first assessment
Press New Assessment.
Pick the patient, the assessment type and the date it was completed (M0090). The date decides the form: April 1, 2026 or later uses OASIS-E2, and January 1, 2025 to March 31, 2026 uses OASIS-E1.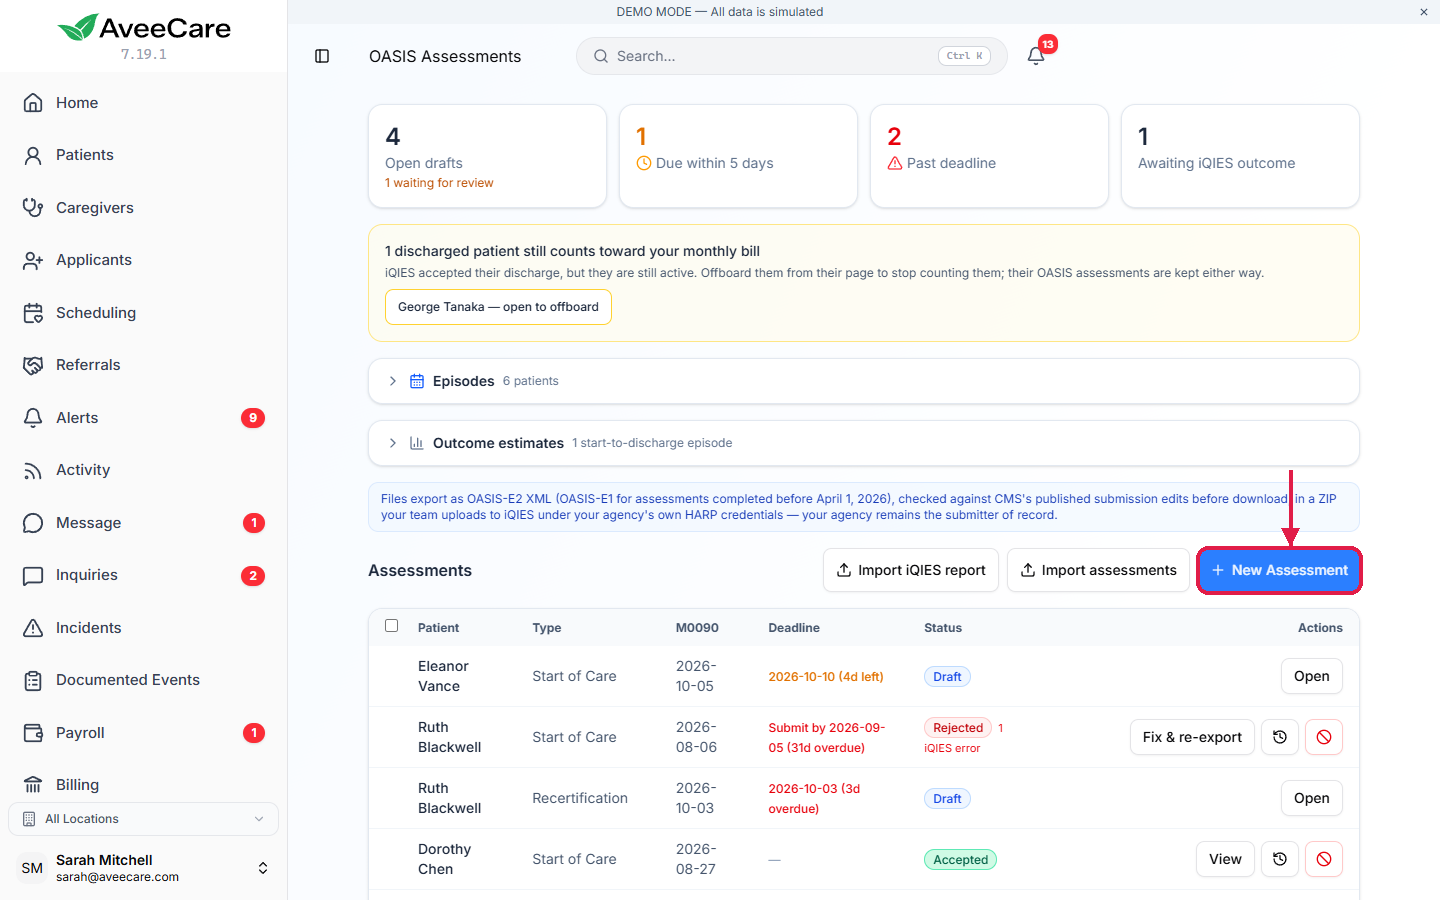
Patient not in AveeCare yet? Press + New patient.
The New Assessment window asks only for what the OASIS file needs, such as name, birth date, sex and Medicare number, and selects the new patient for you. If AveeCare asks for a payment method first, add one; patients cannot be added without it.
4. Complete the assessment
Answer each section, then press Complete.
The patient's name, birth date, sex, ZIP and Medicare number come from their record. Complete opens once no CMS edit problems are left, and asks for the clinician's signature. The full walkthrough is in Complete an OASIS assessment.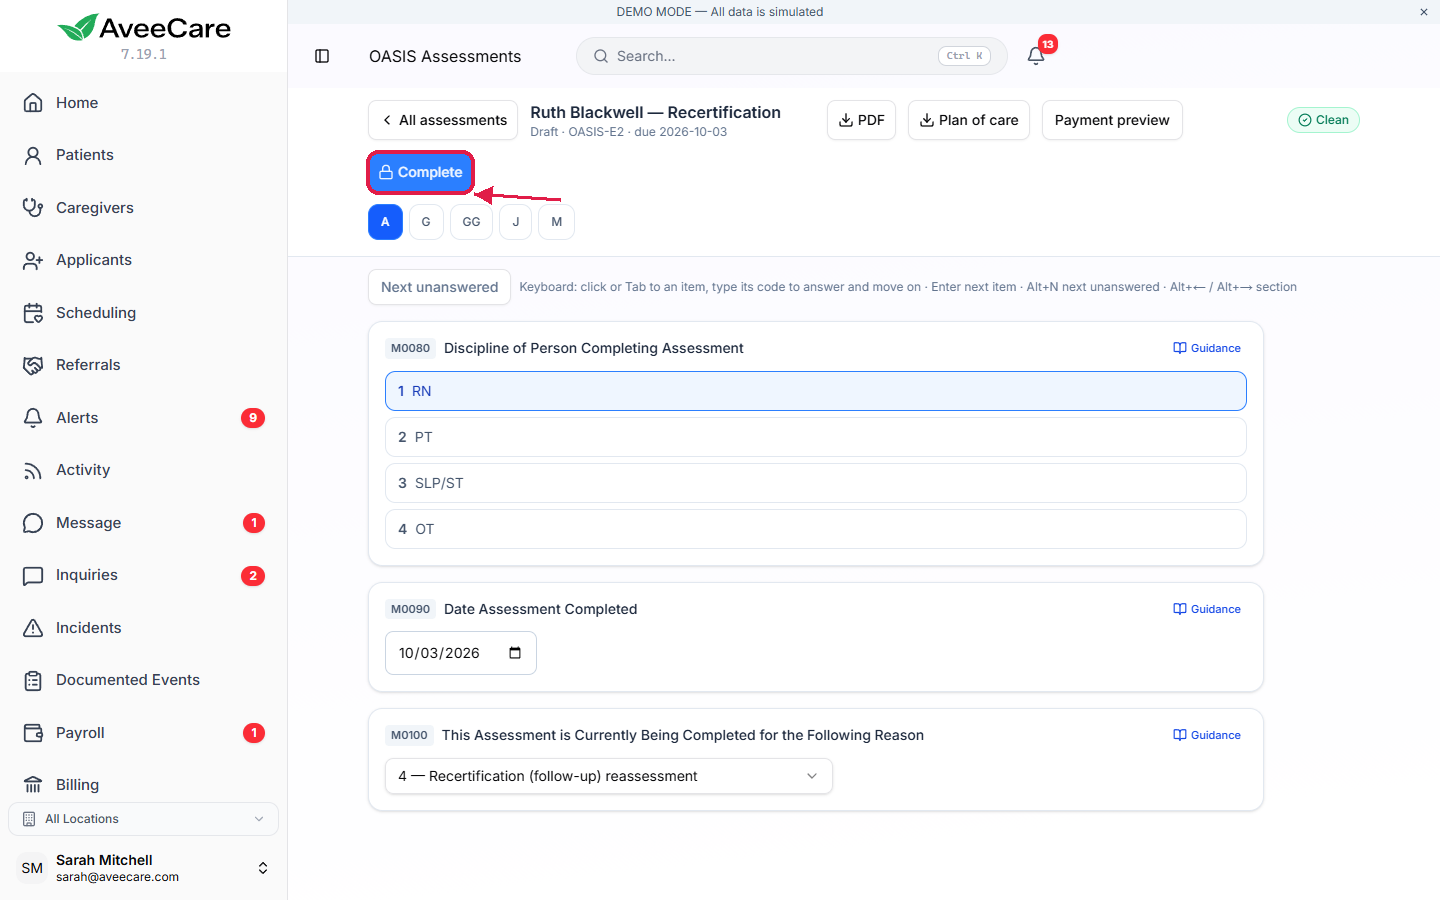
5. Export it and upload it to iQIES
Tick the completed assessment and export it.
AveeCare builds the ZIP file. Your team uploads it to iQIES under your agency's own login, so your agency stays the submitter of record. Afterwards, import the iQIES Final Validation Report to see what was accepted. Details are in Export OASIS to iQIES and import the Final Validation Report.
Common pitfalls
- Waiting for the IDs before starting. Clinicians can fill in assessments right away. Only export needs the checklist done.
- Typing the CCN where the iQIES agency ID goes. They are different numbers. The iQIES Agency Submission ID comes from iQIES; the CCN is on your Medicare certification.
- Expecting the state from your EVV settings. OASIS files use the agency state from the checklist, not your eMAR or EVV state.
- Leaving discharged patients active. A patient counts toward the bill until you offboard them. Offboarding keeps their OASIS assessments.
Related
- Complete an OASIS assessment: the form, CMS edits, review and signature.
- Export OASIS to iQIES: batch files and the Final Validation Report.
- Import OASIS from another system: bring your existing assessments over.
- OASIS feature overview