Clearinghouse settings live on the Clearinghouse & Claims tab inside Settings. This is where your agency picks an EDI clearinghouse vendor, switches between Sandbox and Production, and captures the identity fields that AveeCare drops into every CMS-1500 PDF, UB-04 PDF, and outbound 837P or 837I file. Without these fields filled in, claims will still generate, but they will fail at the payer with missing submitter ID or address errors.
Quick answer
Open Settings, click the Clearinghouse & Claims tab, and walk down the page top to bottom: EDI Clearinghouse Provider, Environment, Organization Name, Agency Taxonomy Code, Submitter ID, Agency Address for Claims, Agency Phone, Claims Contact Name. Click Save Clearinghouse & Claims Settings at the bottom right to persist the changes and create the integration record.
Providers you can pick
The EDI Clearinghouse Provider dropdown lists seven options:
- None. No active connection. You can still generate CMS-1500 and UB-04 PDFs and download .edi files for manual upload.
- Availity. Common choice for commercial payers.
- Trizetto. Pre-fills known SFTP defaults.
- Office Ally. Popular low-cost option for small agencies.
- Optum. Pre-fills the SFTP host hint from a standard Optum enrollment.
- Waystar. Used by many larger multi-state agencies.
- Other. For any clearinghouse that exposes a standard SFTP endpoint.
1. Open the Clearinghouse and Claims tab
Click Settings in the left sidebar.
Settings sits near the bottom of the sidebar, under Help. The page opens on Business Settings by default.Click the Clearinghouse & Claims pill in the tab strip.
The tab strip across the top of Settings reads Business Settings, My Notifications, Company Notifications, Subscription & Billing, Payment Integrations, Clearinghouse & Claims, Payroll, Locations, API Keys, Account. Click the sixth pill. The page scrolls to the Clearinghouse Connection card at the top.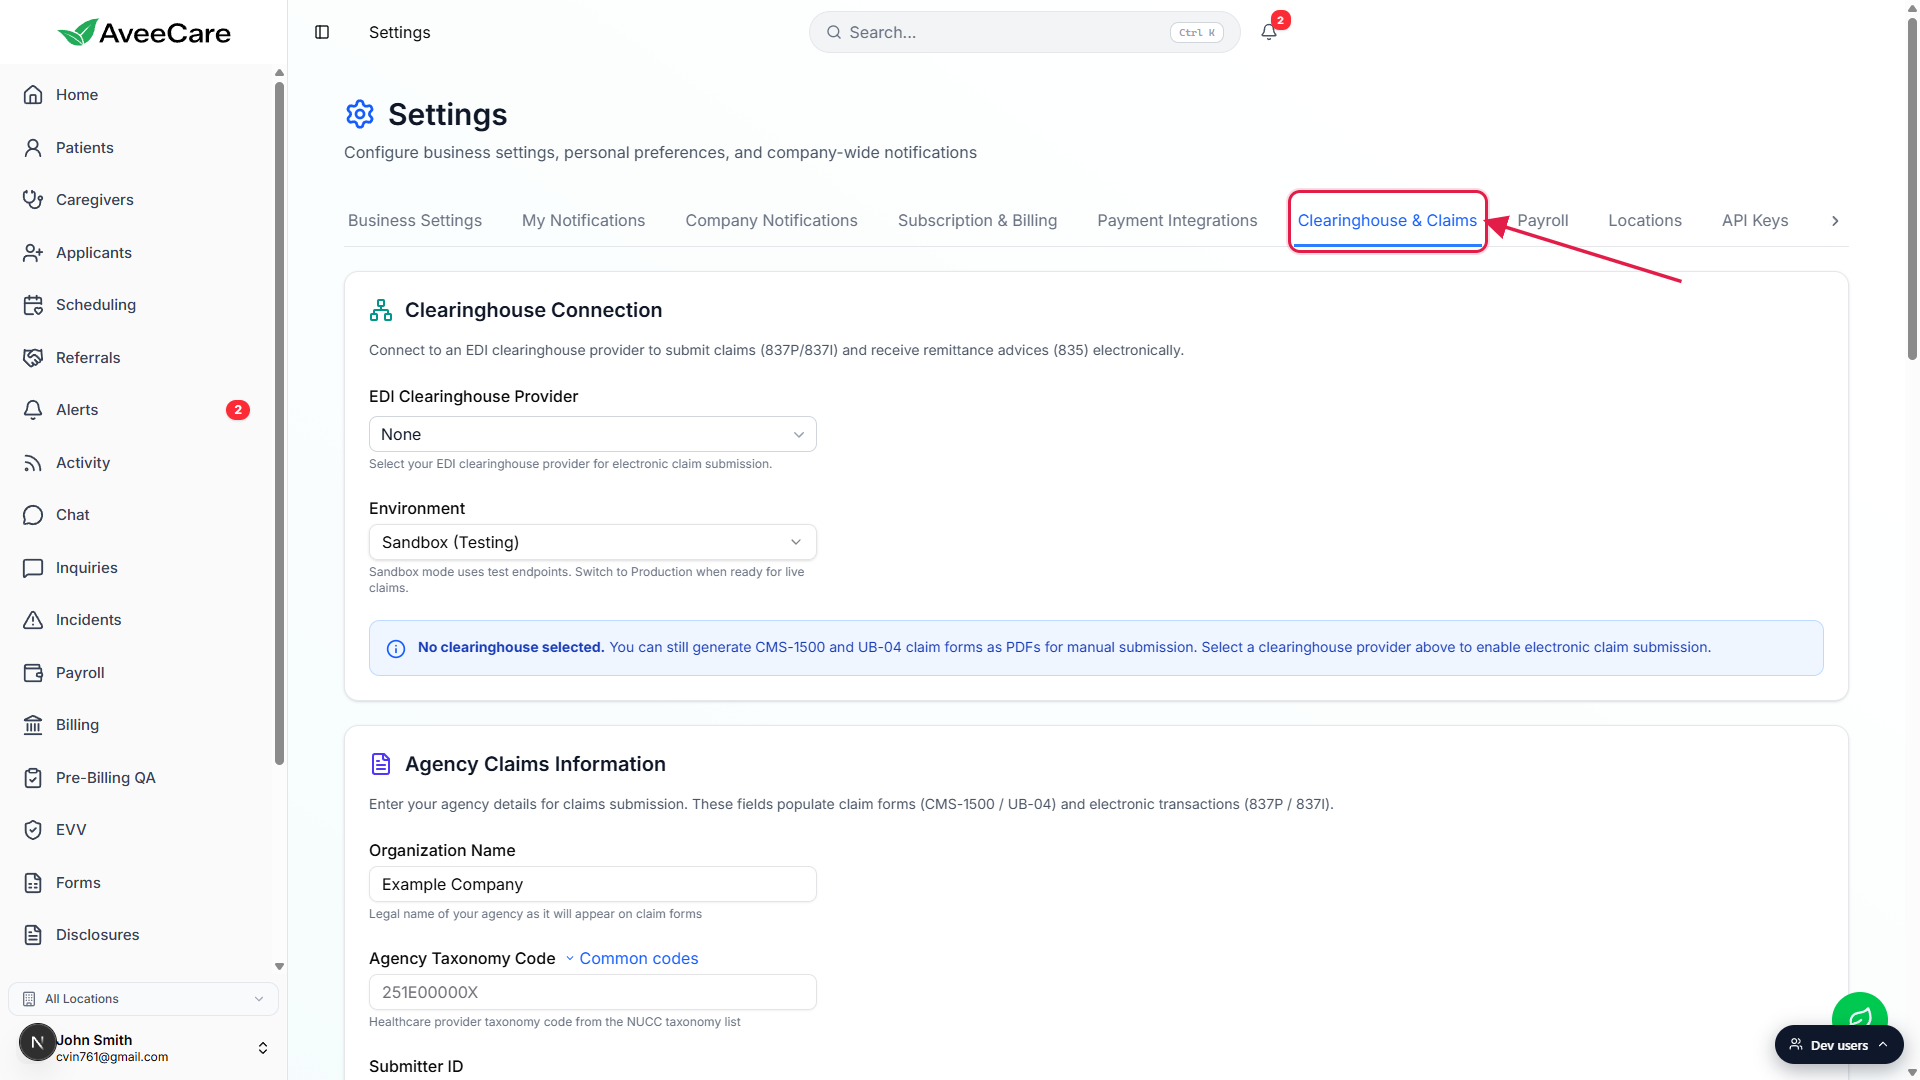
2. Pick a provider and an environment
Click the EDI Clearinghouse Provider dropdown.
The dropdown shows None, Availity, Trizetto, Office Ally, Optum, Waystar, and Other. Pick the vendor your agency has enrolled with. Leave None if you only want to generate CMS-1500 PDFs and upload them manually to a payer or clearinghouse portal.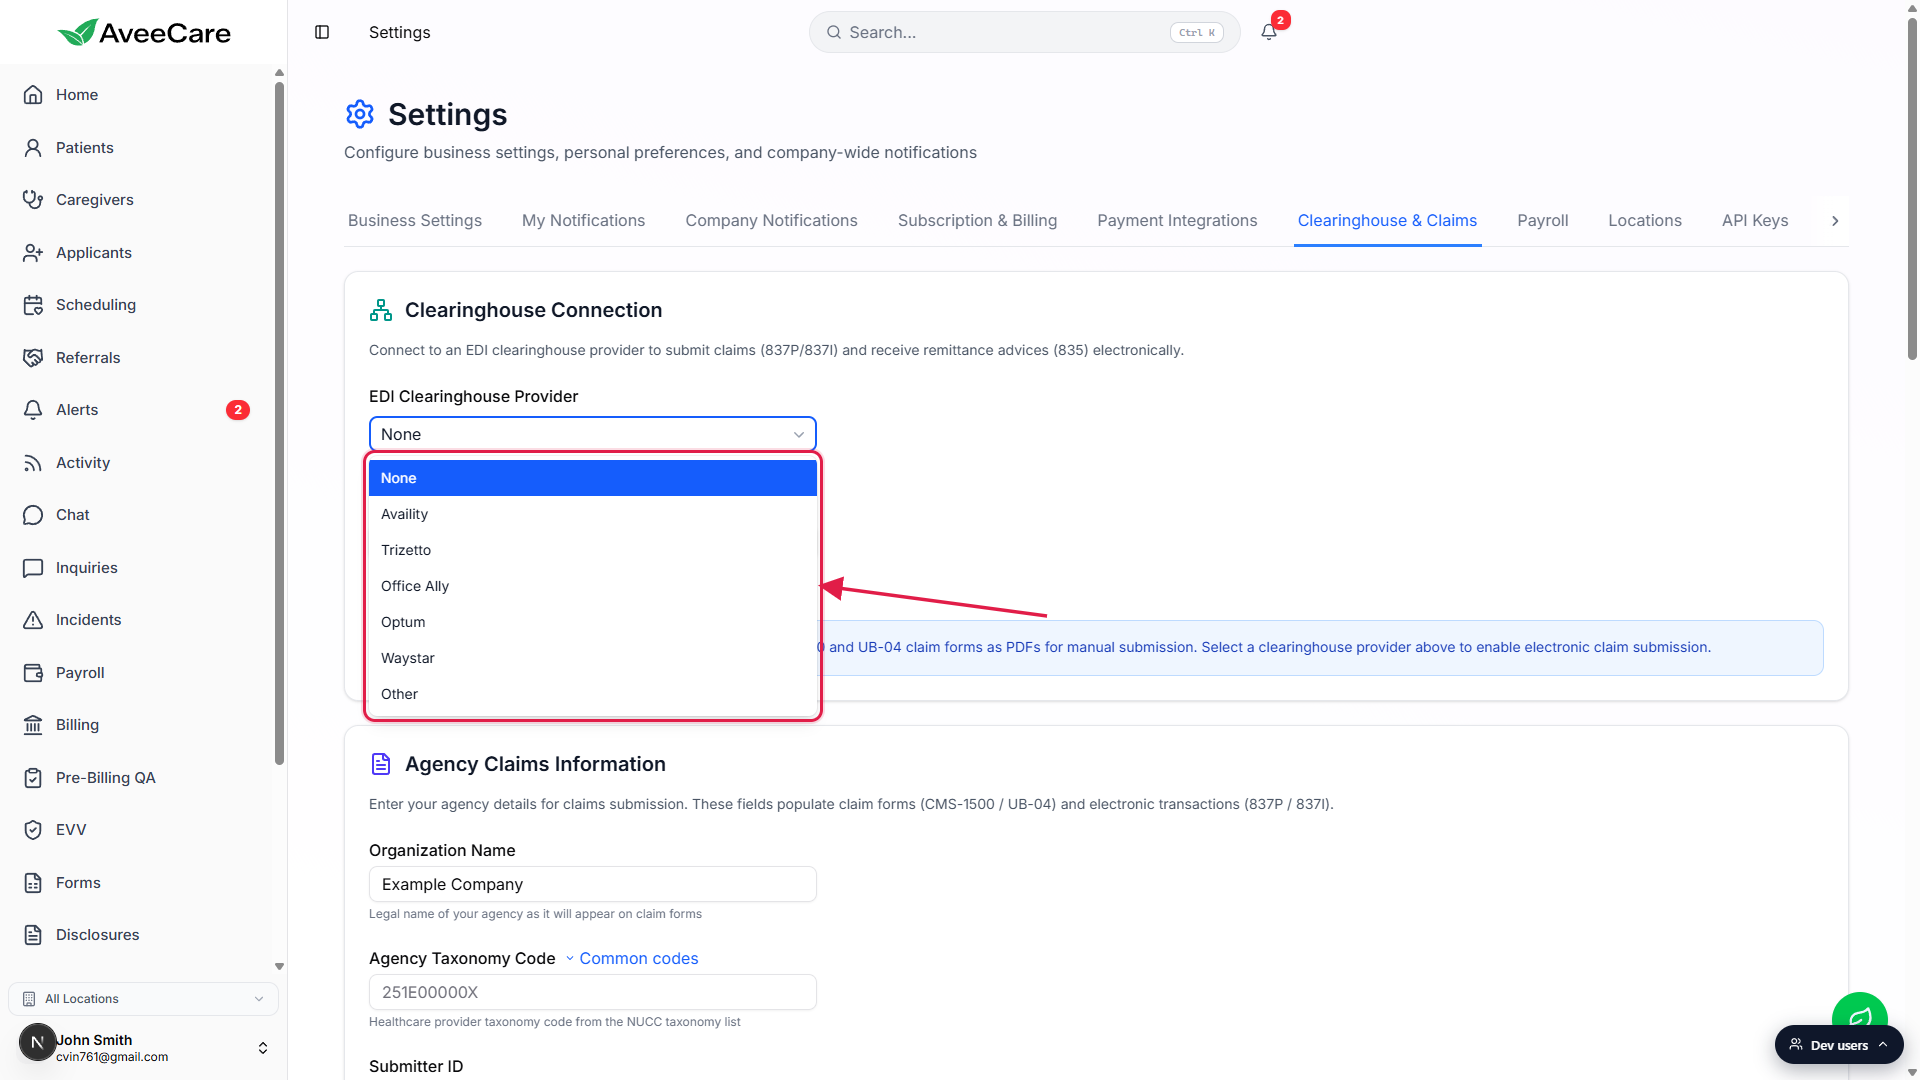
Pick an Environment.
The Environment dropdown directly below the provider picker switches between Sandbox (Testing) and Production. Sandbox flips the ISA15 indicator on outbound 837 files from P to T so the clearinghouse routes them to its test environment and never forwards to a real payer. Stay on Sandbox until a few claims walk through cleanly, then switch to Production.
3. Fill in agency claims information
Scroll down to Agency Claims Information.
This section captures the identity fields that every claim needs. The blurb at the top reads: Enter your agency details for claims submission. These fields populate claim forms (CMS-1500 / UB-04) and electronic transactions (837P / 837I).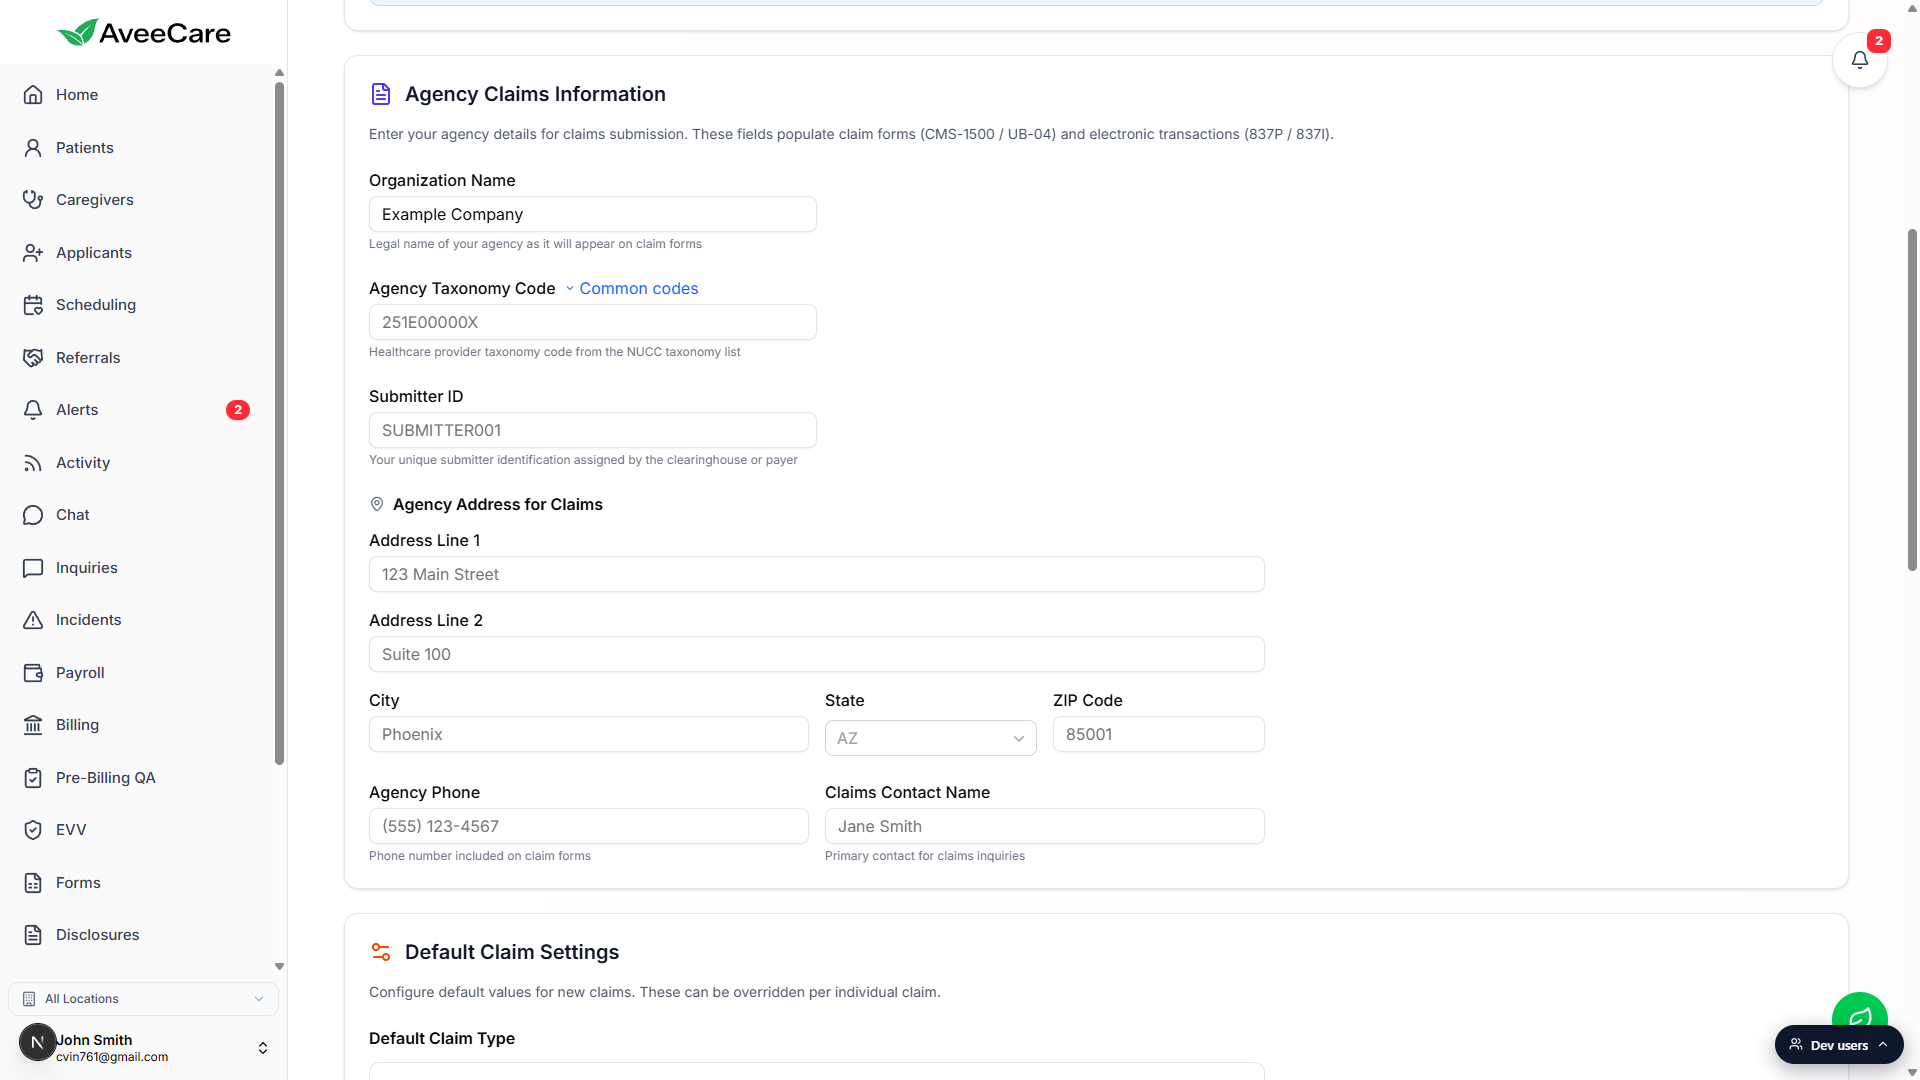
Fill the four identity fields at the top.
Organization Name is the legal name of your agency as it appears on claim forms. Agency Taxonomy Code is your provider taxonomy from the NUCC list (click Common codes next to the label for the most used home care and home health codes). Submitter ID is the unique submitter identifier your clearinghouse or payer assigned during enrollment. Agency Phone and Claims Contact Name populate the contact rows on CMS-1500 and UB-04.Fill the Agency Address for Claims block.
Address Line 1, Address Line 2 (optional), City, State (US state code), and ZIP Code. The address has to match the billing address on file with your payers, otherwise 999 or 277CA rejections will come back with address mismatch errors. Use a physical street address for Loop 2010AA, not a PO box.
4. Save Clearinghouse and Claims Settings
Scroll to the bottom of the tab and click Save Clearinghouse & Claims Settings.
The save button sits at the bottom right of the page, below the Billing Defaults and Payer Directory sections. Clicking it persists every field on the tab and, if a provider other than None is selected, creates the clearinghouse integration record that flips the tenant to Connected.
Confirm the save succeeded.
After a successful save AveeCare shows a toast confirmation and the Clearinghouse Connection card header picks up a green Connected badge if a provider was selected. The Billing page will now show Submit 837P to (provider) and Submit 837I to (provider) buttons on the EDI File Export card on the next page load.
Common pitfalls
- Provider picked but never saved. Selecting a vendor in the dropdown does not write to the database. You have to click Save Clearinghouse & Claims Settings at the bottom of the tab before AveeCare creates the integration record. Until then the tenant stays disconnected and Billing keeps showing only the generate-only buttons.
- Sandbox left on after go-live. Test claims submitted with Environment set to Sandbox land in the clearinghouse test queue and never reach the real payer. Flip Environment to Production once a handful of test claims have walked through cleanly.
- Wrong taxonomy code. Home care agencies are not the same as home health agencies. Pick the right NUCC code for your service category. Use the Common codes link next to the field to jump straight to the official NUCC taxonomy list.
- PO box in the agency address. Loop 2010AA on the 837 file expects a physical street address. PO boxes get rejected by most Medicaid payers and several commercial payers. Use the agency street address even if billing mail goes elsewhere.
- Submitter ID mismatch. The submitter ID has to match the value your clearinghouse assigned during enrollment. A typo or a switched ID from a different vendor will trigger 999 interchange-level rejections on every batch.