Scheduled Reports send a packet of Template Reports to a list of email recipients on a Daily, Weekly, or Monthly cadence. Schedules are built from the same preset library you run from Template Reports, so once you have a report you want to deliver routinely, ten clicks turns it into an email that lands in the right inbox every period.
Quick answer
Open Reports, click the Scheduled Reports tab at the top of the canvas, then click Add Scheduled Report. Name the schedule, tick the Template Report types to include, pick Daily, Weekly, or Monthly, set the day, choose PDF or CSV, add recipients, and click Create. The schedule starts running on its next firing date.
1. Open Reports and switch to the Scheduled Reports tab
Open Reports from the left sidebar.
The Reports page loads with the Recent Reports tab selected by default across the top of the canvas. Scheduled Reports is the second tab in that same strip.Click the Scheduled Reports tab.
The tab swaps the Recent Reports cards for a panel that lists every active and inactive schedule, with an Add Scheduled Report button in the top-right corner.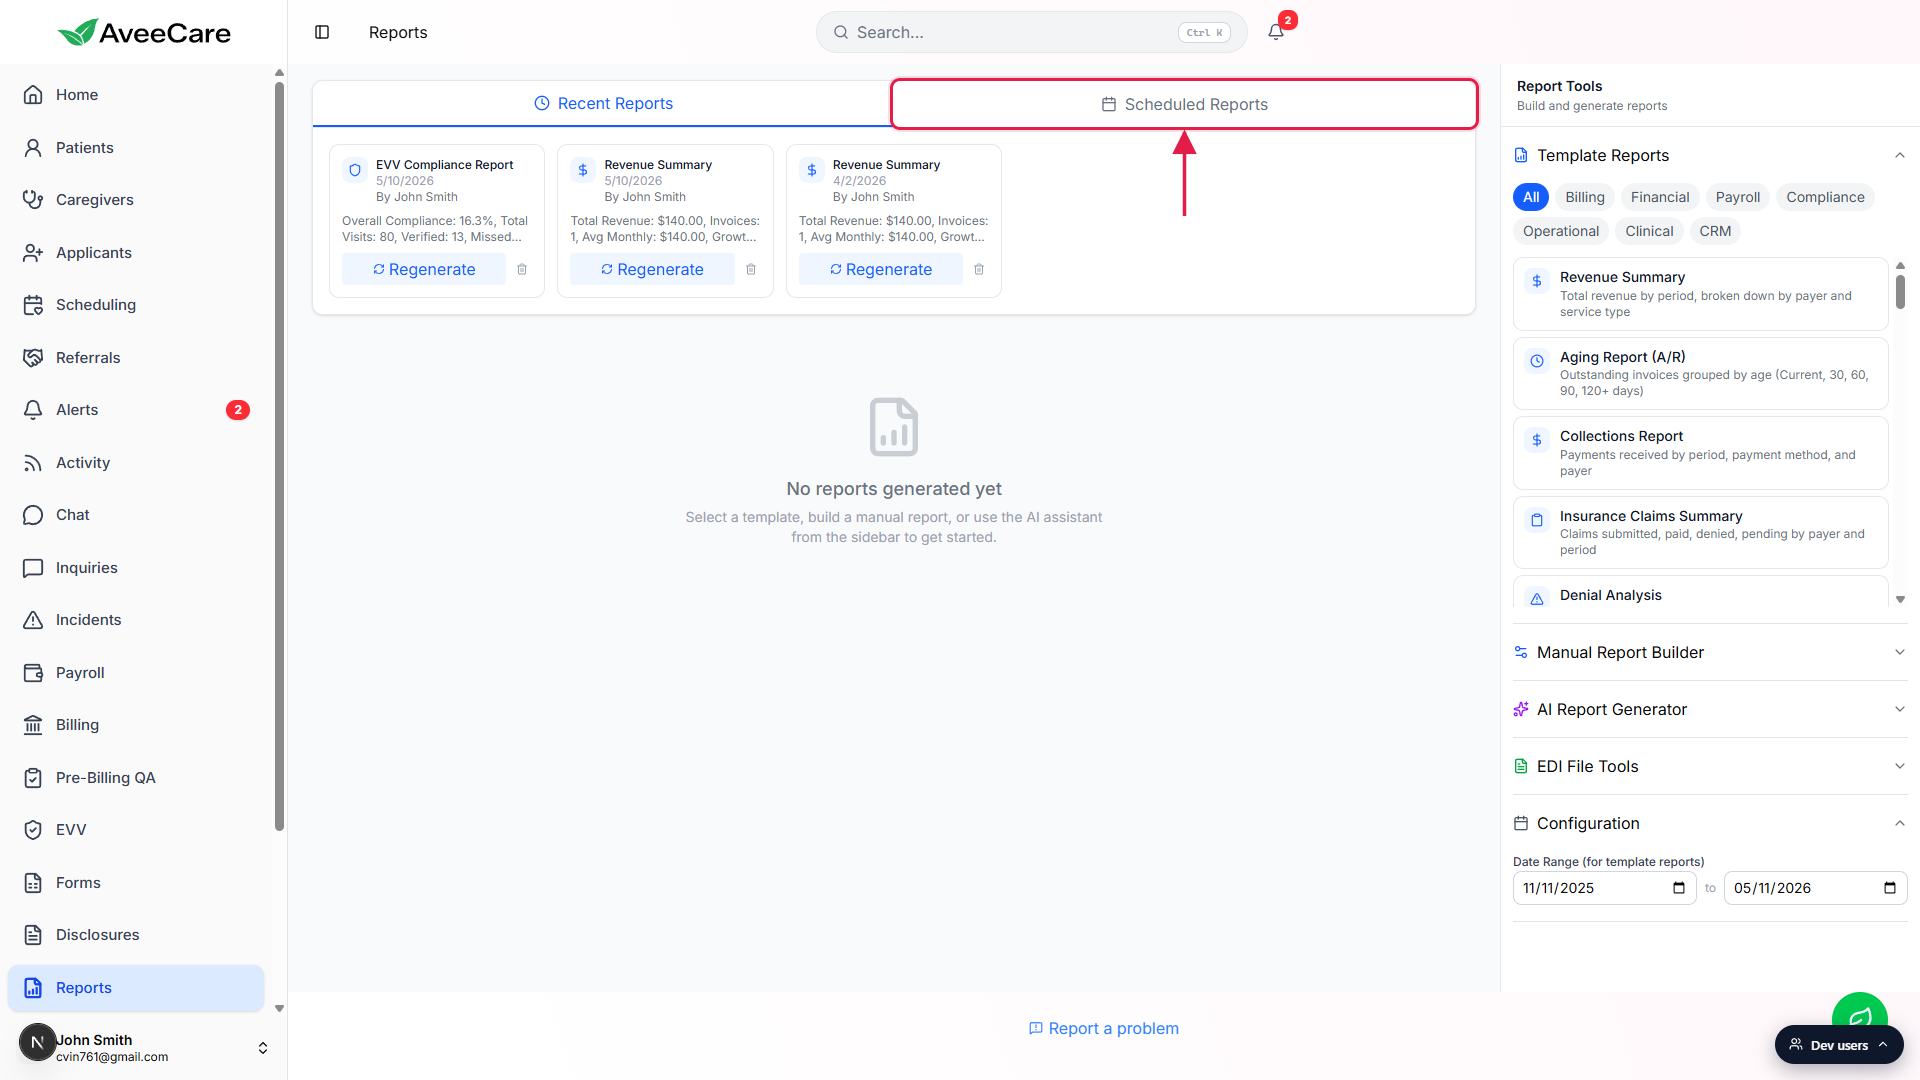
2. Click Add Scheduled Report
In the Scheduled Reports panel, click Add Scheduled Report.
The button sits in the top-right of the panel next to the count of existing schedules. If you have not configured any yet, the panel shows a calendar icon and the message No scheduled reports configured.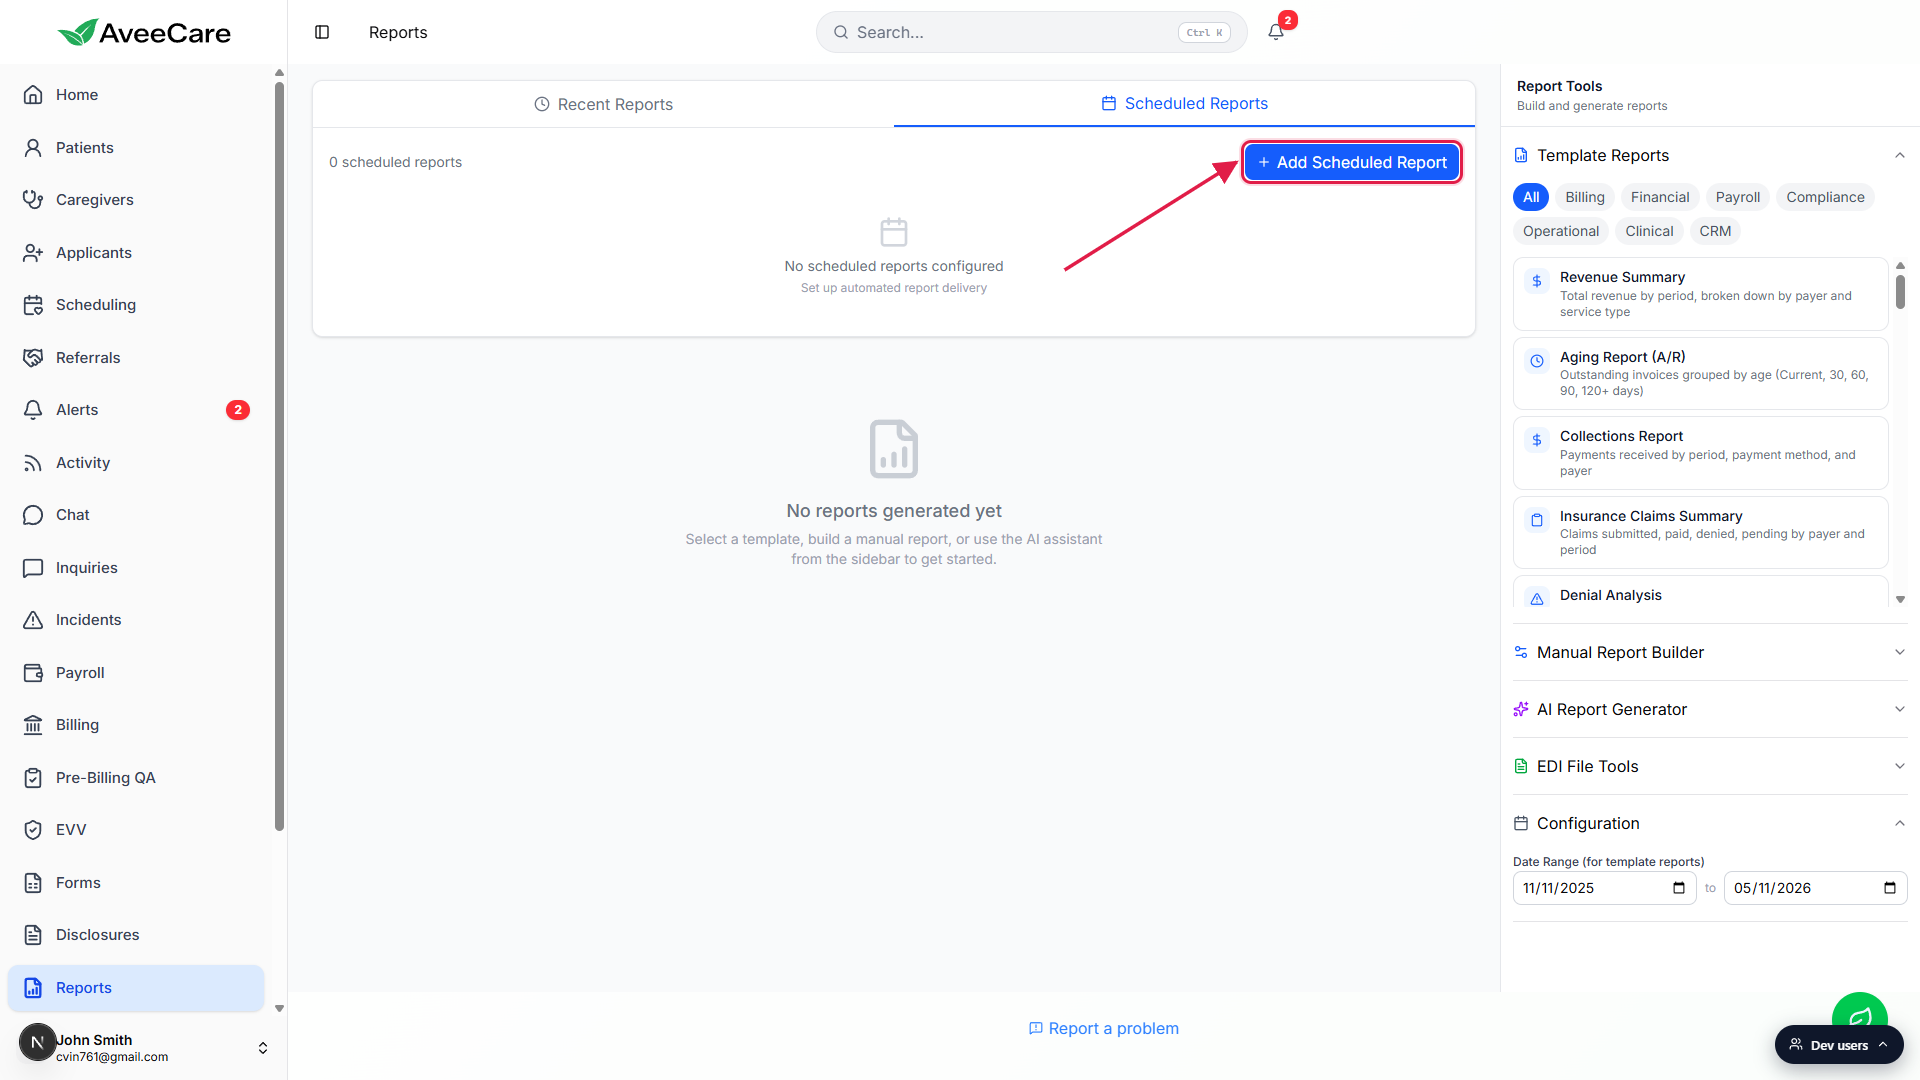
The Add Scheduled Report modal opens.
The modal walks down one column: Report Name, Report Types, Schedule, Day of Week or Day of Month, Format, Default Recipient Email, Recipients, Include AI Overview, Include Month Comparison, and Active. The same modal is reused for editing, with the title swapping to Edit Scheduled Report.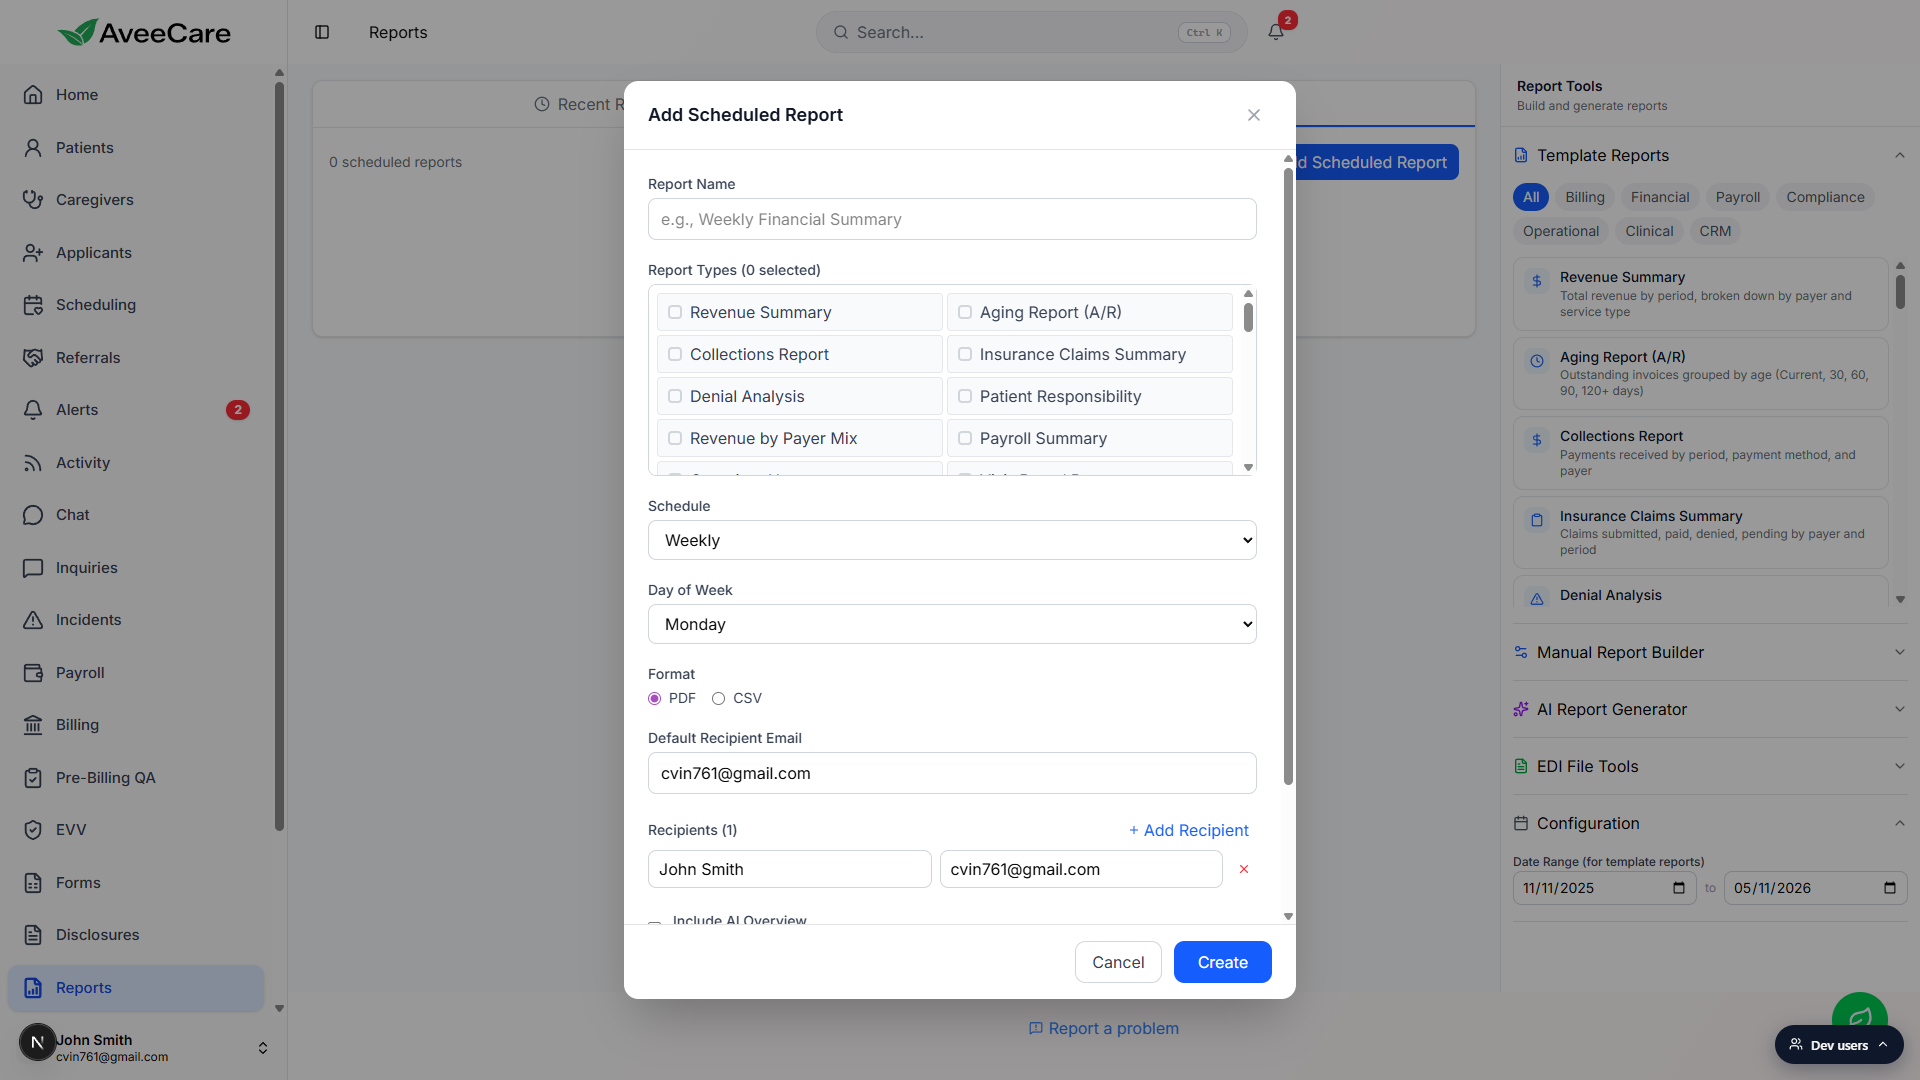
3. Name the schedule and pick the report types
Type a Report Name that describes the packet.
The placeholder is “e.g., Weekly Financial Summary” and that pattern works well. Anything you can read in a three-word glance from the schedule list is fine.Tick the Template Report types to include.
The Report Types grid shows every preset from the Template Reports panel (Revenue Summary, Aging Report (A/R), Collections Report, EVV Compliance, Payroll Summary, and so on). Tick as many as you want in one schedule. The counter at the top of the field shows how many you have selected. You need at least one, otherwise Create will refuse to save.
4. Pick the cadence, format, and recipients
Pick Daily, Weekly, or Monthly from the Schedule dropdown.
Weekly is the default. Picking Weekly reveals a Day of Week dropdown (Sunday through Saturday, Monday default). Picking Monthly reveals a Day of Month numeric input (1 through 31). Daily fires every day and has no extra field.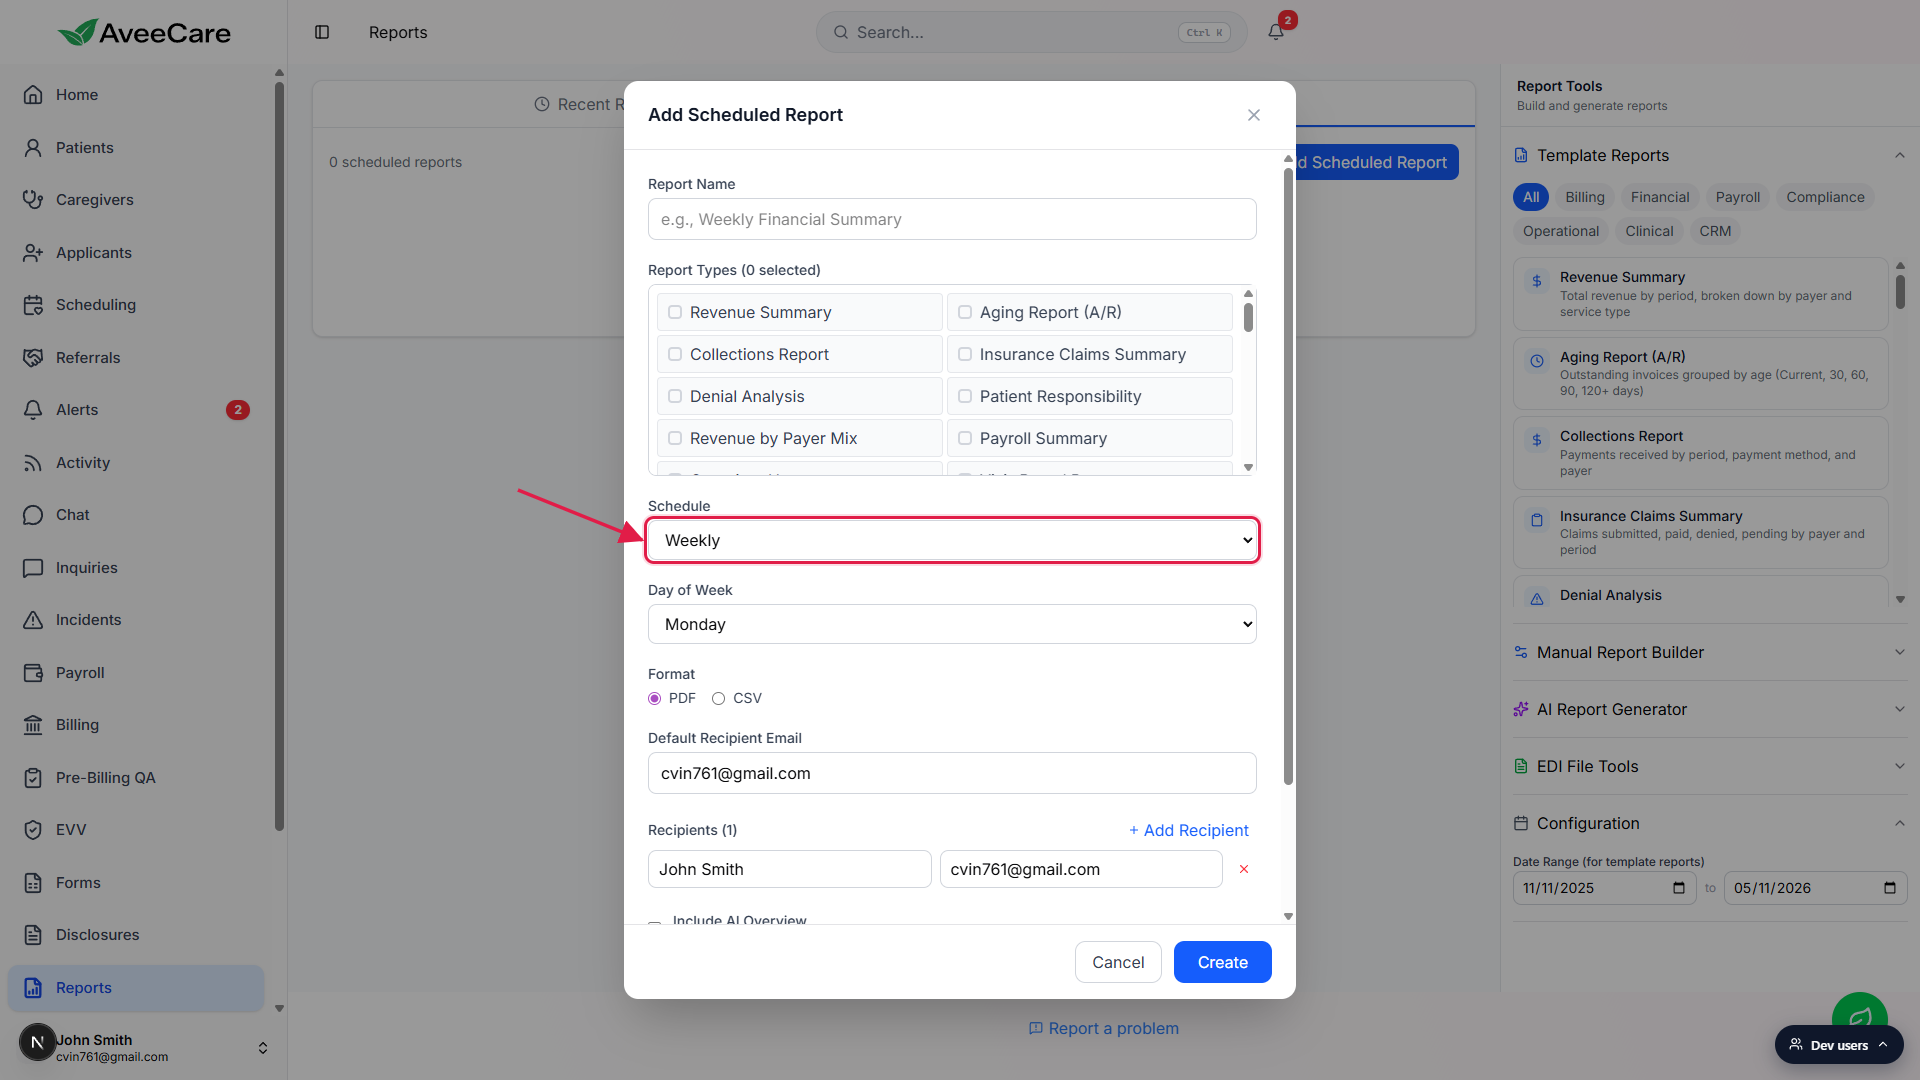
Pick PDF or CSV as the Format.
PDF delivers a printer-style packet with headers, summary tiles, and tables for every Report Type you ticked. CSV attaches one CSV per Report Type, useful when the recipient pipes the data into a spreadsheet or BI tool. Pick whichever matches how the recipient consumes the data; you can edit the schedule later to switch.Add a Default Recipient Email and any extra Recipients.
The Default Recipient Email pre-fills with the signed-in user. Use the Add Recipient row below to add as many name and email pairs as you want. Every recipient gets the same packet on each run.Toggle Include AI Overview, Include Month Comparison, and Active.
Include AI Overview prepends an AI-generated summary of the numbers to the top of the packet. Include Month Comparison adds a previous-period delta to each metric. Active controls whether the schedule actually runs; uncheck it to pause the schedule without losing the configuration. Click Create. The modal closes and the new schedule appears in the list with a green active dot.
5. Manage the schedule from the list
Each row shows status, name, cadence, type and recipient counts, and last-run info.
The dot on the left is green when the schedule is Active and grey when it is inactive. The cadence tag (Weekly, Daily, Monthly) sits next to the name. To the right of the name you see the report type count, the recipient count, and, once the schedule has run, the last-run date and a Success or Failed badge.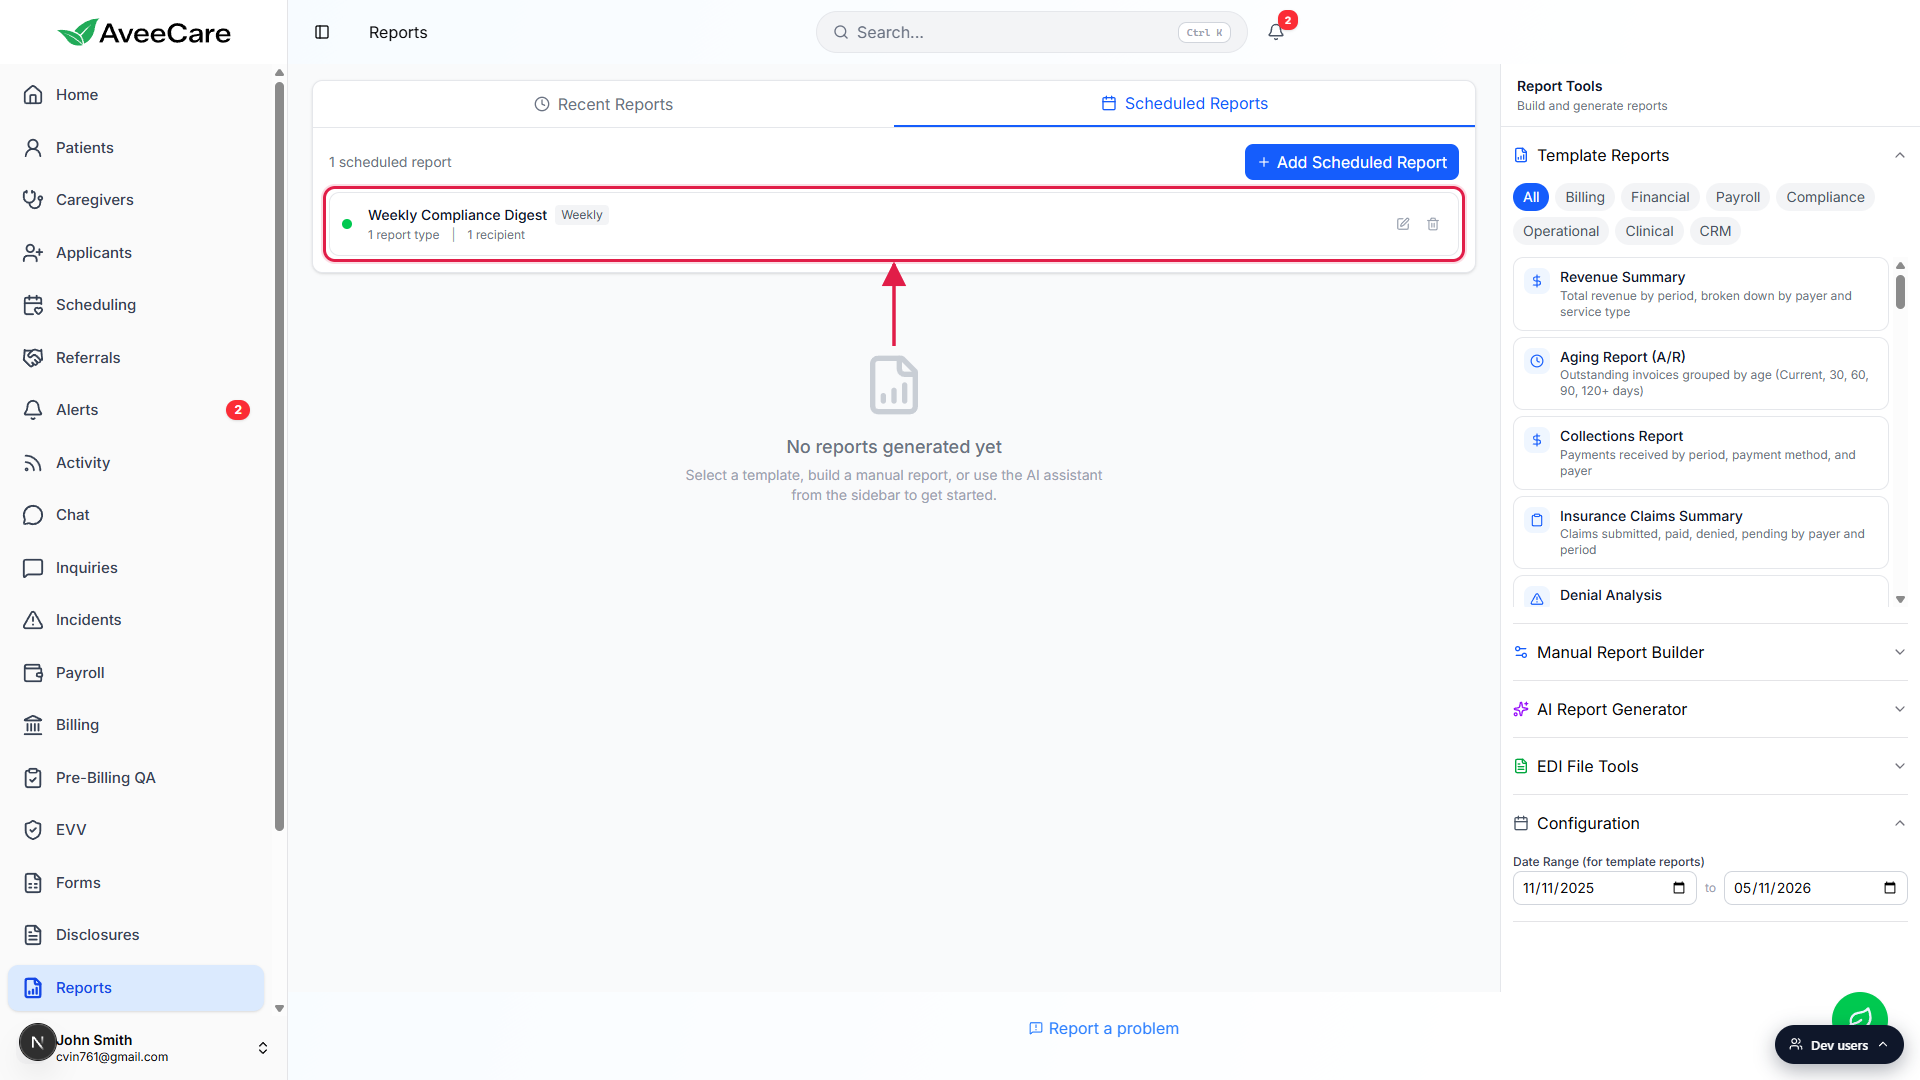
Use the pencil icon to edit and the trash icon to revoke.
Pencil reopens the same modal as Edit Scheduled Report so you can change cadence, recipients, or format. Trash prompts for a confirmation and then permanently removes the schedule. To pause instead of revoke, edit the schedule and untick Active; the row stays in the list with a grey dot and an Inactive badge until you turn it back on.
Common pitfalls
- Saving without picking at least one Report Type. The modal refuses to save if Report Types is empty. The counter at the top of the field shows zero until you tick something, and Create surfaces a Please select at least one report type toast.
- Forgetting to set the Day of Week or Day of Month. Weekly defaults to Monday and Monthly defaults to the 1st, which may not be what you want. Double-check the day before clicking Create, especially for Monthly schedules where the 31st rolls into the next month on shorter months.
- Confusing pause with revoke. Untick Active in the edit modal to pause the schedule; the row sticks around with a grey dot and an Inactive badge so you can reactivate later. The trash icon is permanent and asks for confirmation before deleting.
- Sending PHI to addresses outside the agency. Recipients can be any email, including external. AveeCare does not filter by domain. Only add recipients who are authorized to receive the data in the report; HIPAA still applies to whoever opens the email.
- Expecting AI Report Generator runs to land here. Scheduled Reports only delivers Template Report presets today. AI and Manual builds are not yet first-class options in the schedule modal. Use a Template Report that covers the same data, or run the AI report by hand each period.
- Assuming the schedule fires immediately. The schedule runs at the next firing window after Create. A Weekly schedule with Day of Week = Monday saved on a Tuesday will not send until next Monday. Send yourself a test PDF from the Template Reports panel if you want to preview the output.