Your Visit Verification PIN is the short code a caregiver enters at the end of a visit to prove the visit really happened with you. It is set from the patient Settings page. You can change it any time, you can clear it, and you can hide the digits while you type. The PIN ties into Electronic Visit Verification (EVV) on the caregiver side and is required by Medicaid in many states.
Quick answer
Open Settings from the Patient Portal sidebar. Scroll to the Visit Verification PIN card. Type a 4 to 6 digit number into PIN Code, then click the purple save icon to the right. The amber “No PIN set” warning disappears once the PIN is saved.
1. Open Settings and find the Visit Verification PIN card
Click Settings in the Patient Portal sidebar.
The Patient Portal sidebar order is Dashboard, Timeline, Visits, Billing, Inquiries, Alerts, Settings. The Settings page header reads Settings and shows Communication Preferences first.Scroll down to the Visit Verification PIN card.
It is below Communication Preferences and above API Keys. The card has a purple key icon next to the heading, a short explanation, a PIN Code (4-6 digits) input with a show/hide eye icon, and a purple save button to the right of the input.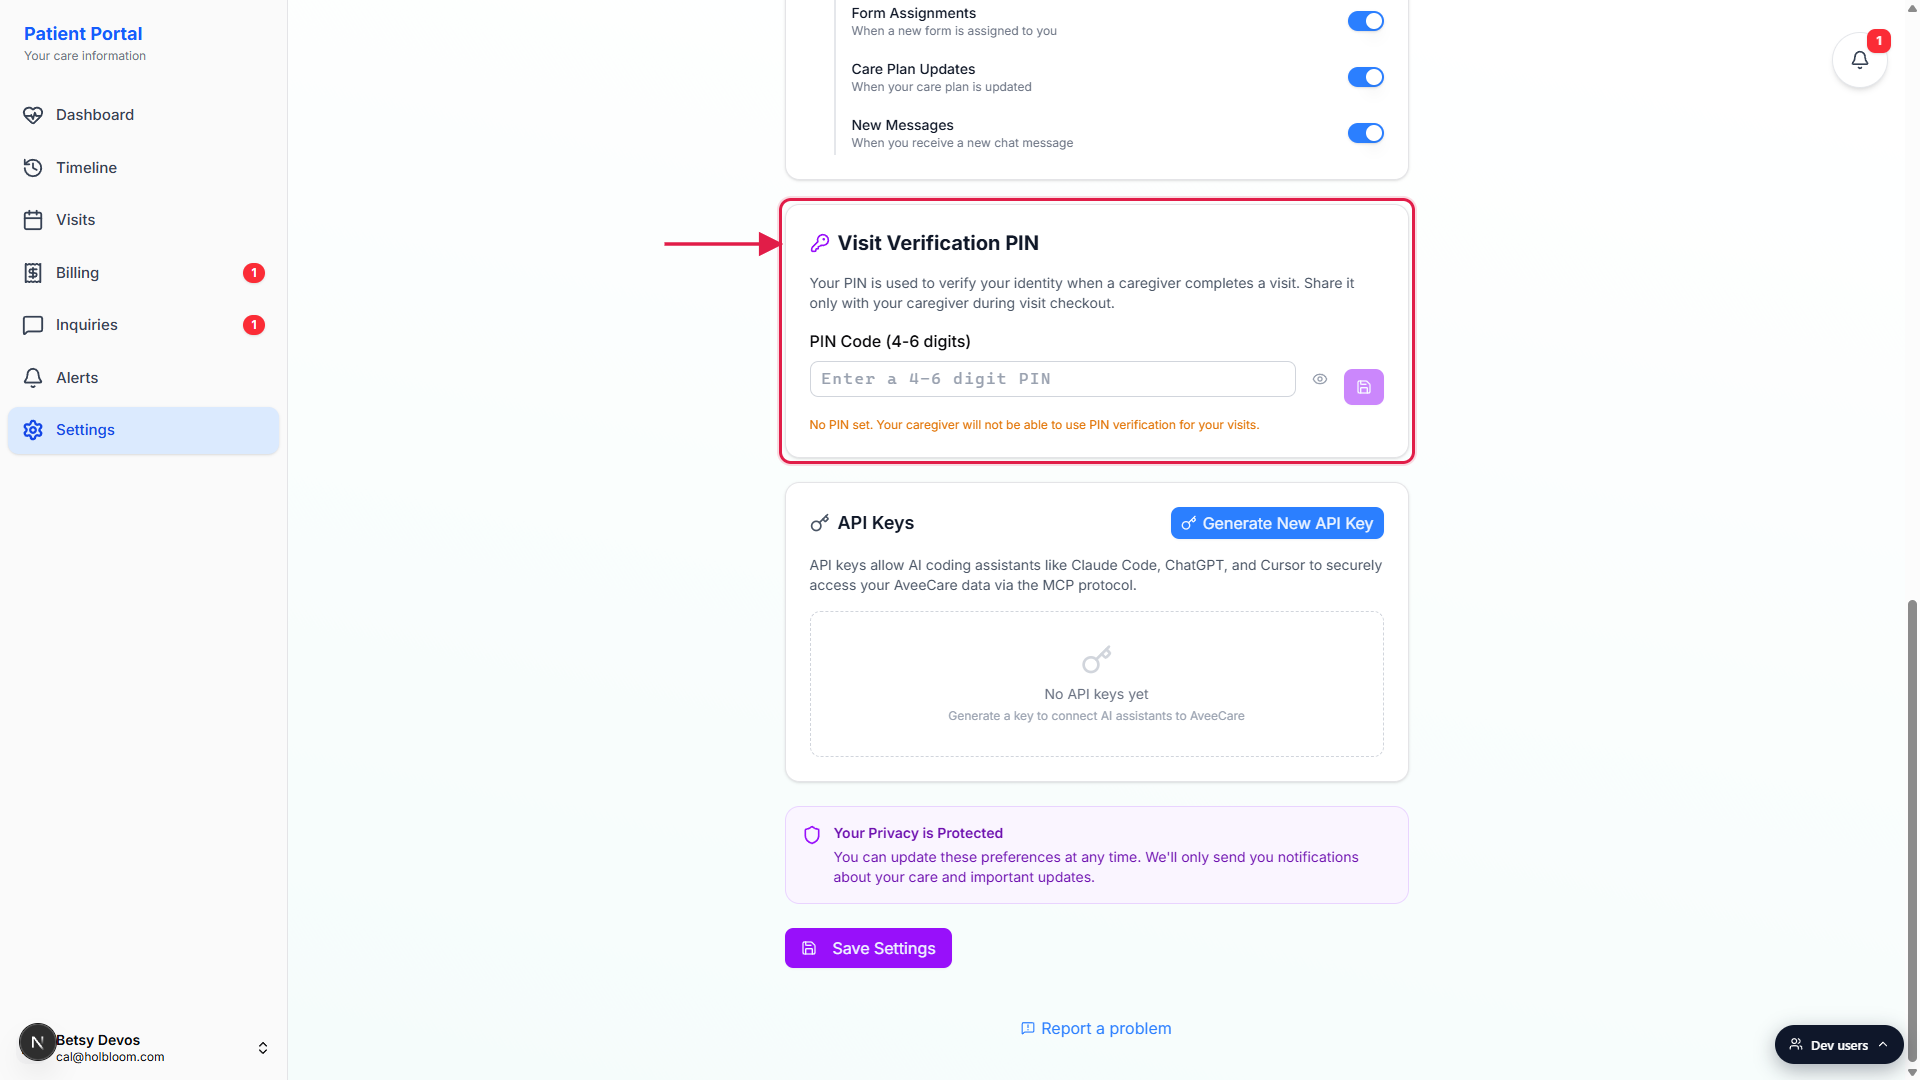
2. Type a 4 to 6 digit PIN
Click the PIN Code input and type a number.
The input only accepts digits, and only the first 4 to 6 characters count. Letters and symbols are ignored as you type. If you type fewer than 4 digits the save button will refuse the value and show a “PIN must be at least 4 digits” error.Use the eye icon to reveal or hide the digits.
The PIN field is masked by default so anyone glancing at your screen does not see the code. Click the small eye icon at the right edge of the input to toggle between dots and the real digits. Toggle it back to dots when you walk away from the screen.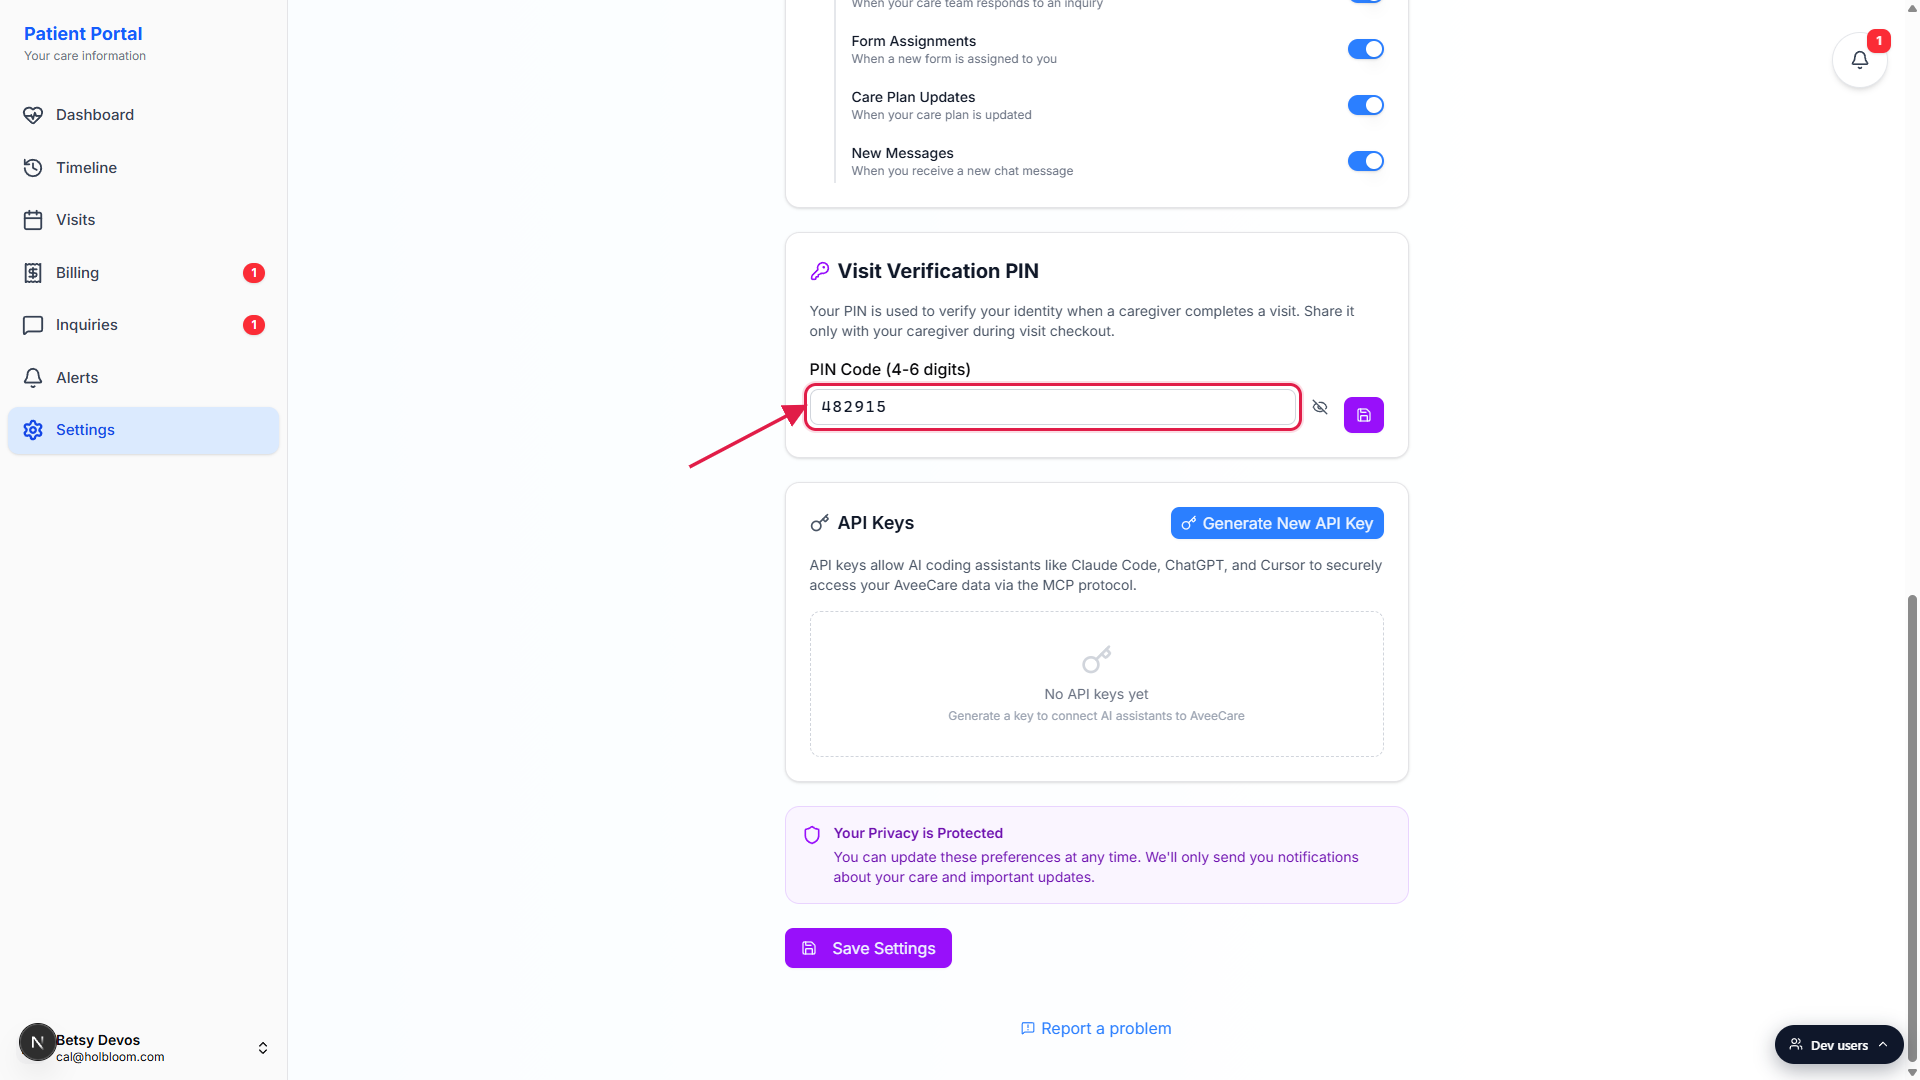
3. Save the PIN
Click the purple save icon to the right of the input.
The button shows a save disk icon. It is disabled when the input matches what is already stored, so the only way to enable it is to change the value. After it lands you will see a small toast at the top of the page that reads PIN updated (or PIN removed if you cleared the field). The amber “No PIN set” warning under the input disappears.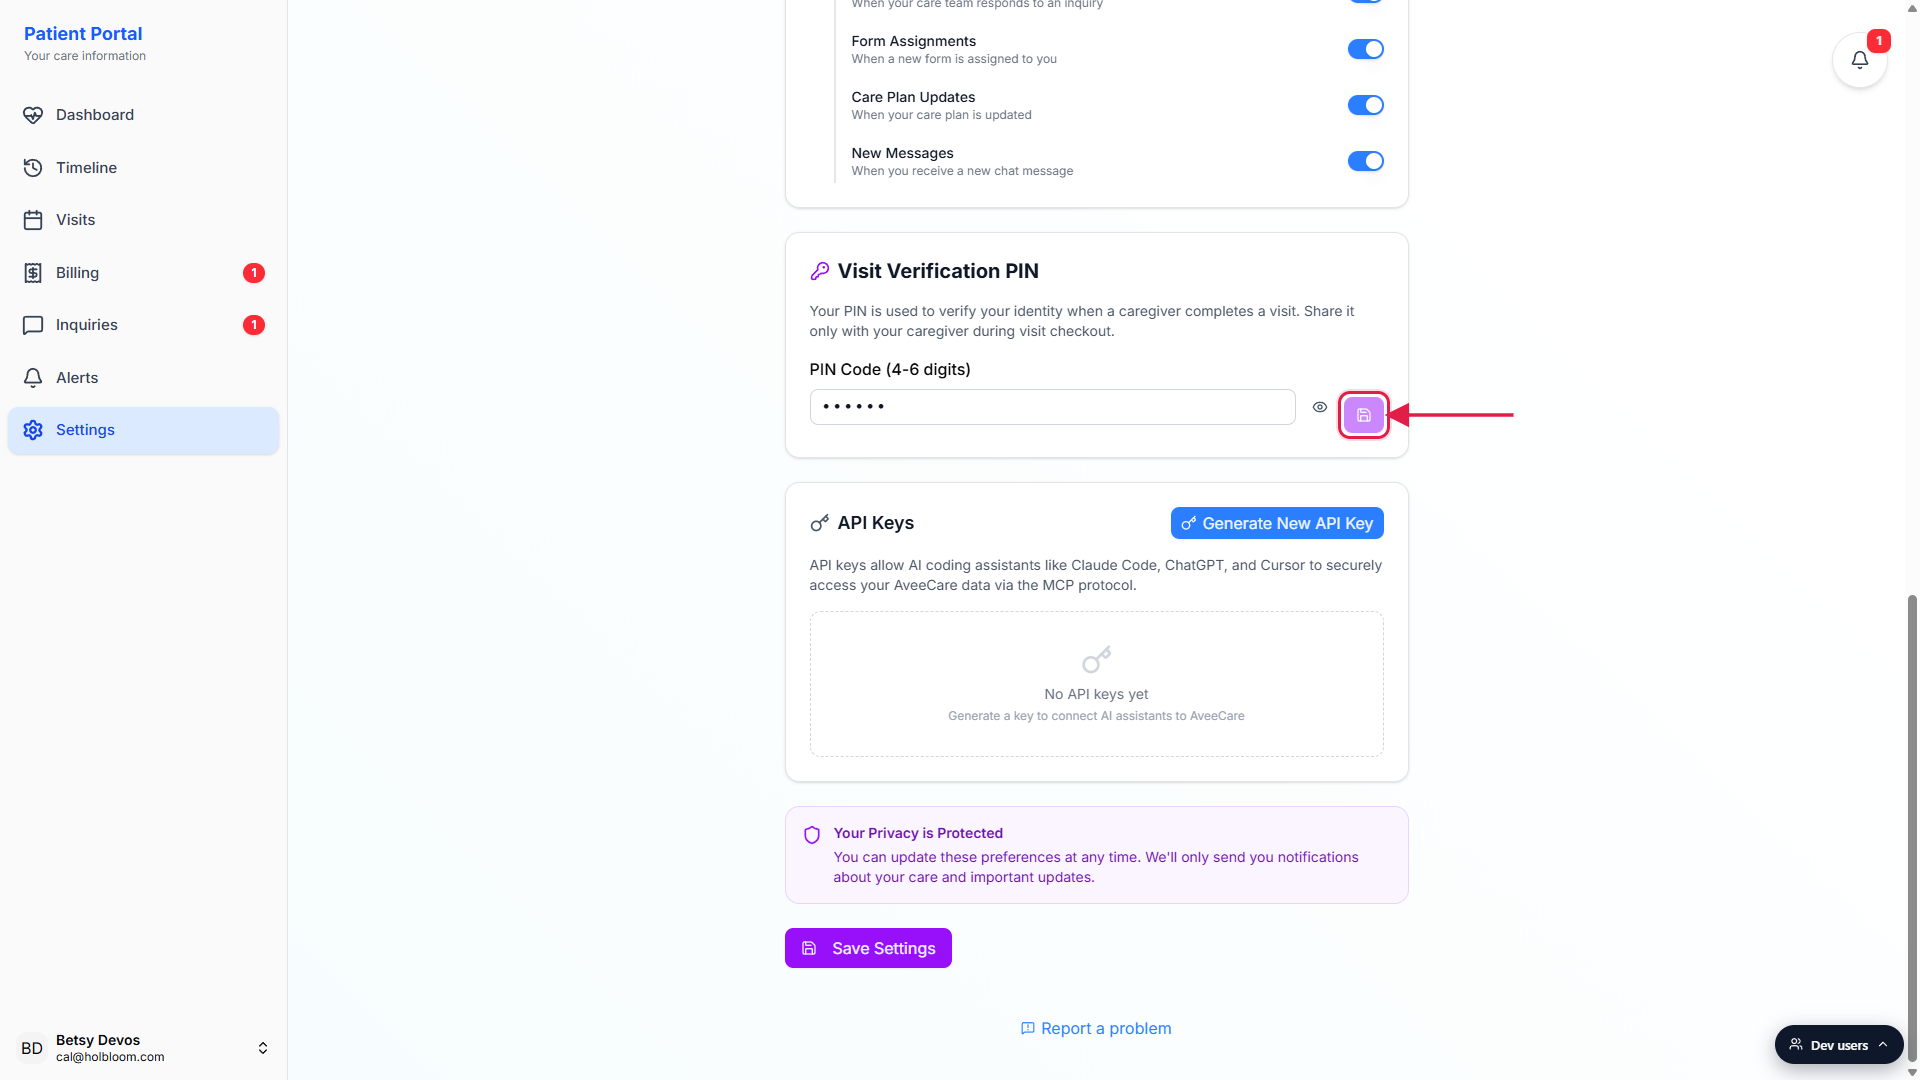
Clearing the PIN is the same flow.
Empty the input, click the save icon, and the toast reads PIN removed. After that, caregivers cannot use PIN verification at your visits until you set a new PIN.
4. Share the PIN with your caregiver at checkout
The caregiver opens the EVV checkout wizard at the end of the visit.
On their phone they hit Clock Out, pick PIN Code as the verification method, and the wizard prompts them to ask you for the digits.Read the digits to the caregiver, only at checkout time.
Do not text it, do not write it on the fridge, do not leave a sticky note. The PIN is your signature on the visit and should only be shared in person at the moment of clock-out. If you think someone else has learned the PIN, come back to this card and change it.The caregiver types the digits, taps Verify, and clocks out.
If the digits match, the EVV record is signed off with you as the verifier. If they do not match, the caregiver can fall back to a Signature or Voice verification method, but the visit gets flagged for office review.
Common pitfalls
- Forgetting to click save. Typing into the PIN field is not enough. The new value only commits when you click the purple save icon to the right of the input and the toast confirms PIN updated. If you close the tab without saving, the new digits are lost.
- Picking digits a caregiver could guess. Avoid 1234, 0000, your birthday, or the last four of your phone number. The PIN is meant to be a small secret between you and your caregiver at checkout time, not an easy guess.
- Sharing the PIN ahead of time. The PIN is your signature on the visit. Texting it, writing it down where the caregiver can read it later, or leaving it visible on a sticky note defeats the point. Read it aloud at checkout, then go back to dots.
- Leaving the field empty. An empty PIN means no PIN. The card shows an amber “No PIN set” warning under the input when this is the case, and your caregiver will not be able to use the PIN Code method at checkout. Pick another verification method with the office or set a PIN.
- Looking for a separate PIN page. There is no dedicated PIN route. The Visit Verification PIN card lives on the main patient Settings page, between Communication Preferences and API Keys.
Related
- Patient communication preferences
- Patient dashboard
- Caregiver EVV checkout wizard
- EVV clock-in and clock-out