Authorizations is the per-patient list of insurance prior authorizations. Each entry holds the auth number, payer, service type, frequency, date window, and approved units. The list is the source of truth for what you can bill against, and it shows used vs. remaining units on a progress bar so you spot exhausted auths before they bounce a claim.
Quick answer
Open Patients, click the patient, then click the Authorizations tab. Click + Add Authorization, fill in the auth number, payer, service type, frequency, start and end dates, authorized units, unit type, and status. Save. The new auth lands in the list with a units-used progress bar.
Fields on the Add Authorization form
The modal collects:
- Authorization Number. The payer's auth ID, e.g. AUTH-12345. Most clearinghouses reject claims without it.
- Payer Name. Free-text payer label, e.g. Arizona Medicaid, Blue Cross Blue Shield.
- Service Type. Free-text service description, e.g. Personal Care, Skilled Nursing.
- Frequency. Free-text cadence, e.g. 3x per week.
- Start Date and End Date. The active window. Visits outside the window do not count toward the auth.
- Authorized Units. Total approved count. Pair this with the unit type below.
- Used Units. Defaults to 0 on a new auth. Set this manually if you are migrating an in-progress auth from another system.
- Unit Type. Hours, Visits, or Days.
- Status. Pending, Active, Approved, Denied, Expired, Exhausted, or Pending Renewal.
- Notes. Optional free text.
1. Open the patient and click Authorizations
From the Patients list, click the patient row.
You land on the patient's Overview tab by default.Click the Authorizations tab on the patient tab strip.
It sits in the second half of the strip, between Care Plans and Hospitalizations. Scroll the strip horizontally if your screen is narrow.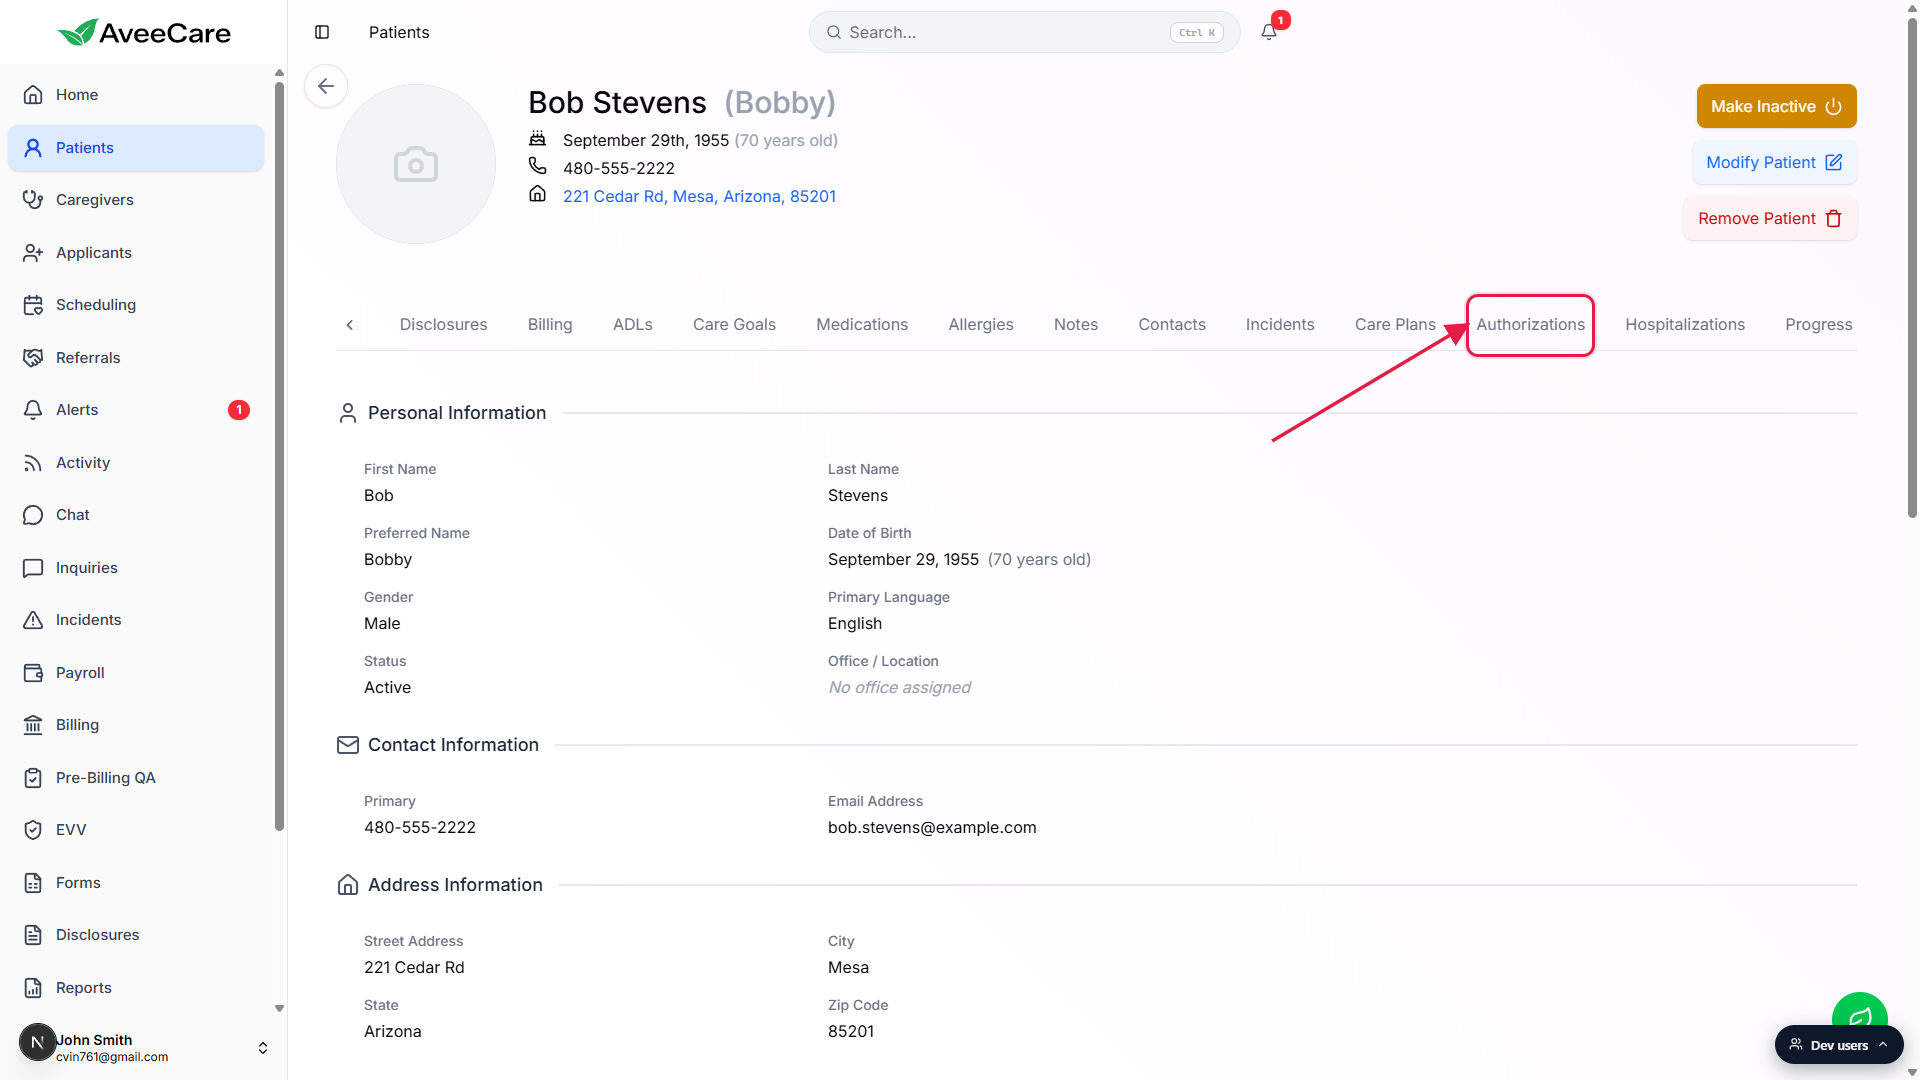
2. Click Add Authorization
In the empty state, click the Add Authorization button.
When the patient has no auths on file you see the centered empty state with the shield icon, the line “No authorizations available”, and an Add Authorization call-to-action. Once you have at least one auth, the same button moves to the top-right of the list.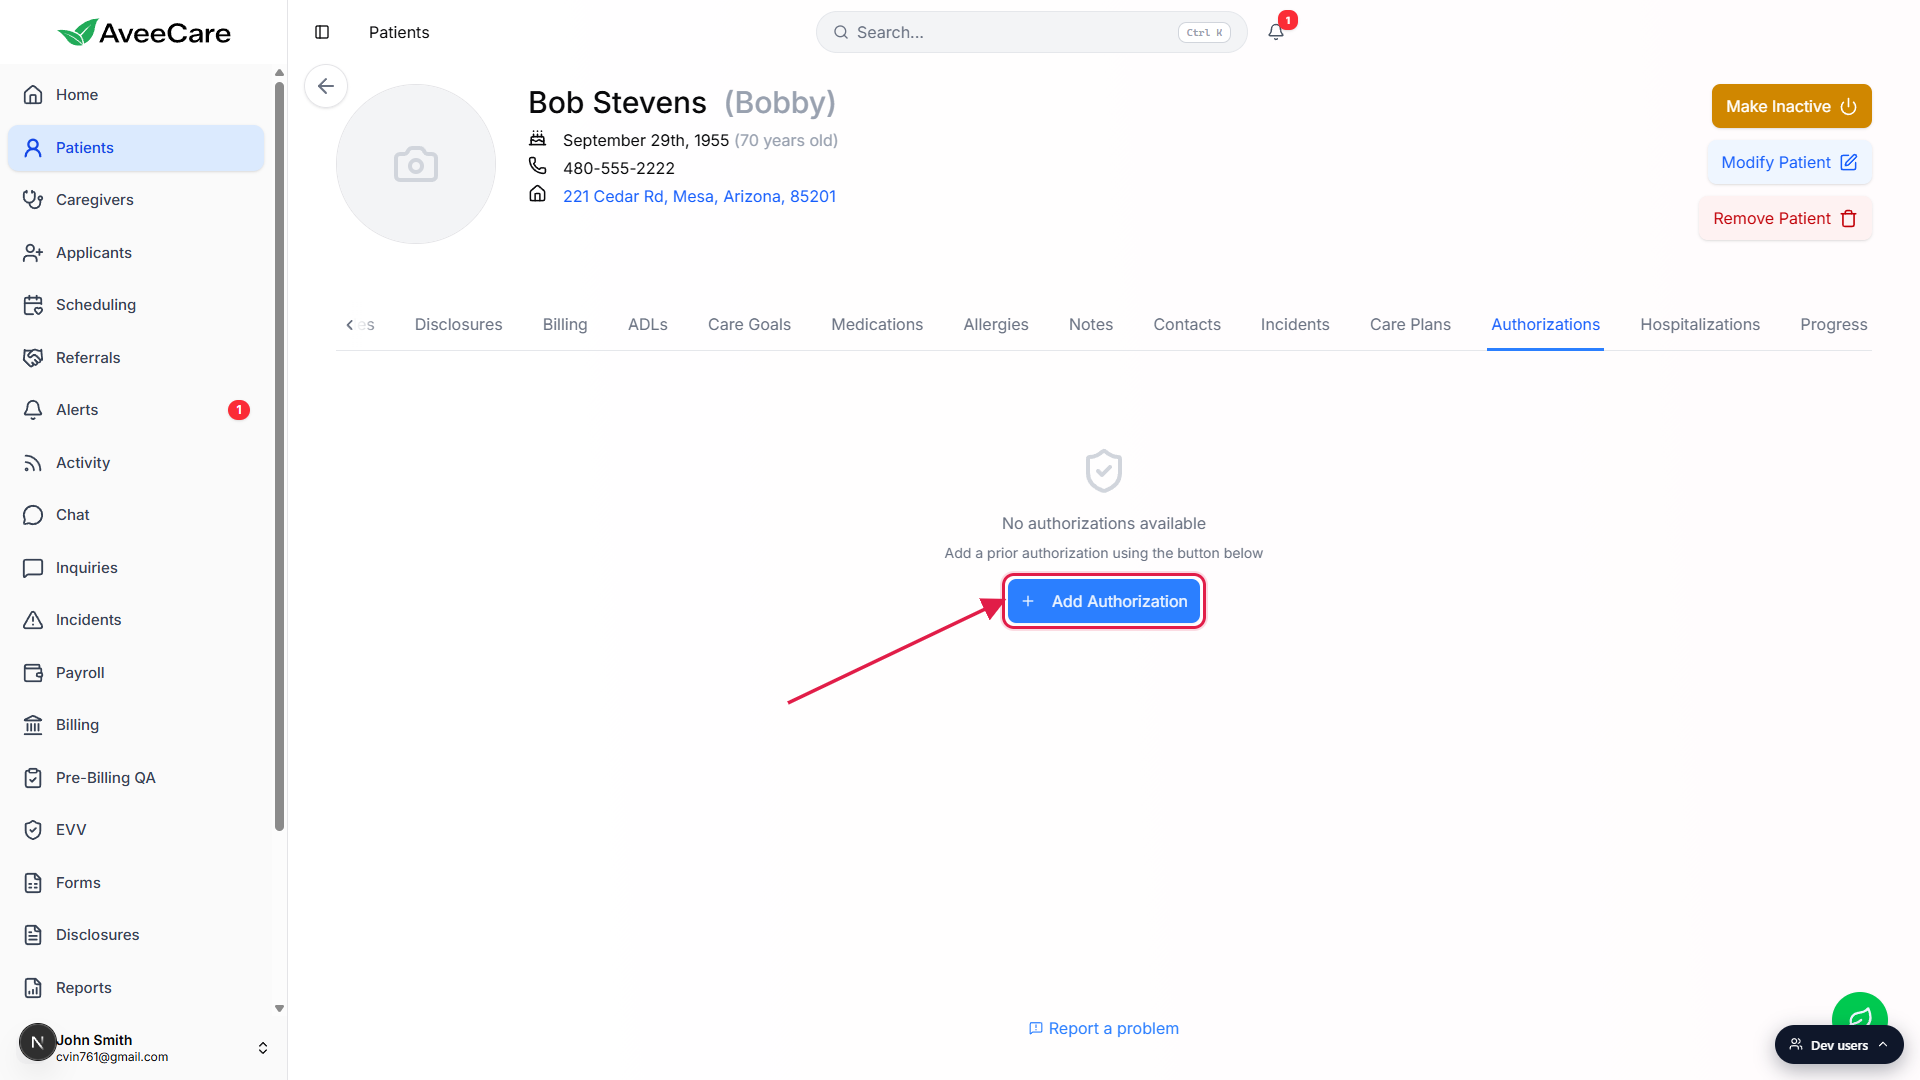
3. Fill the Add Authorization form
Type the Authorization Number, Payer Name, Service Type, and Frequency.
All four are free-text fields, so paste straight from the payer letter.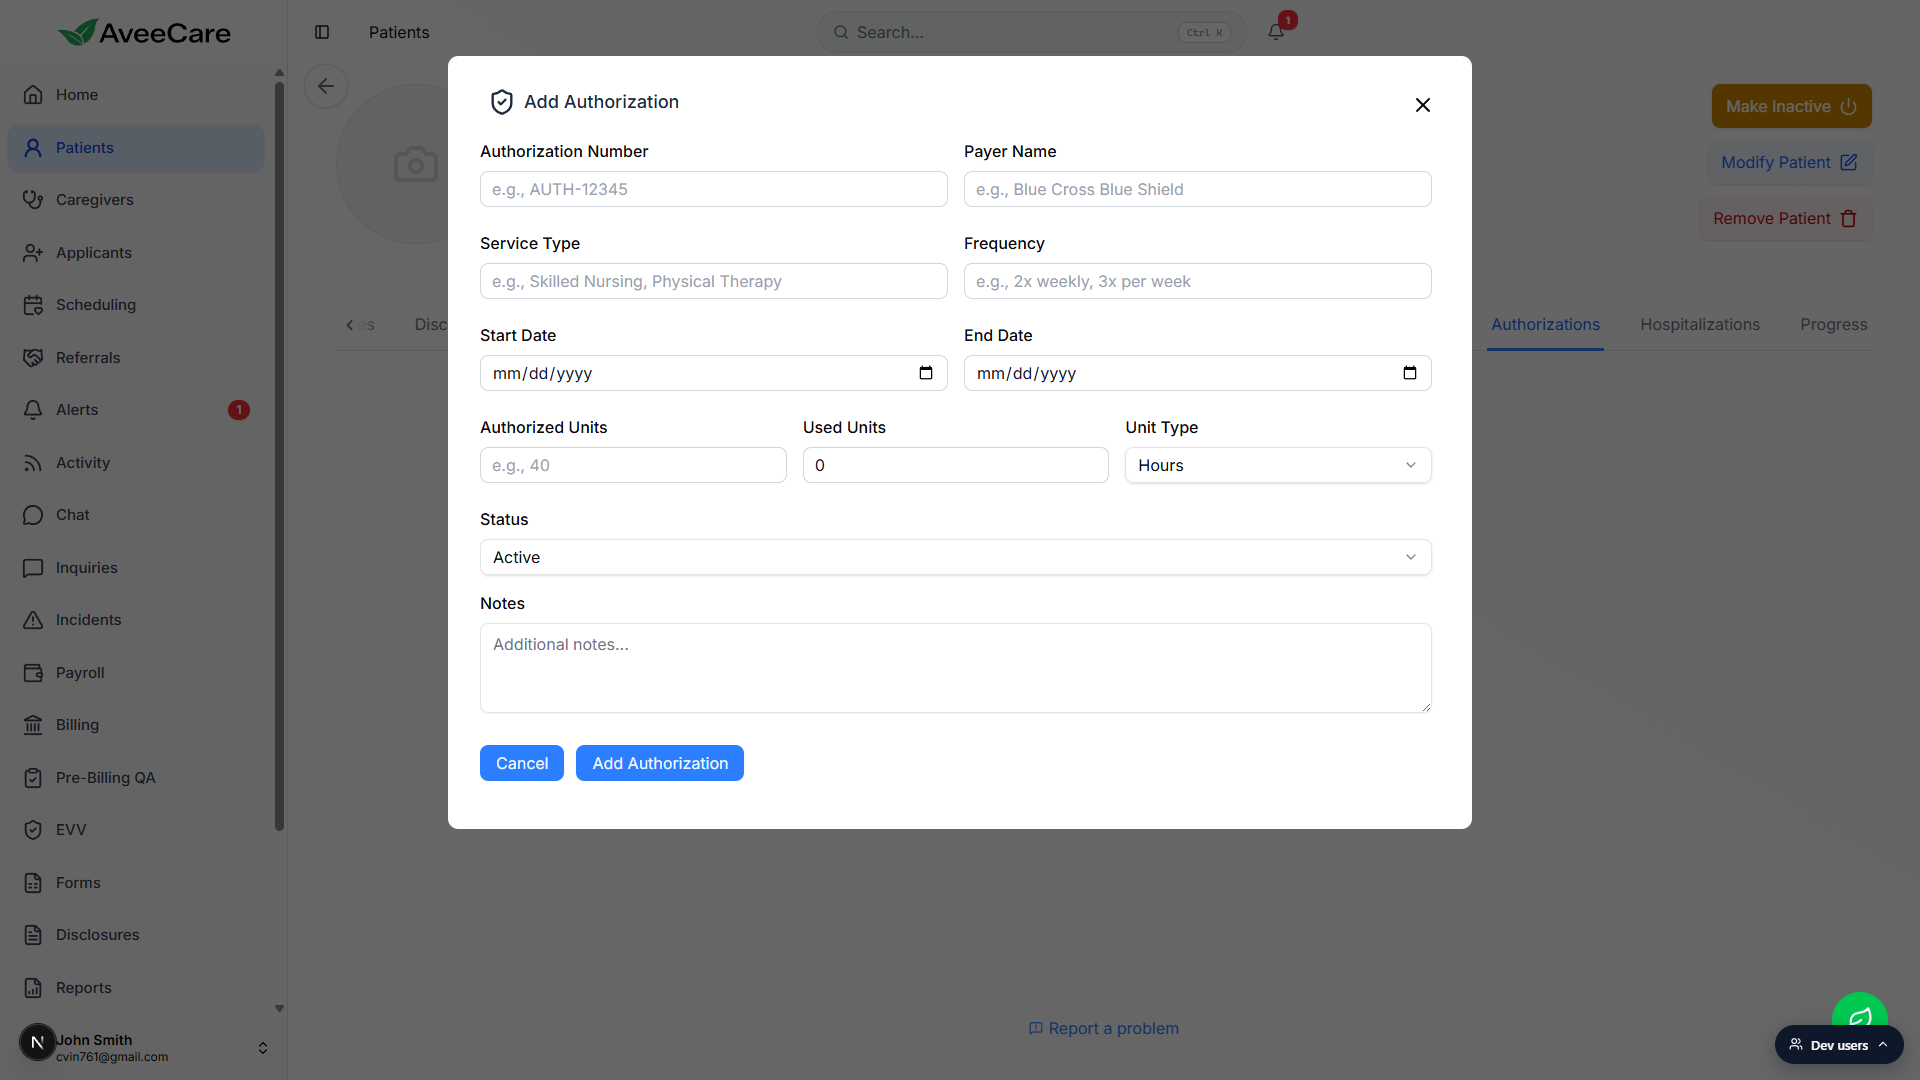
Set Start Date and End Date with the date pickers.
The end date defines when the auth expires. AveeCare will not count visits outside this window toward the auth.Enter Authorized Units, Used Units, and pick a Unit Type.
Unit Type has three options: Hours, Visits, or Days. Pick the one the payer counts in. Used Units defaults to 0, set it higher only if you are entering an auth that is already in use.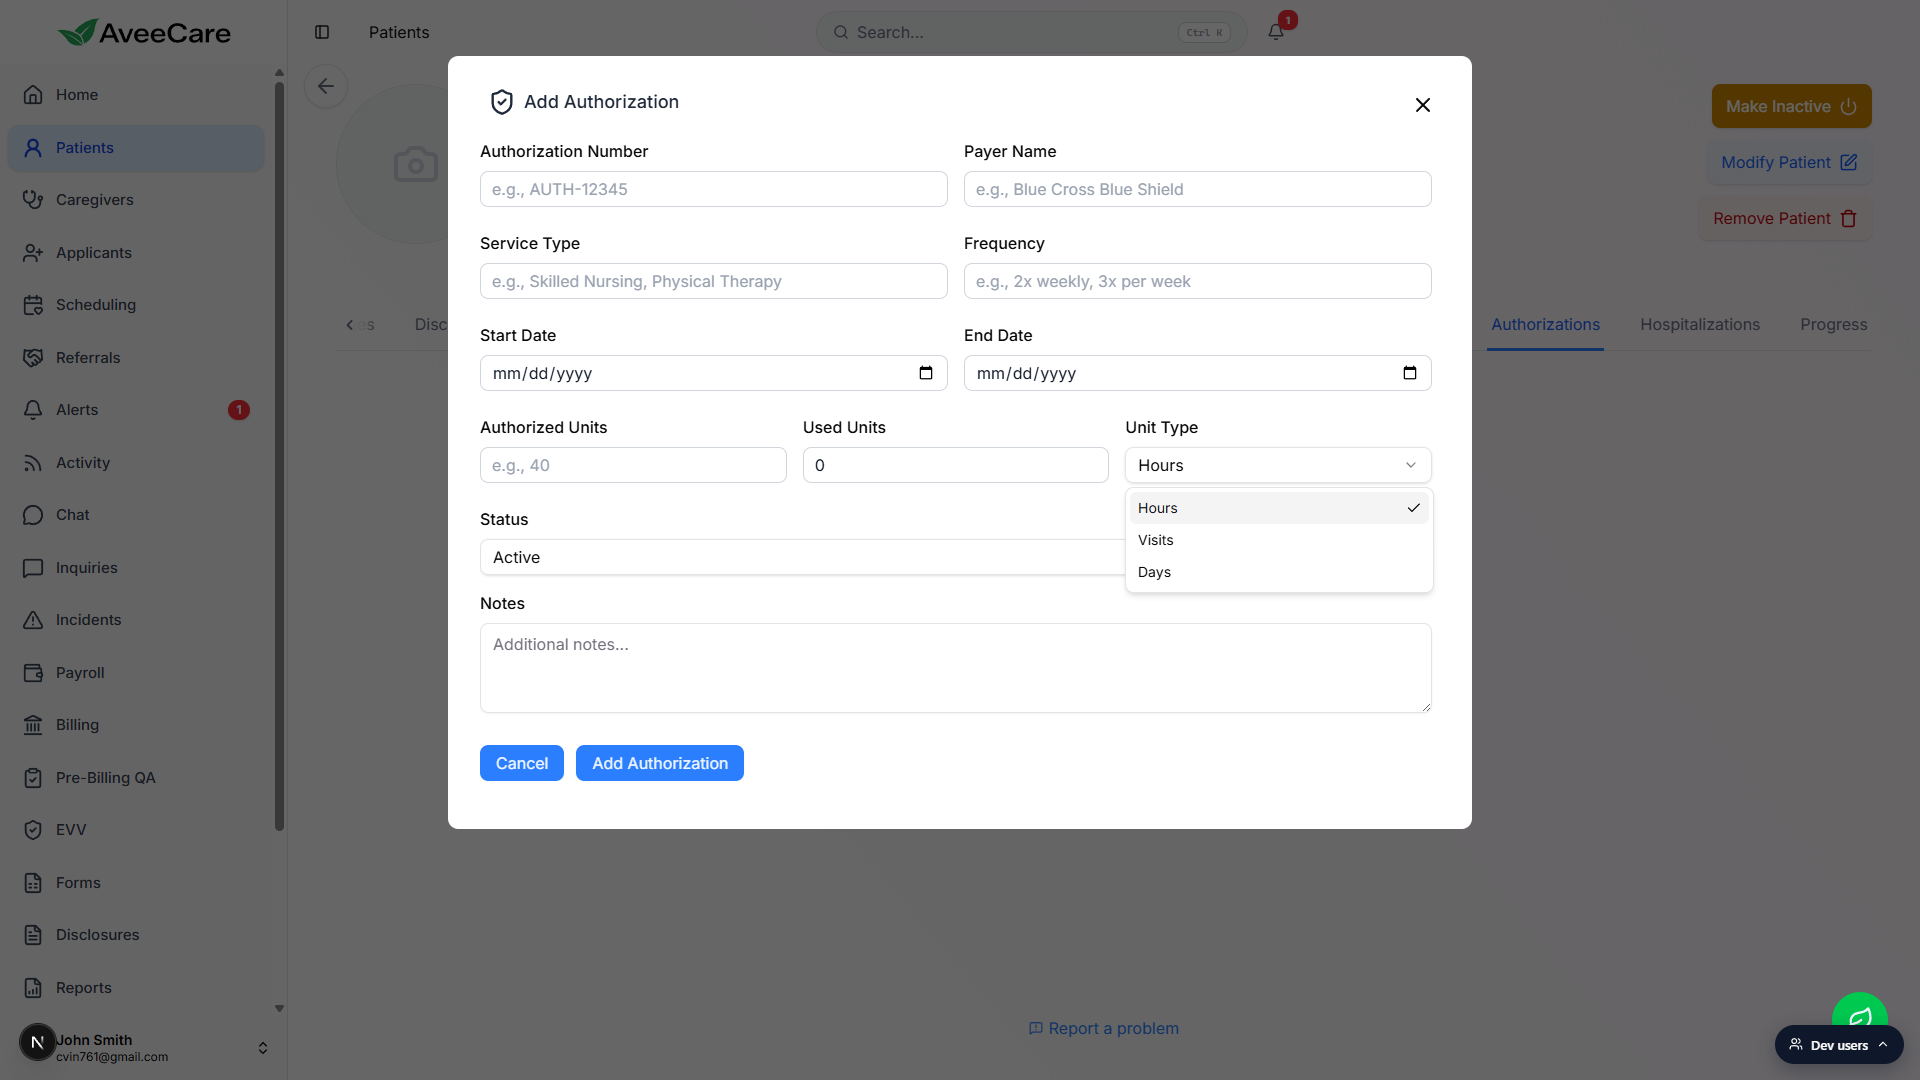
Pick a Status.
The Status dropdown has seven values: Pending, Active, Approved, Denied, Expired, Exhausted, and Pending Renewal. Active is the default for a fresh auth that is in its date window.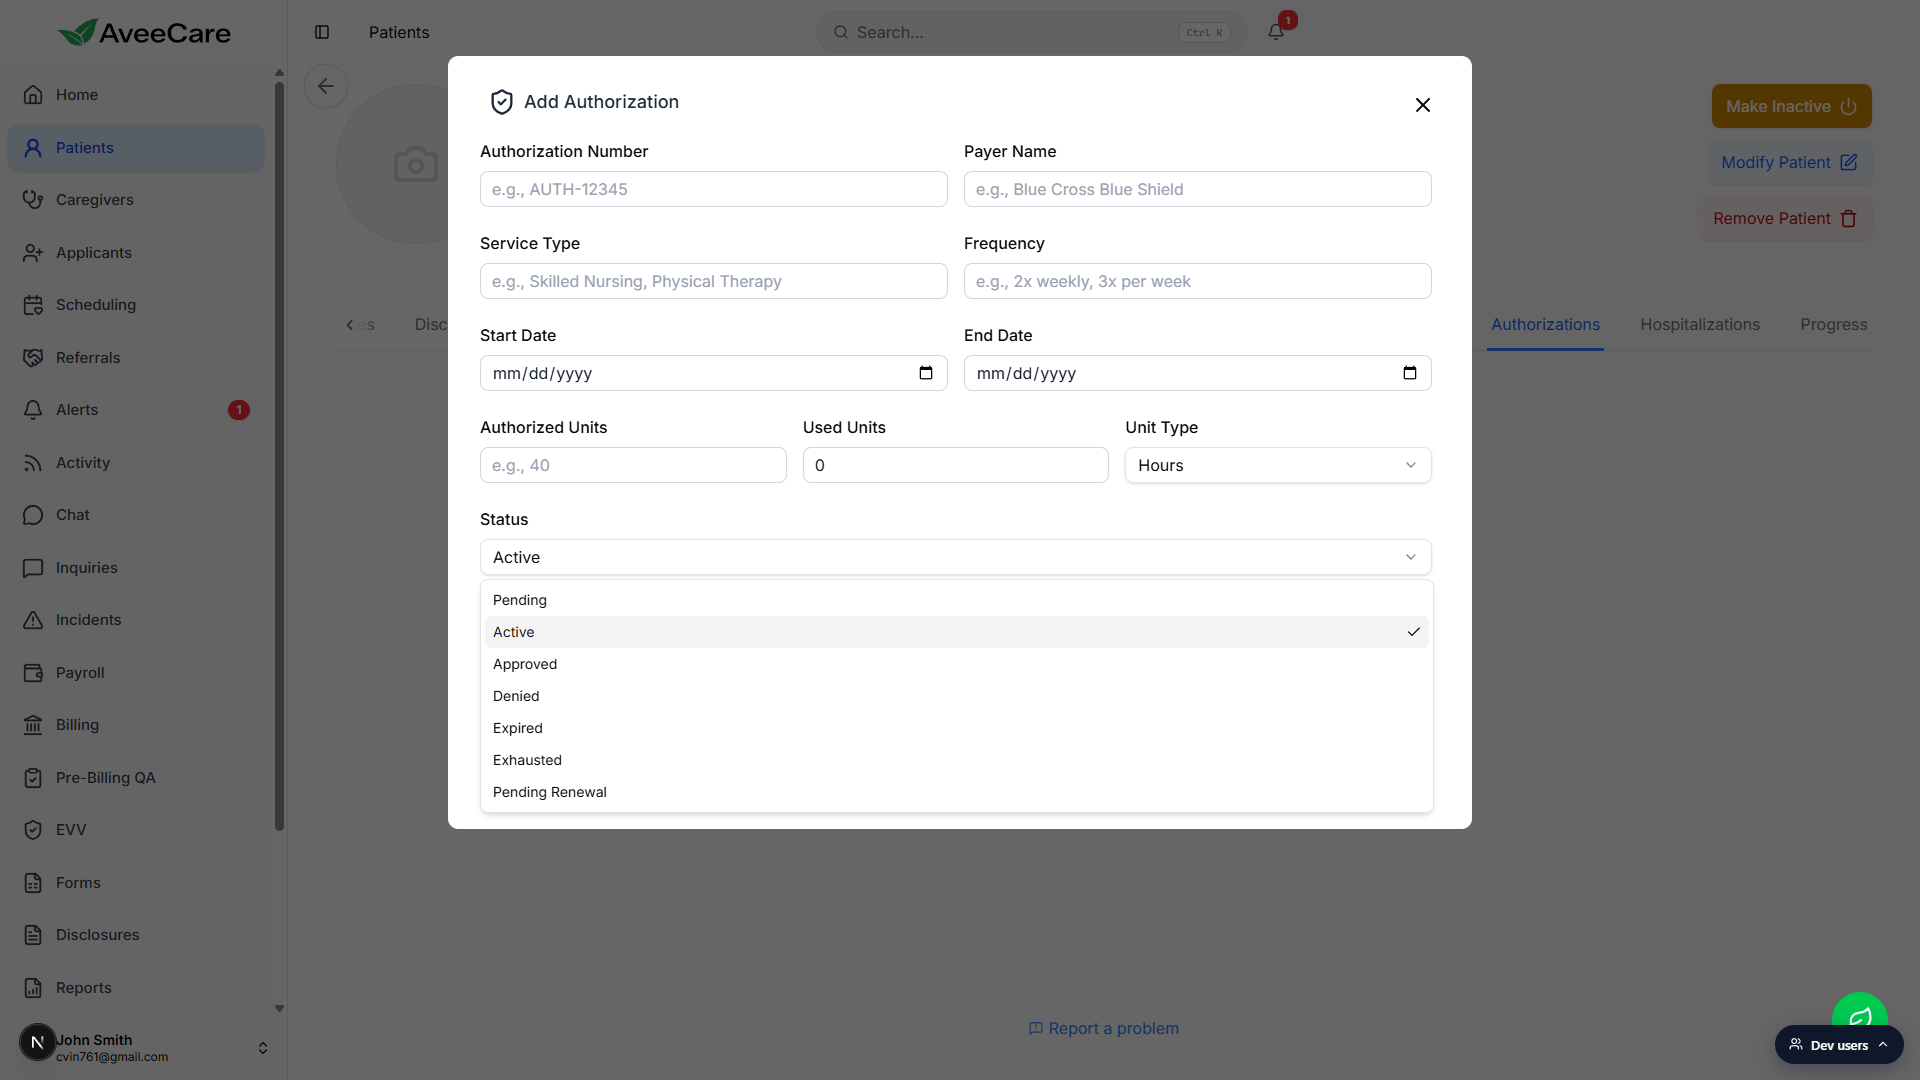
Add Notes if you want, then click Add Authorization to save.
The blue Add Authorization button at the bottom of the modal saves the record. The list refreshes immediately.
4. Track units used, remaining, and status
Read the units bar on each authorization card.
The card shows “Used / Authorized Unit Type used” on the left, and remaining on the right, with a green progress bar between them. For an auth at 14 / 120 Hours used, the card says 106 remaining.
Update Used Units as visits get billed.
AveeCare does not auto-decrement units against the auth as visits are scheduled or completed. You bump Used Units yourself when you bill, or roll up totals from the Patient Billing tab. Renew the auth before it hits the limit, or change Status to Exhausted or Pending Renewal to keep the queue clean.
5. Edit or delete an authorization
Use the pencil icon to edit and the trash icon to delete.
Both icons sit at the top-right of each authorization card. Edit opens the same modal pre-filled with the existing values. Delete opens a confirm dialog (“Are you sure you want to delete authorization AUTH-12345? This action cannot be undone.”) so you do not nuke a real auth by accident.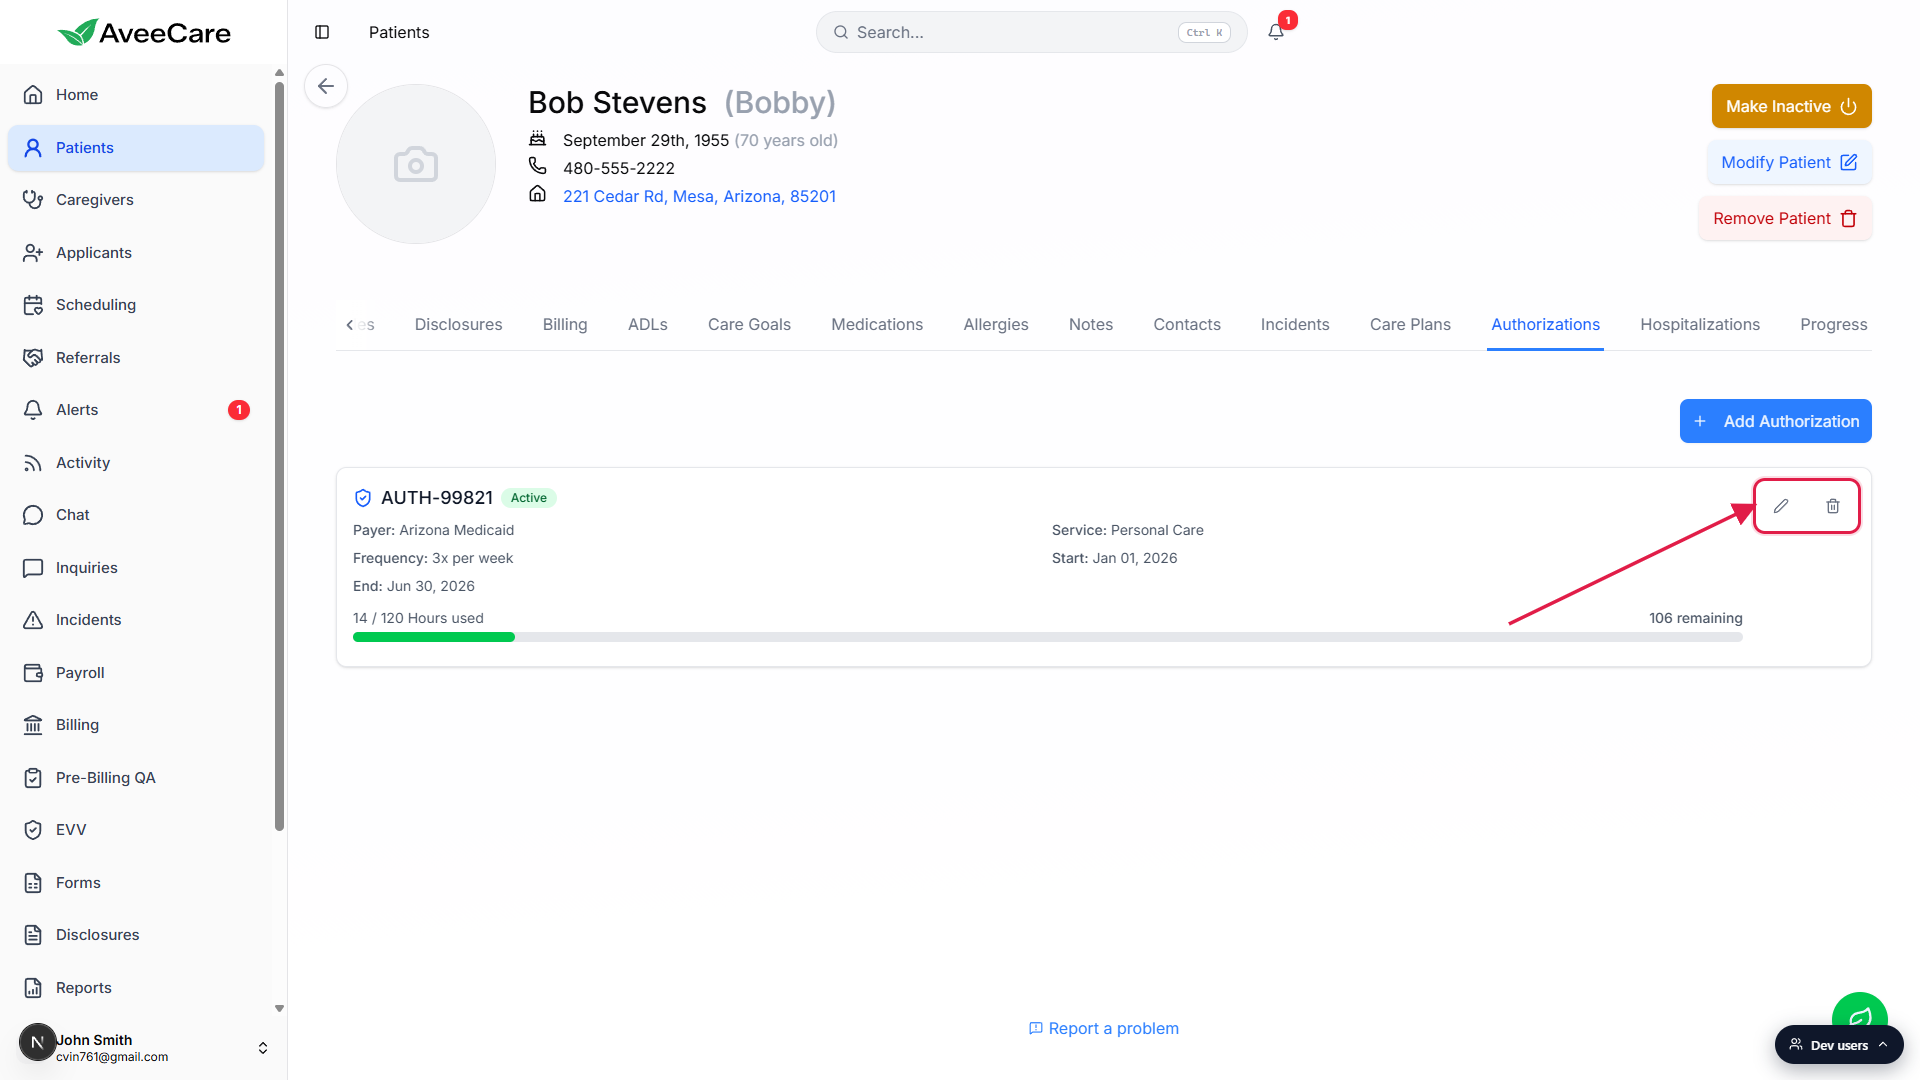
Common pitfalls
- Wrong unit type. Hours, Visits, and Days are not interchangeable. A 120 Hours auth is very different from a 120 Visits auth. Pick whatever the payer letter counts in, not whatever you schedule in.
- Date window drift. The auth window controls what counts. If a renewal arrives a day after the prior end date, update the End Date the moment you have it so visits in the gap do not fall outside any active auth.
- Missing Authorization Number. Most payers and clearinghouses reject claims that lack the auth number. Capture it from the payer letter the first time, do not leave it blank planning to fill it in later.
- Used Units do not decrement automatically. AveeCare does not subtract a unit from the auth when you complete a visit. You edit Used Units yourself, or do it at billing time. Watch the progress bar so you do not blow past the cap.
- Stale Status. An auth past its End Date still shows whatever status you set. Move it to Expired or Pending Renewal so the list reflects reality.