The EVV page is where your agency lives with Electronic Visit Verification. It is one screen with a filter strip on top, a Status chip row that doubles as live counts, and an EVV Records table underneath for reviewing, overriding, and exporting completed visits to your state aggregator.
Quick answer
Click EVV in the left sidebar. Pick a Date Range, State, and Export Format up top. Use the Status chips (Pending, Validated, Flagged, Overridden, Exported) to filter the table. Pick visits, validate or override flags, then export the selection.
First-time setup note
EVV requires three pieces of company info before the dashboard opens: State Medicaid Provider ID, NPI, and Tax ID (EIN/TIN). If any are missing, the page shows an amber EVV Setup Required card with a Go to Settings button instead of the dashboard. Fill those in under Settings, return to EVV, and the full page renders.
1. Open EVV from the sidebar
Click EVV in the left navigation sidebar.
It sits between Pre-Billing QA and Forms. The page header reads Electronic Visit Verification and the body title is EVV Dashboard. The screen has a one-line subtitle: “Electronic Visit Verification, manage, validate, and export visit compliance data.”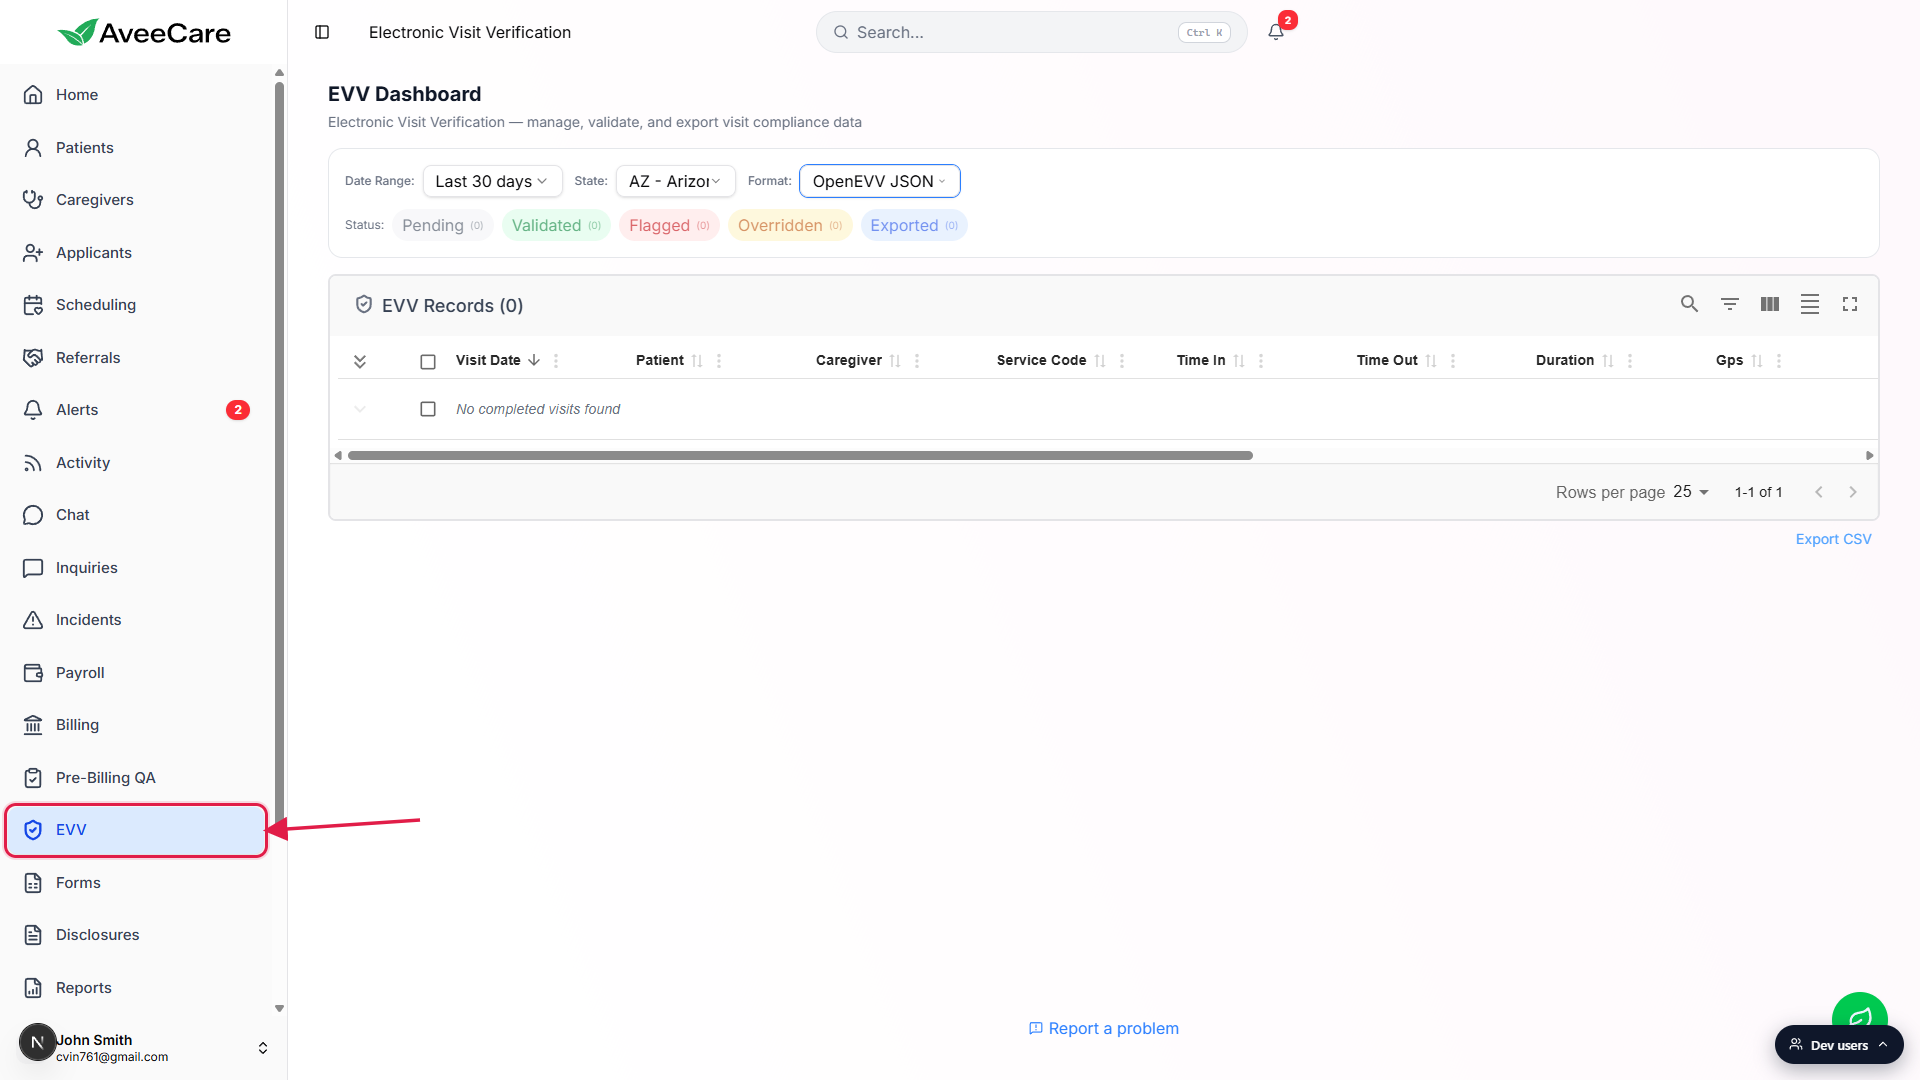
2. Set Date Range, State, and Format
Pick a Date Range from the dropdown.
Four options: Last 7 days, Last 14 days, Last 30 days (the default), Last 90 days. The dashboard filters every completed visit to that window before any other filter runs. There is no custom date picker, so for arbitrary ranges export the wider window and slice in your aggregator portal.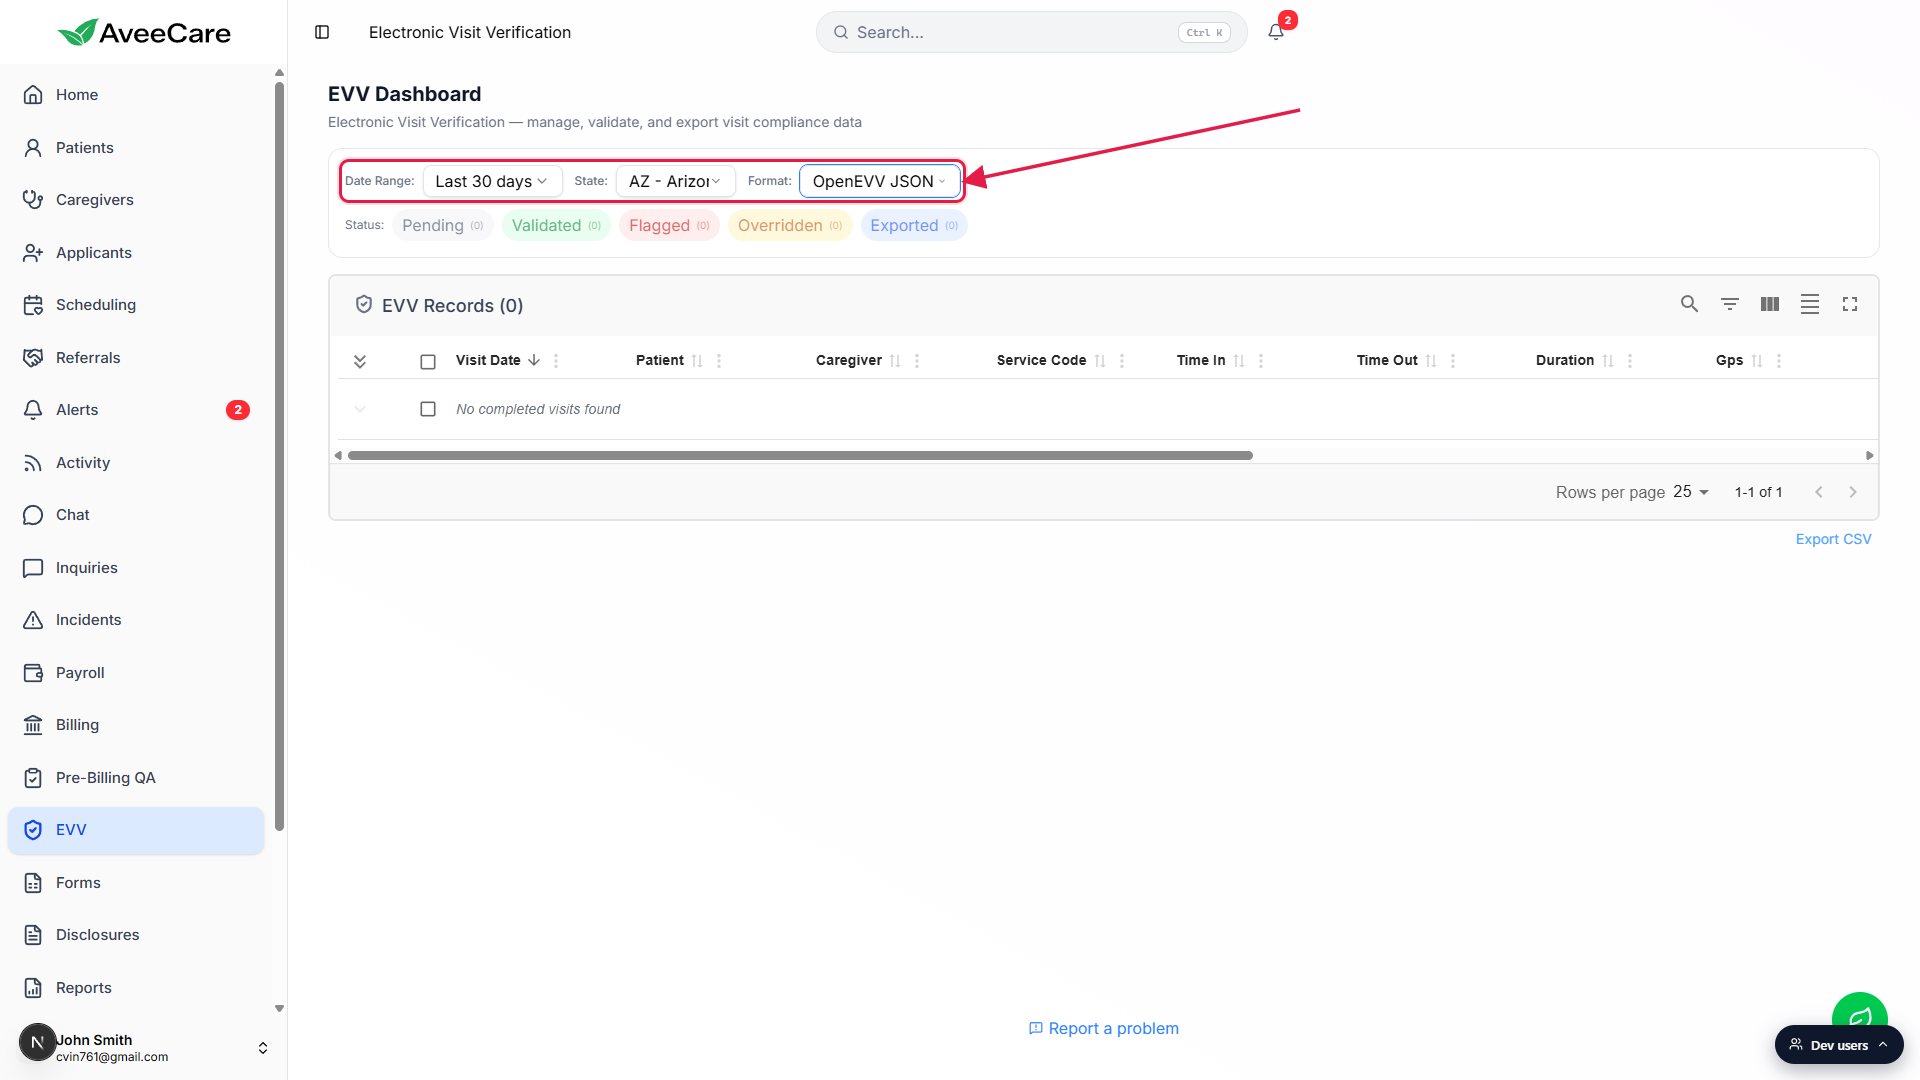
Pick the State the visits were performed in.
Every state plus DC is in the dropdown (AL through WY). State controls which compliance heuristics run on the visits and which default export format is selected. The State dropdown defaults to your company's saved evvDefaultState from Settings.Pick the export Format.
Choices include Generic CSV, PDF Report, OpenEVV JSON (Sandata), HHAeXchange V5 CSV, EDI 837P Claims, AuthentiCare (Conduent), Netsmart / Tellus, Therap Services, and CareBridge. Changing State auto-switches Format to whatever that state's default aggregator uses, which you can then override if your contract uses a different format.
3. Filter by Status with the chip row
Read the Status chips: Pending, Validated, Flagged, Overridden, Exported.
Each chip shows a live count for the current Date Range, like Validated (12). The count updates as you toggle the date filter or as background validation re-classifies visits. On a fresh dashboard with no completed visits in the window, every chip reads (0).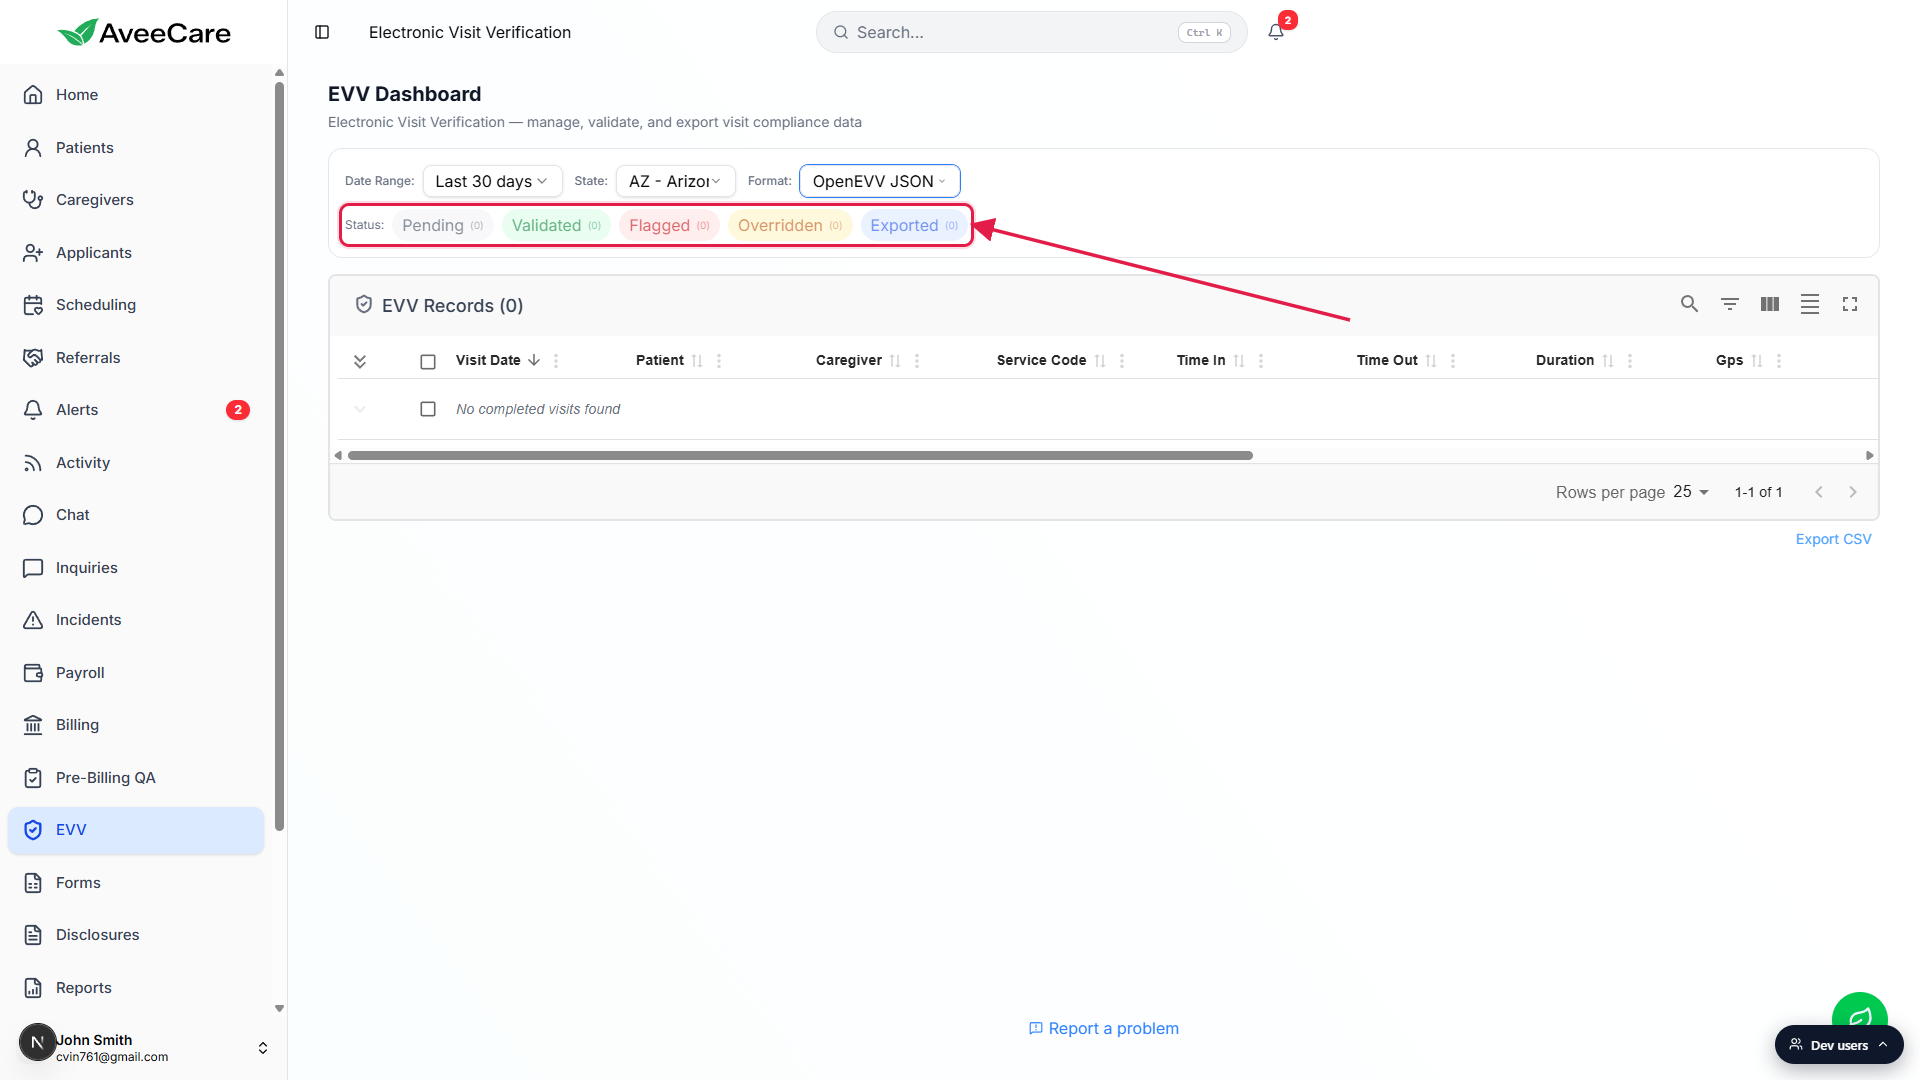
Click a chip to filter the table to just that status.
Chips are multi-select, so click Flagged plus Pending to see everything that still needs work. Clicking an active chip turns it off. Click the Clear link that appears at the end of the row to drop all status filters at once.Watch for auto-validation when the page first loads.
When the dashboard loads and a State is selected, AveeCare runs heuristics on every Pending visit in the background. A toast pops with the result, like “Auto-validated 14 visits: 9 passed, 5 flagged.” Visits move from Pending to Validated or Flagged automatically. Flagged visits also kick off a second-pass AI validation that updates the AI column with a brain icon, green check, or amber alert.
4. Work the EVV Records table
Scan each row: Visit Date, Patient, Caregiver, Service Code, Time In, Time Out, Duration.
The table loads completed visits only. Empty seed shows No completed visits found. The pagination at the bottom right reads Rows per page 25 with a 1-of-N counter.Check the compliance columns: Gps, Signature, Verification, Audit Status, Flags, Ai.
Gps and Signature show a green pin or pen icon when present and a red one when missing. Verification shows the patient verification method captured at clock-out. Audit Status shows the colored EVV status pill that matches the chip row. Flags shows the count of heuristic flags (click to expand the row and see each flag with its description). Ai shows the AI-validation result, brain when not yet run, blue spinner when scanning, green check when passed, amber alert when concerns.Use the Actions column to View, Validate, or Override individual visits.
The eye icon opens a full-screen Visit Details modal with the scheduled and actual times, GPS coordinates, signatures, the full flag list, the AI explanation, and an Edit Visit button. Pending visits show a green Validate link. Flagged visits show an amber Override link that pops a modal with six override reasons (Administrative correction, System error, GPS malfunction, Patient consent issue, Scheduling conflict, Other).Select rows, then bulk-export or bulk-validate.
Toggle the row checkboxes on the left of the table. A second action bar appears reading N selected: with Export Selected and Validate Selected buttons. Export pushes a file in the chosen Format (CSV, JSON, EDI 837P, PDF, aggregator-specific). If any selected visits are flagged, AveeCare pops a Flagged Visits Detected dialog with three choices: Cancel, Export Clean Only, or Export All Anyway. Exported visits flip to status Exported and stamp the export timestamp and format.
Common pitfalls
- EVV Setup Required card instead of the dashboard. State Medicaid Provider ID, NPI, or Tax ID is blank in Settings. Open Settings, fill all three, return to EVV. The page will only render the full dashboard once all three are present.
- Empty table on a busy week. The table only surfaces visits where status is Completed. Scheduled, In-Progress, or Cancelled visits do not show up. If you expect rows and see none, check the Date Range, then check Scheduling for visits stuck in another status.
- State filter and Format filter drift apart. Changing State auto-switches Format to that state's default aggregator. If you previously hand-picked a format, set the State first, then re-pick the format. Exports run against whatever Format is currently selected, not the state default.
- Exporting Flagged visits anyway. The Export All Anyway button in the warning dialog will push flagged visits to your aggregator. Most aggregators will reject them and your state contact will get a rejection report. Prefer Export Clean Only and resolve flags first.
- Override is not the same as Validate. Override tells the auditor “I see the flag and I am acknowledging it.” The visit moves to Overridden status with your name, timestamp, and reason in the audit log. The flag itself is not removed. Use Validate (or fix the underlying data) when the flag should not have fired in the first place.