The signature pad is the white canvas that opens on Step 1 of the EVV Check-Out Wizard. It captures your attestation that you provided care on this visit. The same control is reused for Patient Signature when you pick that verification method on Step 2. This page walks through how to use the caregiver-side pad.
Quick answer
On the Caregiver Signature step, drag across the white canvas to sign. A green Signature captured chip appears below the pad once your stroke ends. Press Next to move on. To redo, tap the gray clear bar that appears below the canvas and sign again.
1. Open the signature step in the EVV wizard
On the Caregiver Dashboard, press Continue Visit on the in-progress visit.
You can also open it from My Visits. The visit detail page shows a red End Visit button in the top right next to Get Directions.Press End Visit to open the EVV Check-Out Wizard.
The wizard opens on Step 1 of 4: Signature when the visit has no scheduled tasks. If the visit has tasks, Step 1 is Tasks and the signature pad is Step 2. Either way, the same Caregiver Signature panel appears with the prompt “Sign below to verify that you provided care during this visit.”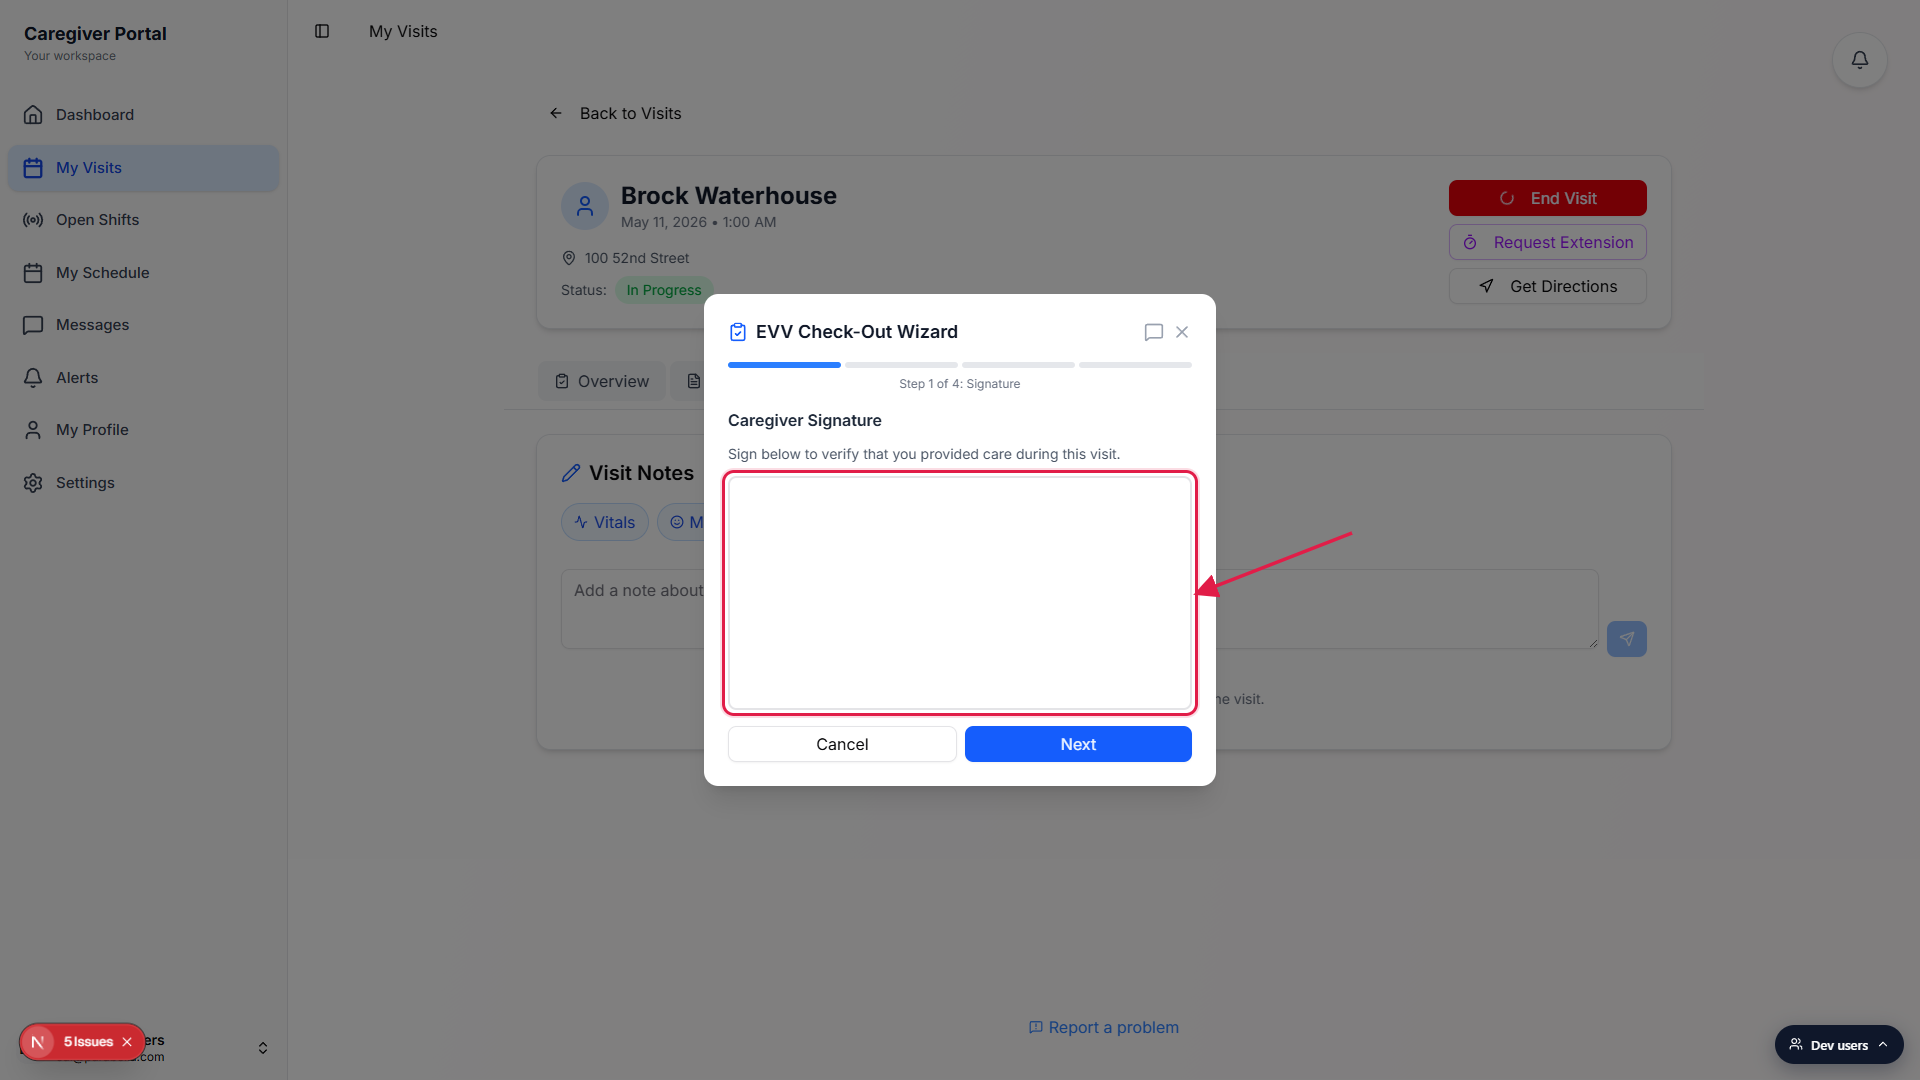
2. Sign the pad with your finger, stylus, or mouse
Drag across the white canvas to write your signature.
The pad accepts finger, stylus, or mouse input. There is no pen-color picker or stroke-thickness slider; every stroke is a thin black line. The canvas scales to the modal width and keeps a 2 to 1 aspect ratio, so you have roughly the same room to sign on a phone or a laptop.Lift your finger or release the mouse when you are done.
The pad commits the stroke on pointer-up. There is no Save button on the canvas itself. The signature is encoded as a PNG on the visit record automatically.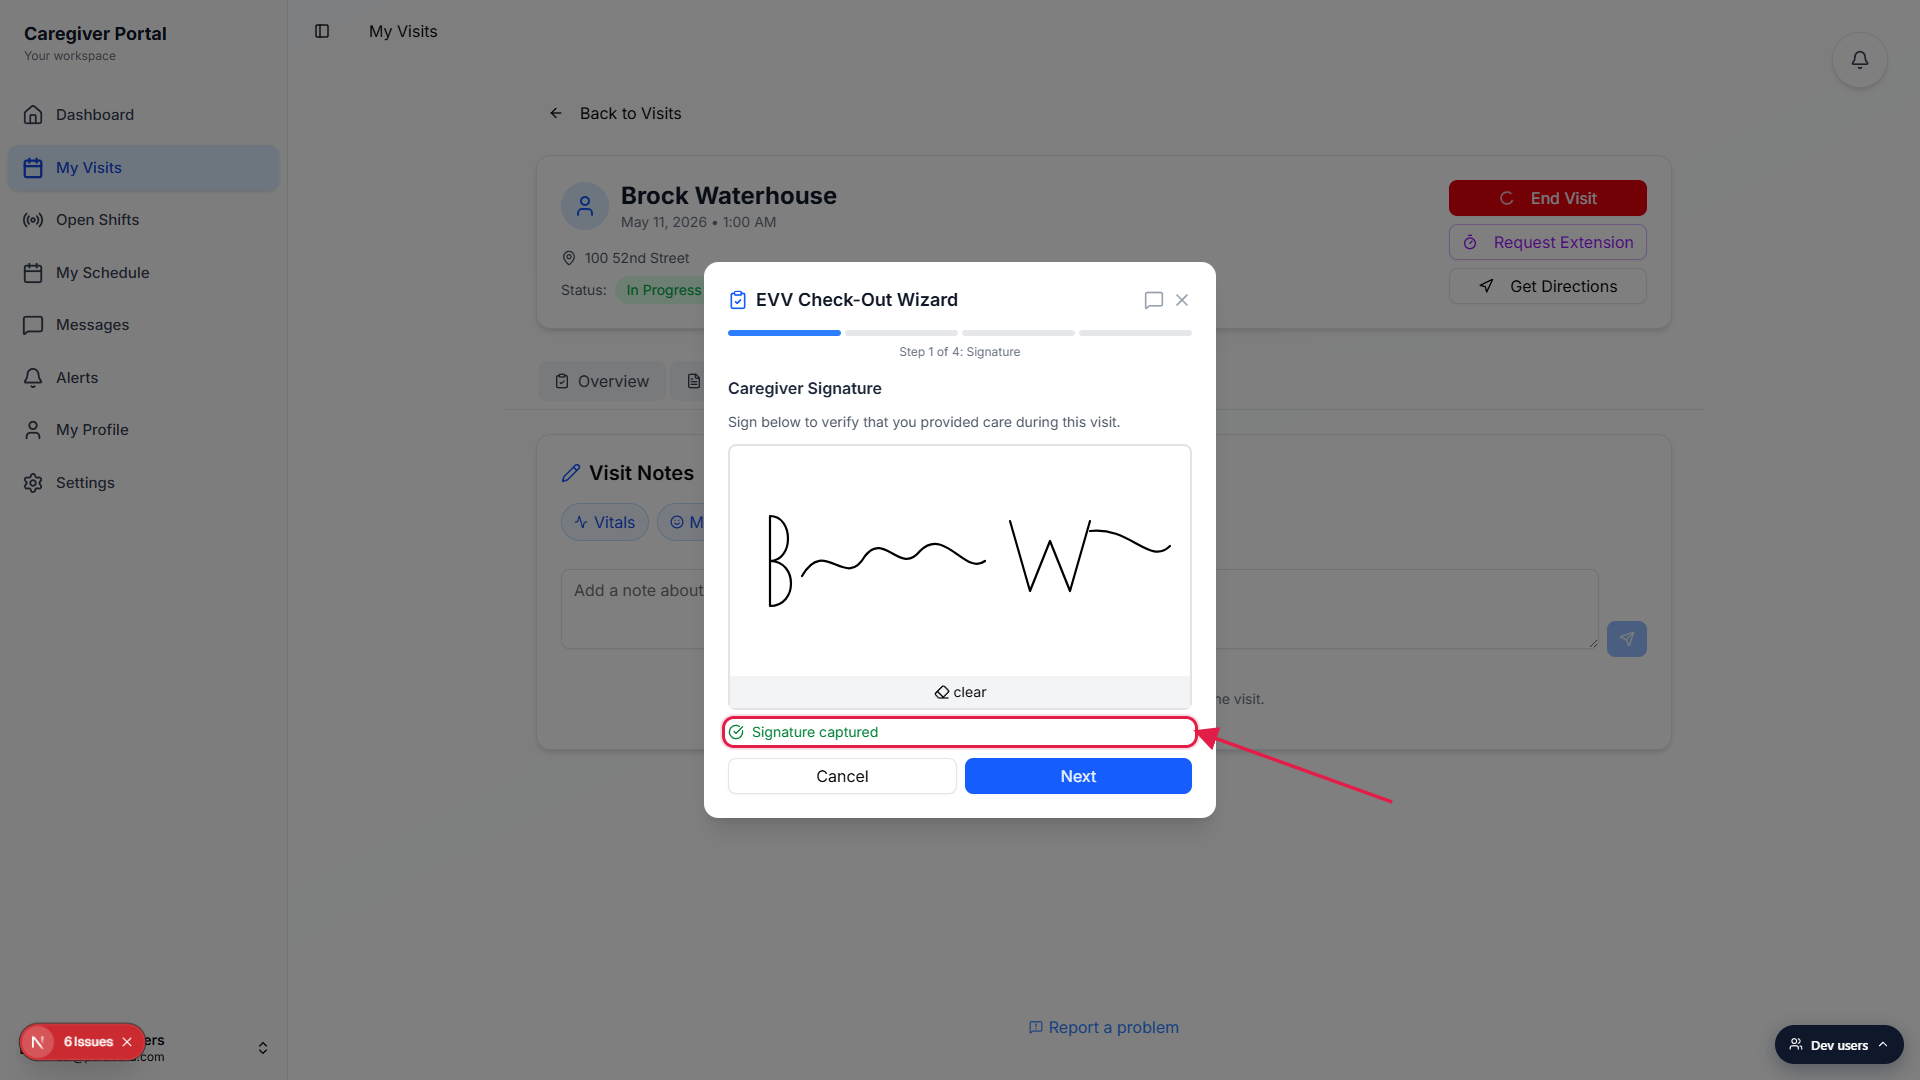
3. Confirm Signature captured, then press Next
Look for the green Signature captured chip below the canvas.
The chip is a small check icon plus the words Signature captured in green. If you do not see it, the stroke did not register. Try again with a longer stroke, the pad needs at least a couple of points to count as a signature.Press Next to move to the Member Verification step.
Next sits in the wizard footer next to Cancel. The wizard advances to Step 2 of 4: Member Verification. The caregiver signature you just captured is saved with the visit and shows up in the Visit Summary at the end of the wizard as Caregiver Signature: Captured.
4. Re-sign with the clear bar if you need to
Tap the gray clear bar that appears below the canvas.
After your first stroke, a horizontal clear bar appears between the canvas and the Cancel / Next row. It has a small eraser icon. Tap it once and the canvas wipes; the green Signature captured chip disappears too.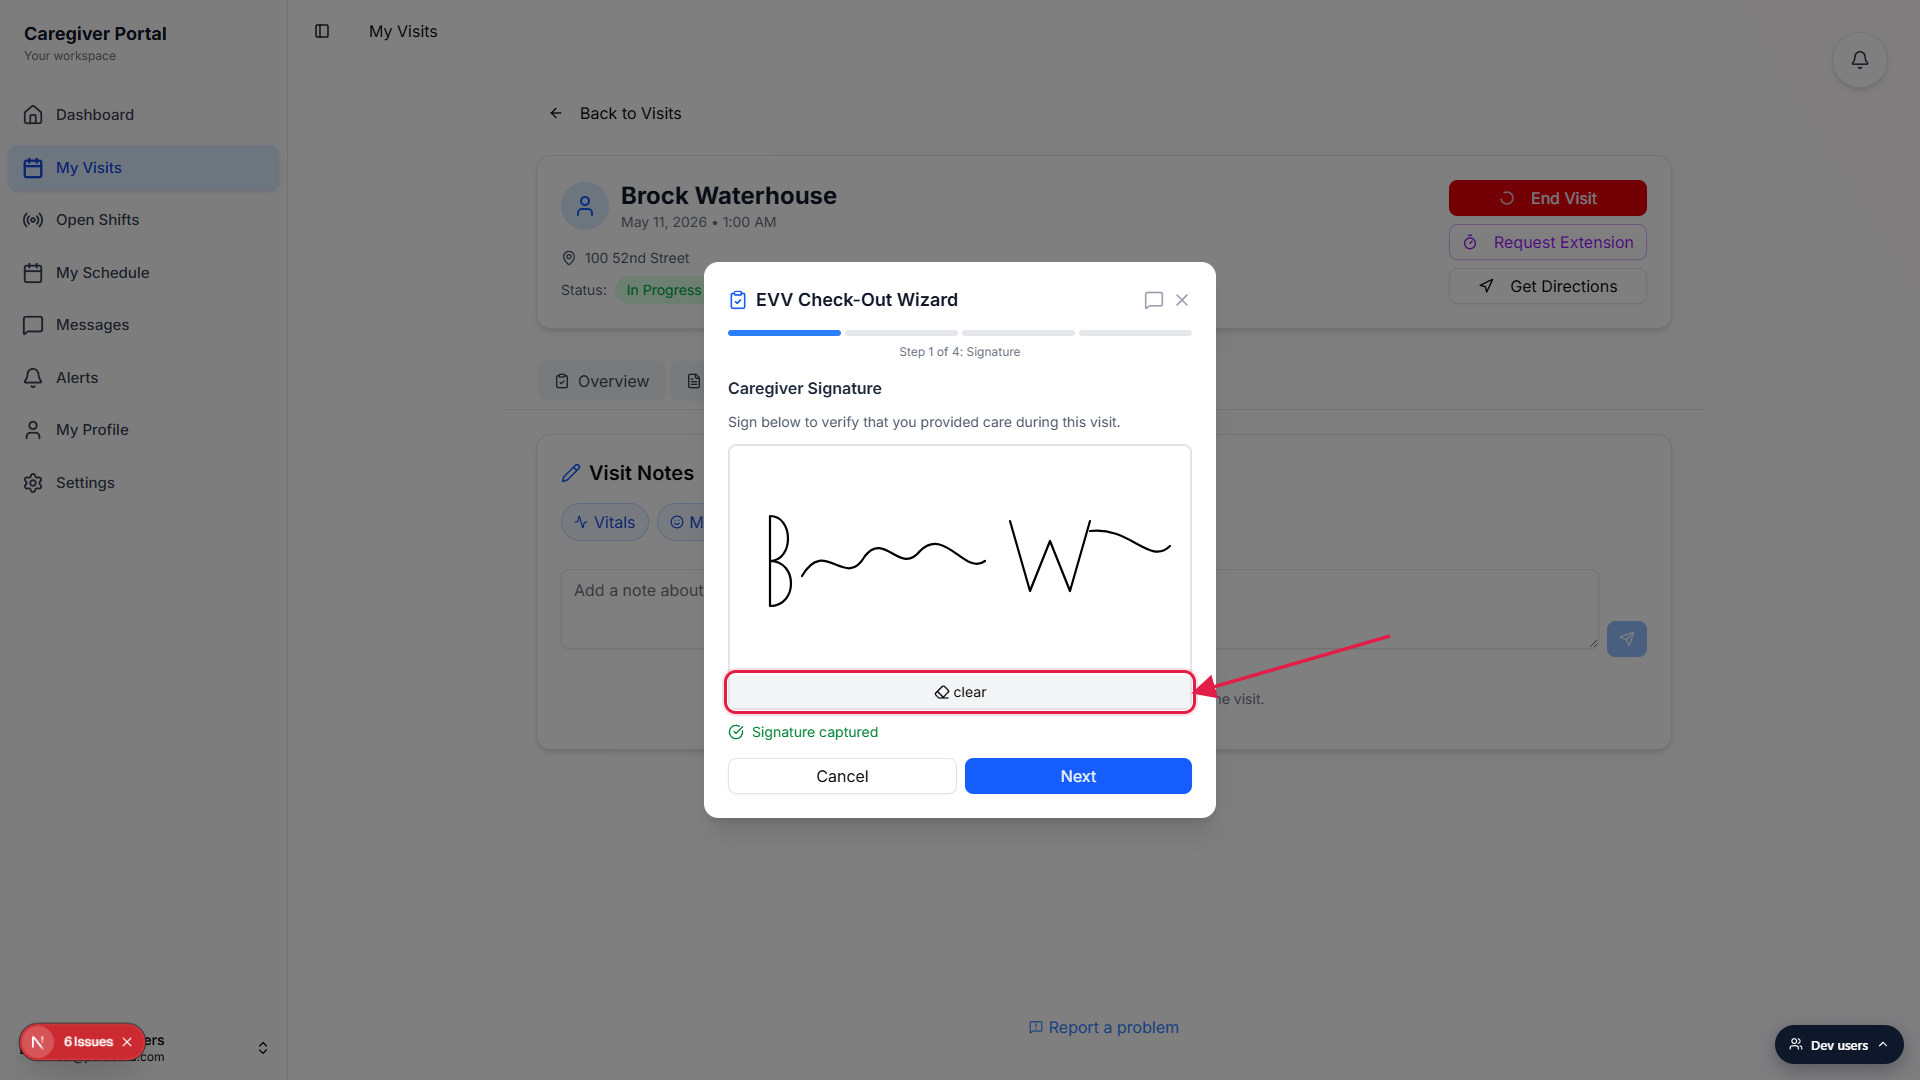
Sign again on the empty canvas.
The clear bar only shows after you have at least one stroke on the pad. There is no limit on how many times you can re-sign before pressing Next.
Common pitfalls
- Stroke did not register. A single tap without dragging will not register. Make sure you actually drag across the canvas. The Signature captured chip is the only confirmation that the stroke saved.
- Patient Signature uses the same pad. When you pick Patient Signature as the verification method on Step 2, the wizard shows a second instance of this same pad for the patient. Hand the device over. The patient's signature is stored separately on the visit record.
- No image preview after pressing Next. The wizard does not show a thumbnail of your saved signature on subsequent steps. The Visit Summary just reports Captured or Missing. The actual image lives on the EVV record and shows up on the office side under the visit's EVV details.
- clear is the gray bar, not a Cancel. The Cancel button at the bottom closes the whole wizard. To erase just the signature, use the small gray clear bar between the canvas and the buttons.
- Caregiver Signature is always required. The pad cannot be skipped. Even if your state allows PIN or Voice for the patient verification step, the caregiver signature step still has to be completed before Next will advance.