Applicants is your agency-wide hiring board. The Pipeline tab is a Kanban view with one column per hiring stage. Drag a card from one column to the next as the candidate progresses, click a card to open the full record, or click Add Applicant to drop a new person into the Applied column.
Quick answer
Open Applicants from the left nav. The page lands on the Pipeline tab by default. Click + Add Applicant in the top-right to enter a candidate. Drag a card between columns to advance the stage. Switch to the All Applicants tab for a searchable, sortable table.
Stages on the board
The Pipeline tab ships with nine stages, in order:
- Applied. Where every new applicant lands by default after Save.
- Phone Screen. First conversation, usually with the recruiter.
- Interview. Hiring manager or scheduler interview.
- Reference Check. Calling former employers and personal references.
- Background Check. Third-party background and identity verification.
- Credential Review. CNA, HHA, CPR, TB, driver license, and any state-specific credentials.
- Offer Extended. Offer letter is out, waiting on accept.
- Training. Orientation and required training in progress.
- Onboarded. Final stage. Convert to caregiver from the applicant detail page.
The board scrolls horizontally on narrower screens. Custom stages are not configurable today.
1. Open Applicants and land on Pipeline
Click Applicants in the left nav.
The page header reads Applicant Tracking with the subtitle Manage your hiring pipeline from application to onboarding. The four tabs are Pipeline, All Applicants, Archived, and Analytics.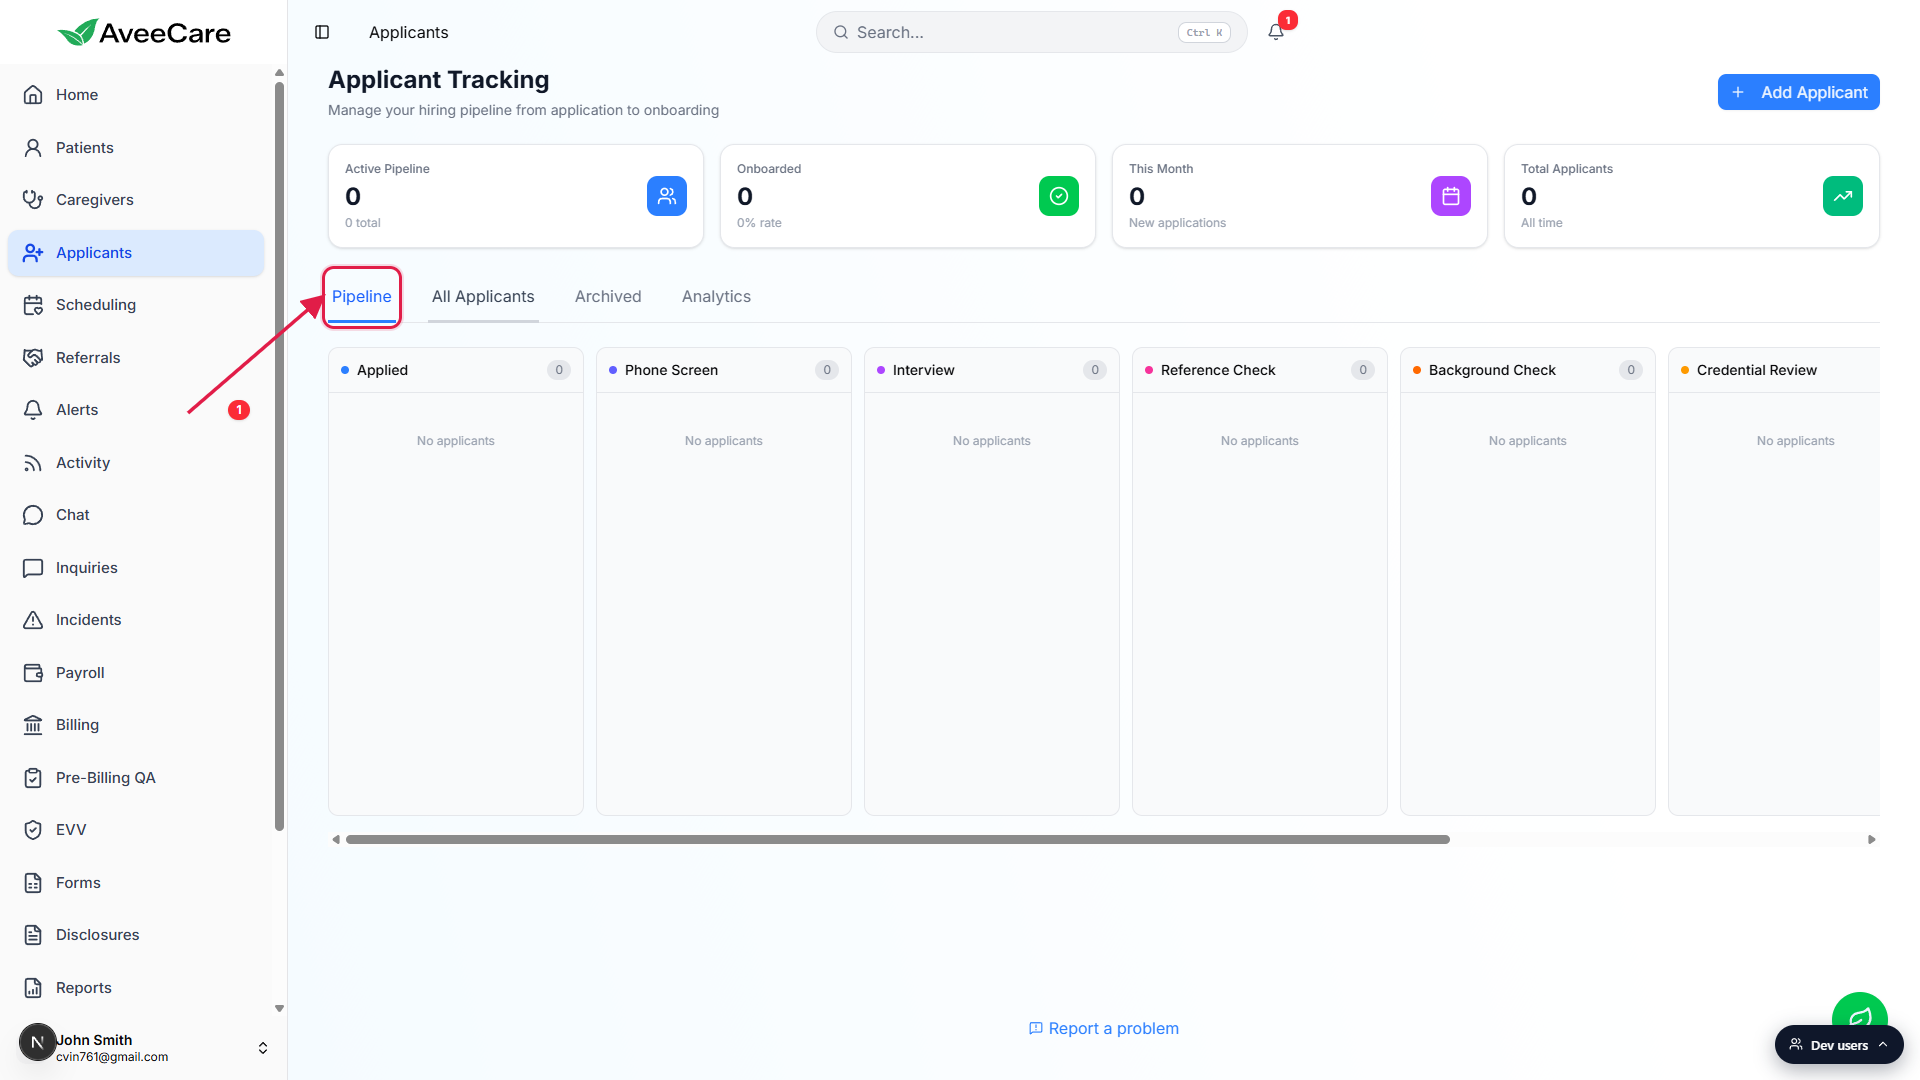
Pipeline is the default tab.
If you came back from another tab and want the Kanban view, click Pipeline. All Applicants is the table view, Archived holds rejected and withdrawn candidates, and Analytics shows pipeline funnel and source effectiveness charts.
2. Read the columns and KPI tiles
Each column is a hiring stage with a count chip on the header.
The chip on the right side of the column header shows how many applicants currently sit in that stage. Empty columns read “No applicants” underneath the header.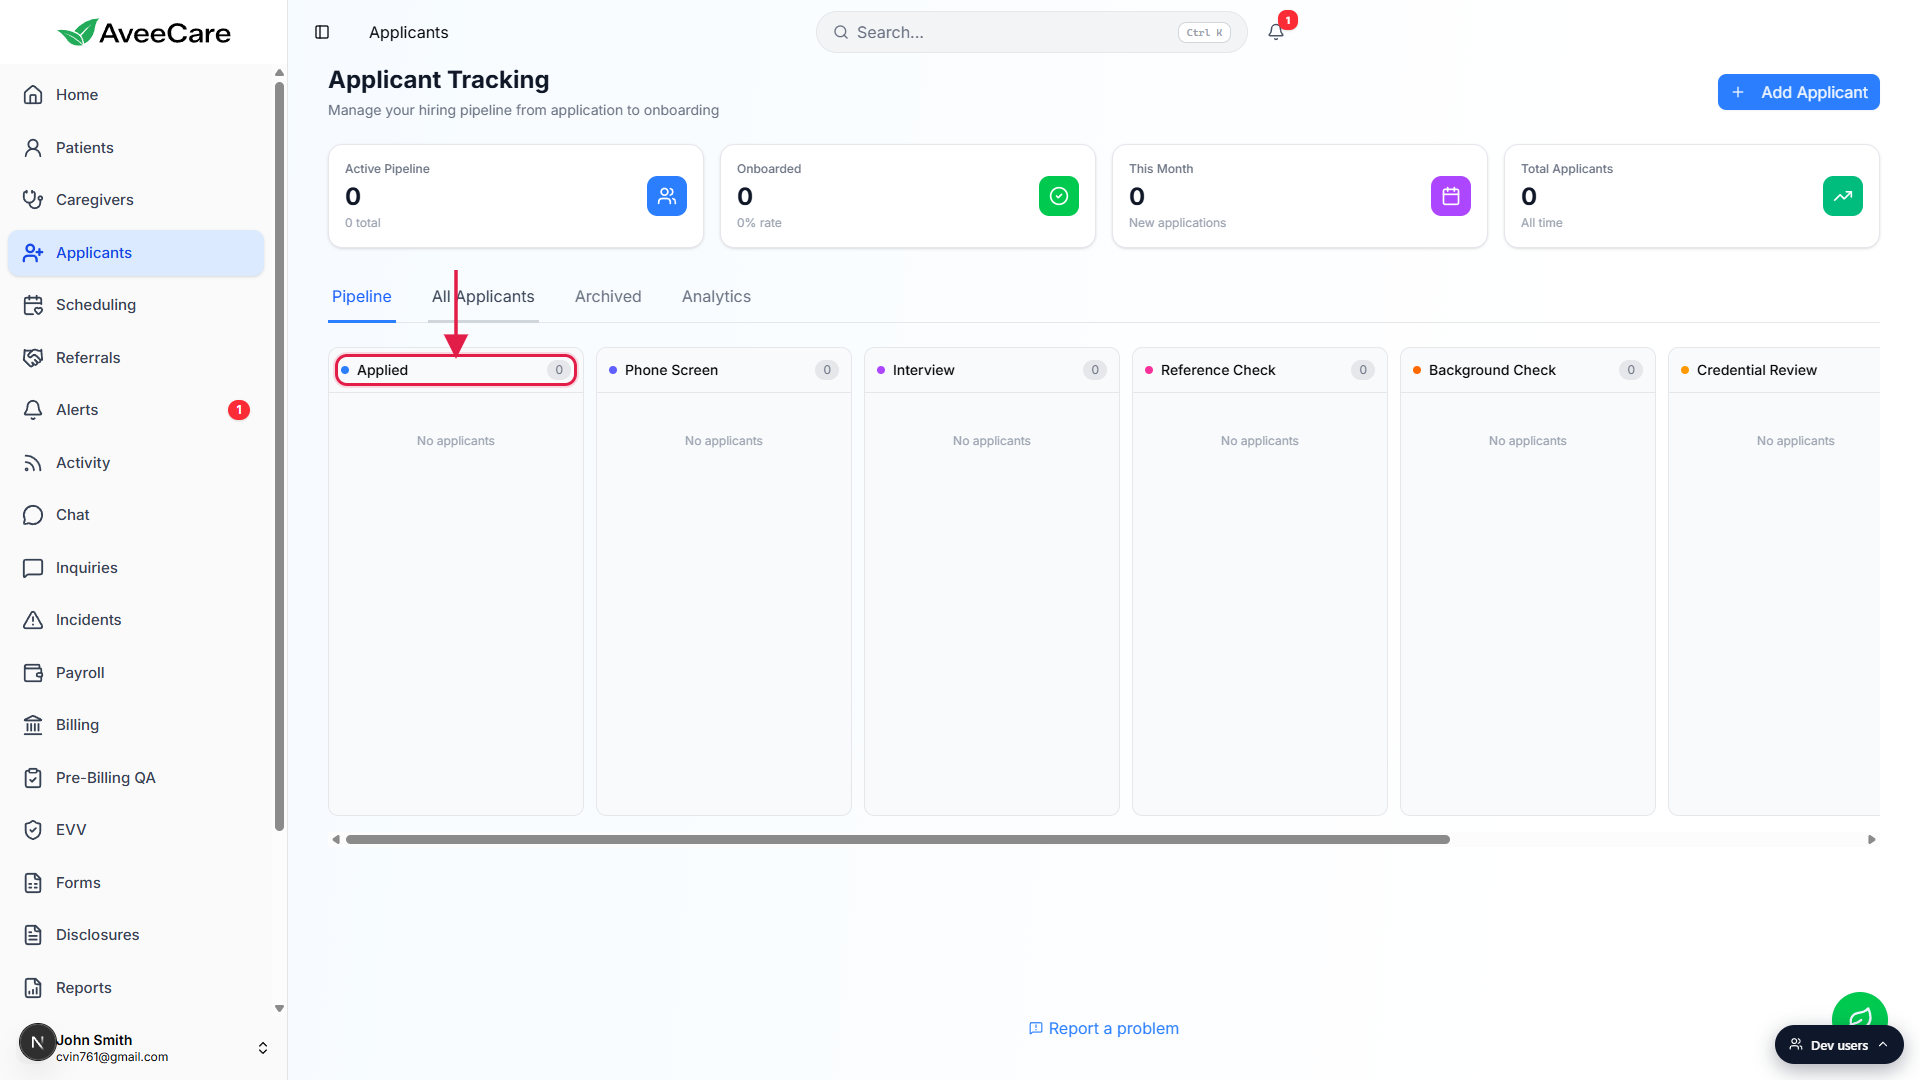
KPI tiles above the board summarize the pipeline.
Active Pipeline is the total applicants currently in any active stage. Onboarded shows the count and rate of applicants who reached the final stage. This Month counts new applications added in the current calendar month. Total Applicants is the all-time count, including archived candidates. The tiles refresh as you add and move cards.
3. Add a new applicant
Click + Add Applicant in the top-right of the page.
The button sits next to the page header and is visible on every Applicants tab.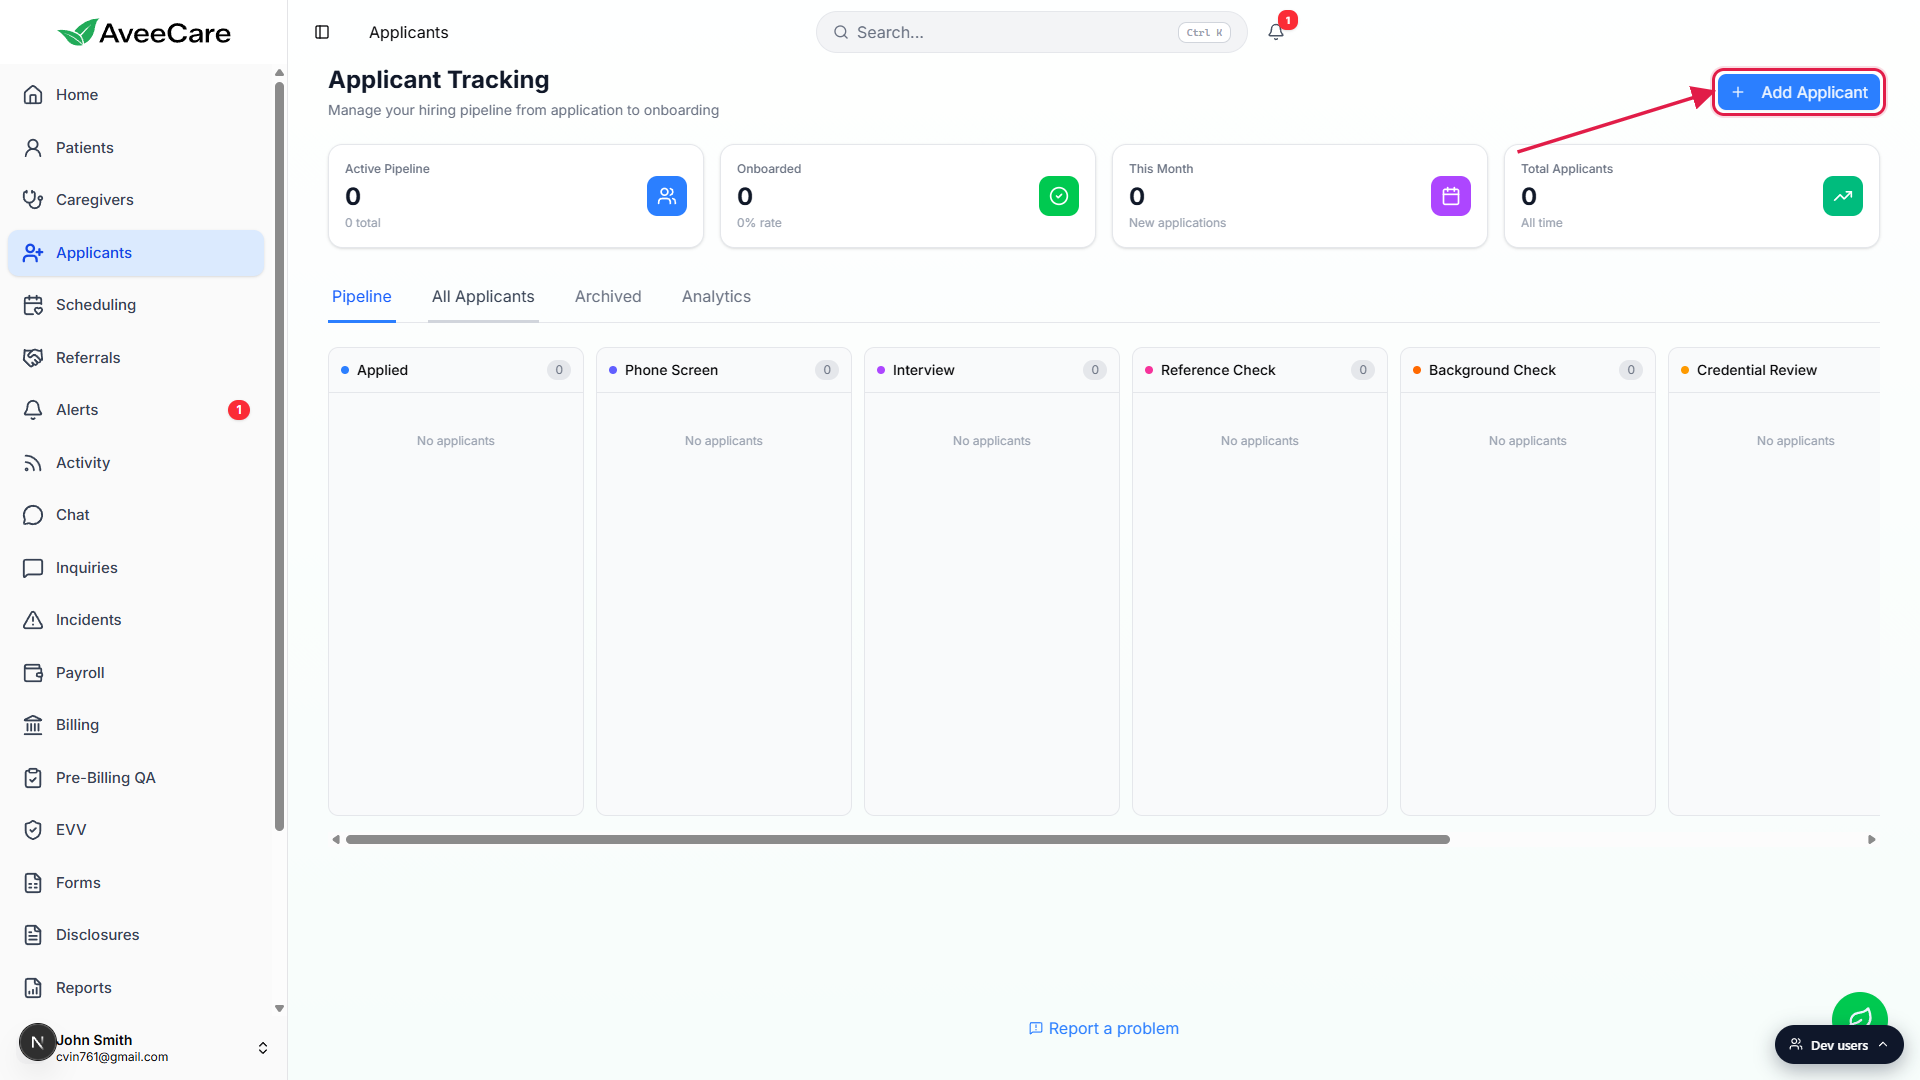
Fill out the Add Applicant form.
The modal has First Name (required), Middle Name, Last Name (required), Email (required), Phone (required), Application Source, Desired Start Date, and Notes. The Application Source dropdown options are Indeed, ZipRecruiter, LinkedIn, Website, Walk-In, Referral, Job Fair, Social Media, Newspaper, and Other. Source feeds the Source Effectiveness report on the Analytics tab, so set it accurately.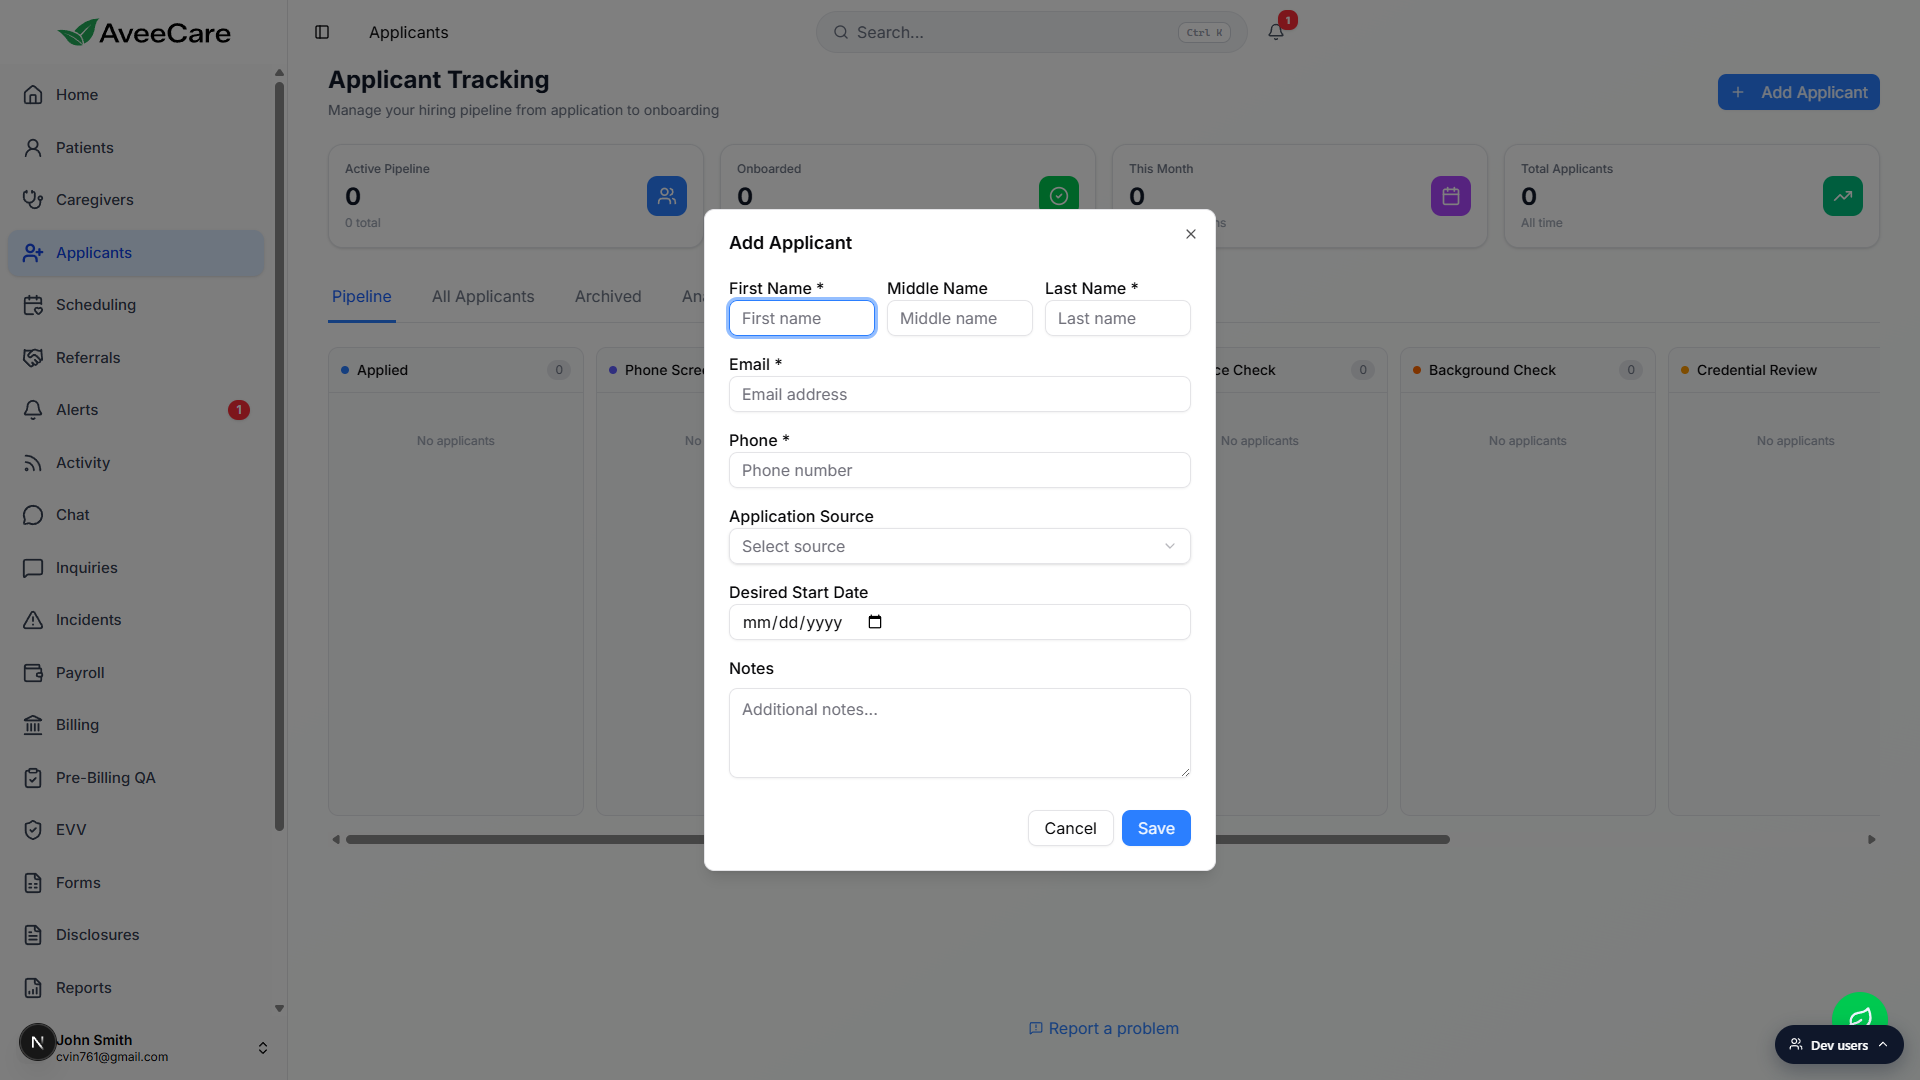
Click Save. The applicant lands in the Applied column.
The Active Pipeline, This Month, and Total Applicants tiles bump by one. From there you can drag the card to the next stage or click it to open the full applicant record.
4. Move cards through the pipeline
Drag a card to a different column to advance the stage.
The card's stage updates instantly. The KPI tiles and the Pipeline Funnel on the Analytics tab refresh to match. Drag updates from any user appear live for everyone on the agency.Click a card to open the full applicant record.
Each applicant has a detail page with notes, a timeline of stage changes, attached files, and the convert-to-caregiver action once they reach the right stage. See Convert applicant to caregiver for the full conversion flow.Use All Applicants when you need search, filter, or bulk actions.
The Kanban view is best for moving people one at a time. For full-text search, multi-column sort, and bulk operations, switch to the All Applicants table tab.
Common pitfalls
- Cards do not auto-advance. A completed background check or a passed phone screen does not move the card for you. Build a daily habit of sweeping each column and dragging cards forward.
- Forgetting to archive rejected candidates. Rejected and withdrawn applicants belong on the Archived tab, not in the active pipeline. Open the card and use the archive action so the board reflects the live pipeline only.
- Mixing up Applicants and Caregivers. Applicants are people you have not hired yet. Once a candidate is onboarded and converted, they become a Caregiver and disappear from the active pipeline.
- Skipping the Application Source field. Source feeds the Source Effectiveness chart on the Analytics tab. Leaving it blank makes recruiting ROI invisible.
- Looking for a custom stage. The nine stages are fixed today. If your hiring process has an extra step, run it in the card's notes or on the detail timeline rather than asking for a new column.