Disclosures are the signed acknowledgments your patients and caregivers see when they sign up. HIPAA privacy notices, consent for treatment, code-of-conduct agreements, anything that needs an explicit yes. You author and edit them from one central library on the Disclosures page.
Quick answer
Open Disclosures from the left sidebar. Click the big + New Disclosure card at the top. Enter a name and the full disclosure text, pick whether it applies to Patient, Caregiver, or Both, decide if a signature is required, and click Create Disclosure.
Who can a disclosure apply to
The Applies To dropdown has three choices:
- Patient Only. Shows on patient intake and the patient portal disclosures tab.
- Caregiver Only. Shows during caregiver onboarding and on the caregiver disclosures tab.
- Both Patient and Caregiver. Default. Both audiences see it.
1. Open Disclosures and click New Disclosure
Click Disclosures in the left sidebar.
The Disclosures page lists every existing disclosure with its audience, signature requirement, status, and last update time. Use the table search, filter, and column controls at the top right to find what you need on a long list.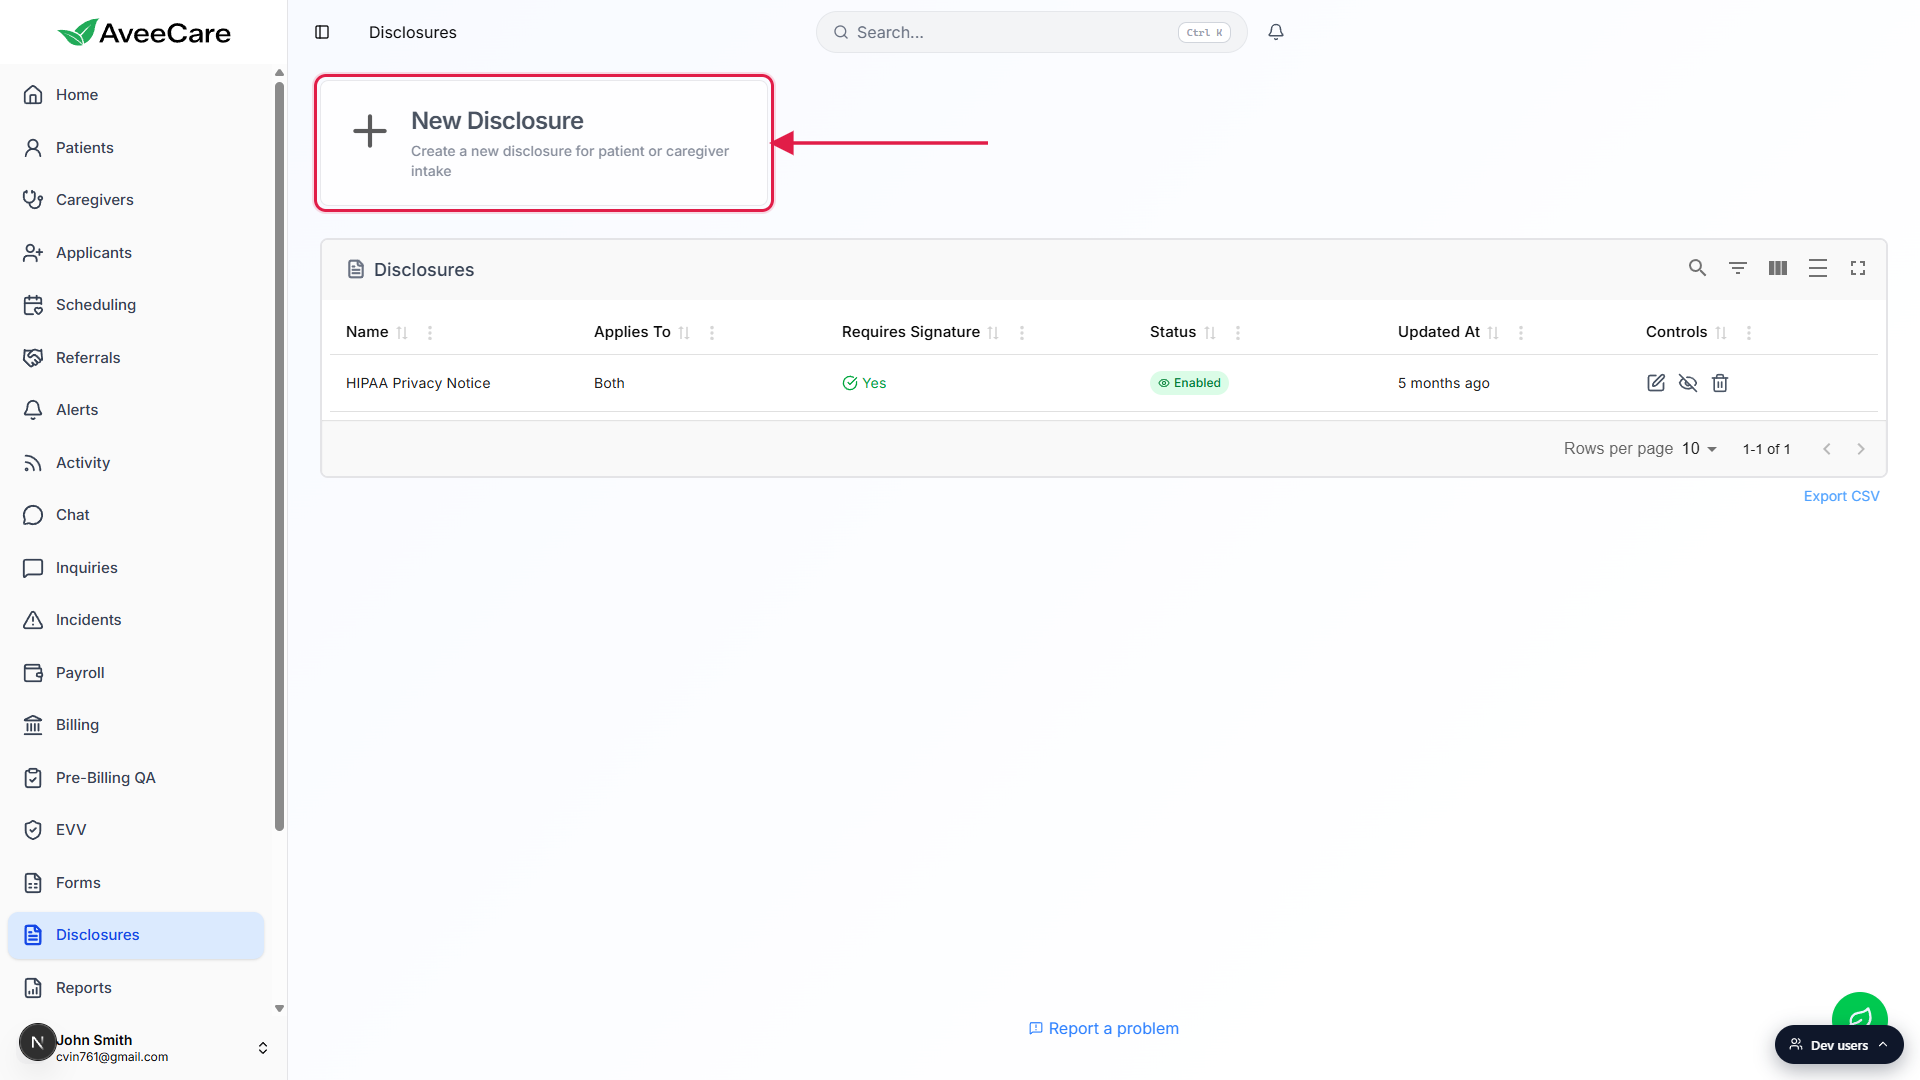
Click the New Disclosure card at the top of the page.
The Create New Disclosure modal opens with empty fields for name, content, audience, and the Require Signature and Enabled checkboxes.
2. Fill in name, content, and audience
Type a clear Disclosure Name.
Keep it short and recognizable. Examples: HIPAA Privacy Notice, Consent for Treatment, Caregiver Code of Conduct. This name is what patients and caregivers see in their disclosures list, so make it match what the document actually is.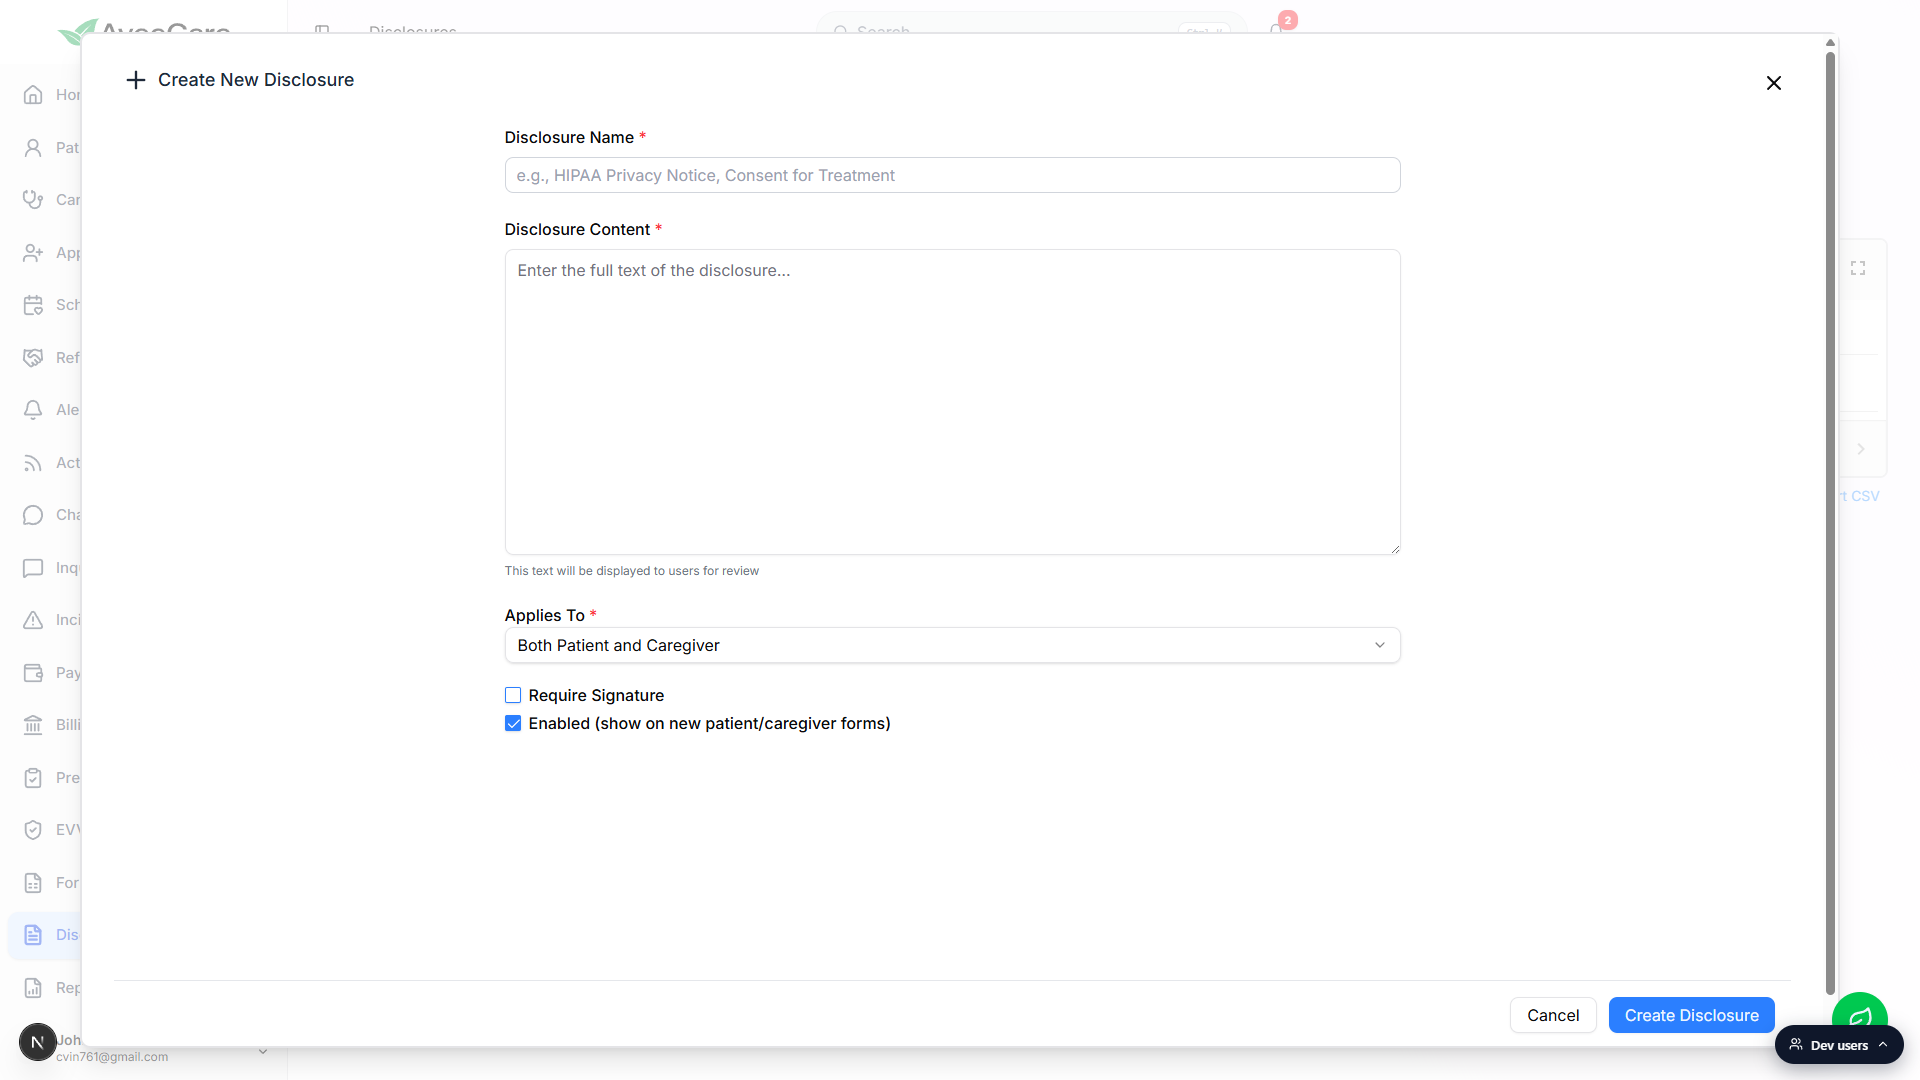
Paste the full disclosure text into Disclosure Content.
This is the body of the document. It is what users will read on screen before they acknowledge. There is no rich text toolbar, so paste plain text and use blank lines for paragraph breaks. For a static PDF, upload it via the patient or caregiver Files tab instead and use a short disclosure here to summarize and point at the PDF.Pick the audience under Applies To.
Patient Only, Caregiver Only, or Both Patient and Caregiver. Default is Both. Pick the narrowest option that fits, so users are not asked to sign things that do not apply to them.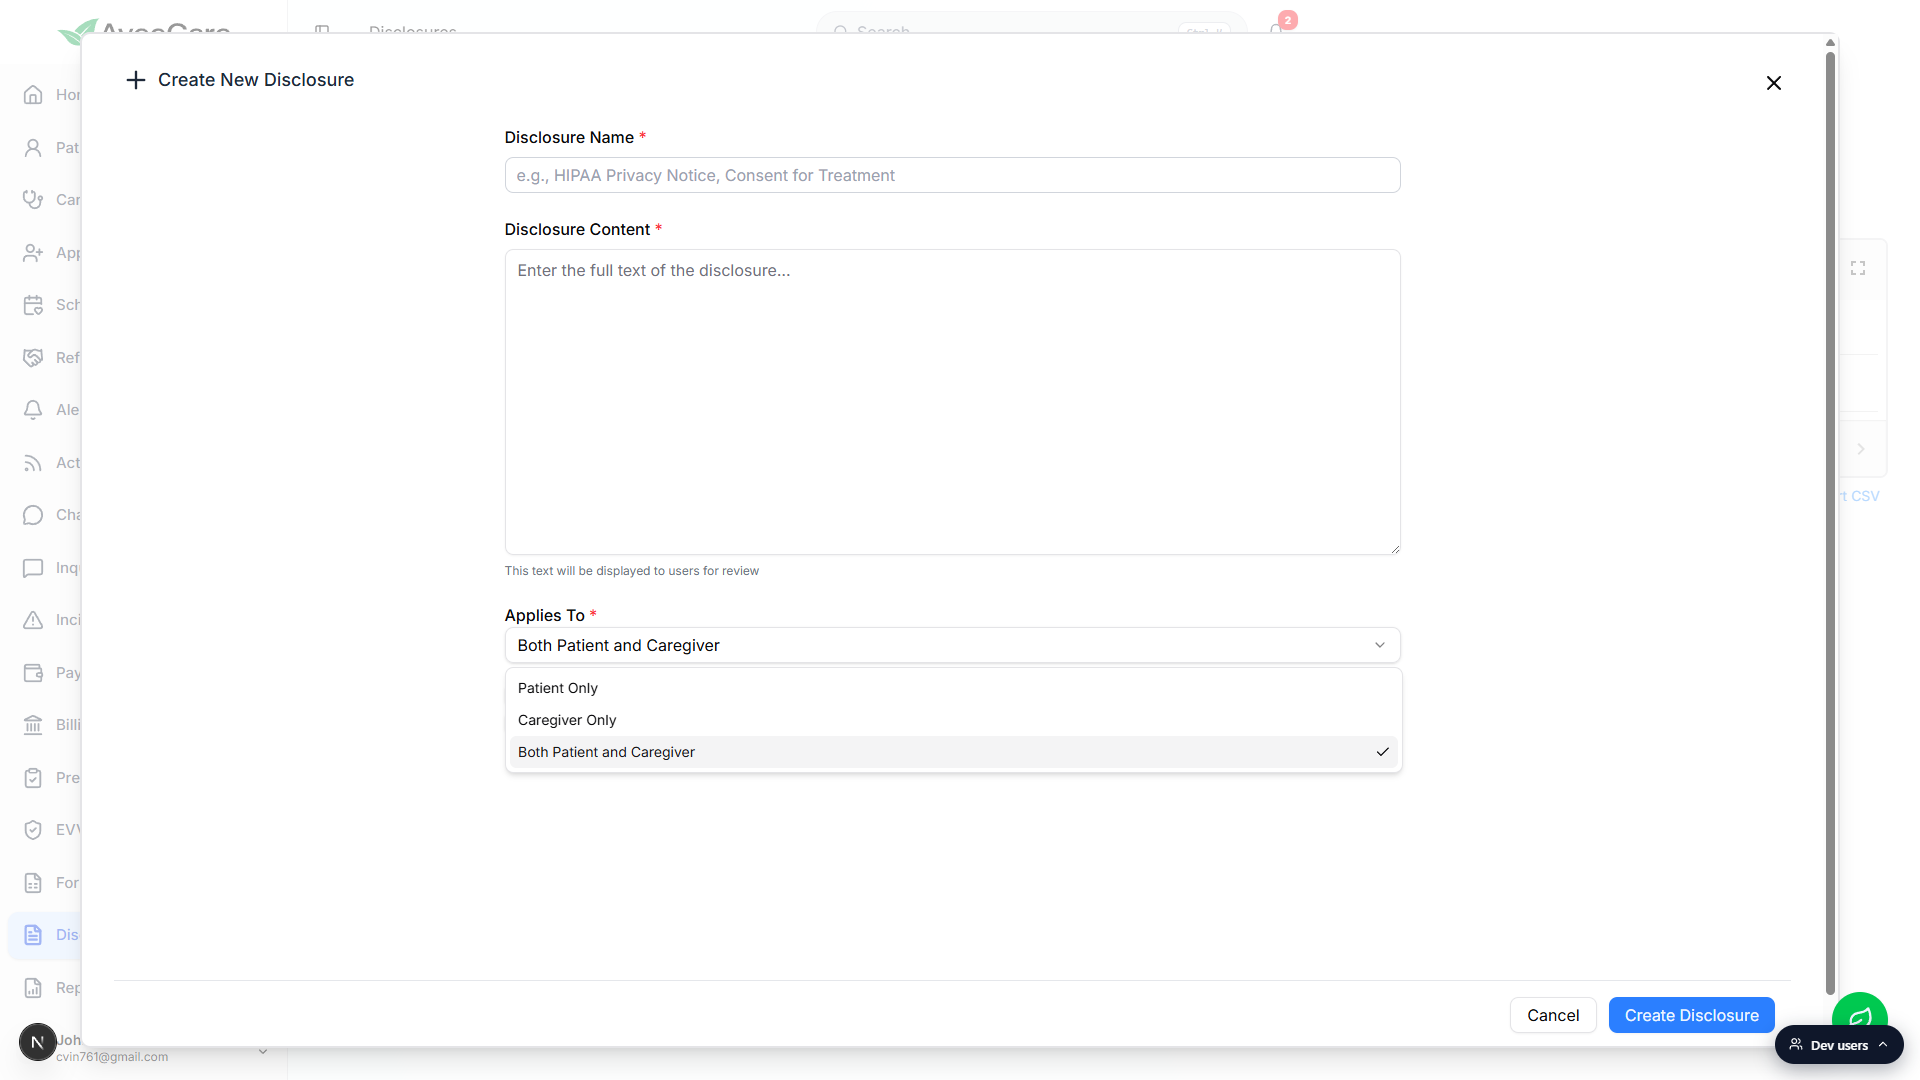
3. Set Require Signature and Enabled
Check Require Signature if users must sign before it counts as acknowledged.
With Require Signature on, users have to type their name on the disclosure to complete it. With it off, they can simply mark it acknowledged. Use Require Signature for anything legally binding like HIPAA notices or treatment consent.Leave Enabled checked so the disclosure shows up on new intake forms.
Enabled is on by default. Uncheck it to keep the disclosure in the library but hide it from new patient and caregiver intake. Existing acknowledgments stay on the record either way. You can also toggle Enabled later from the eye icon in the row controls.Click Create Disclosure to save.
The new disclosure shows up in the table immediately. New patients and caregivers who sign up after this point will see it on intake if Enabled is on and the audience matches.
4. Edit, disable, or delete an existing disclosure
Click the pencil icon in the row Controls column to edit.
The Edit Disclosure modal opens with the saved name, content, audience, Require Signature, and Enabled values pre-filled. Make changes and click Update Disclosure.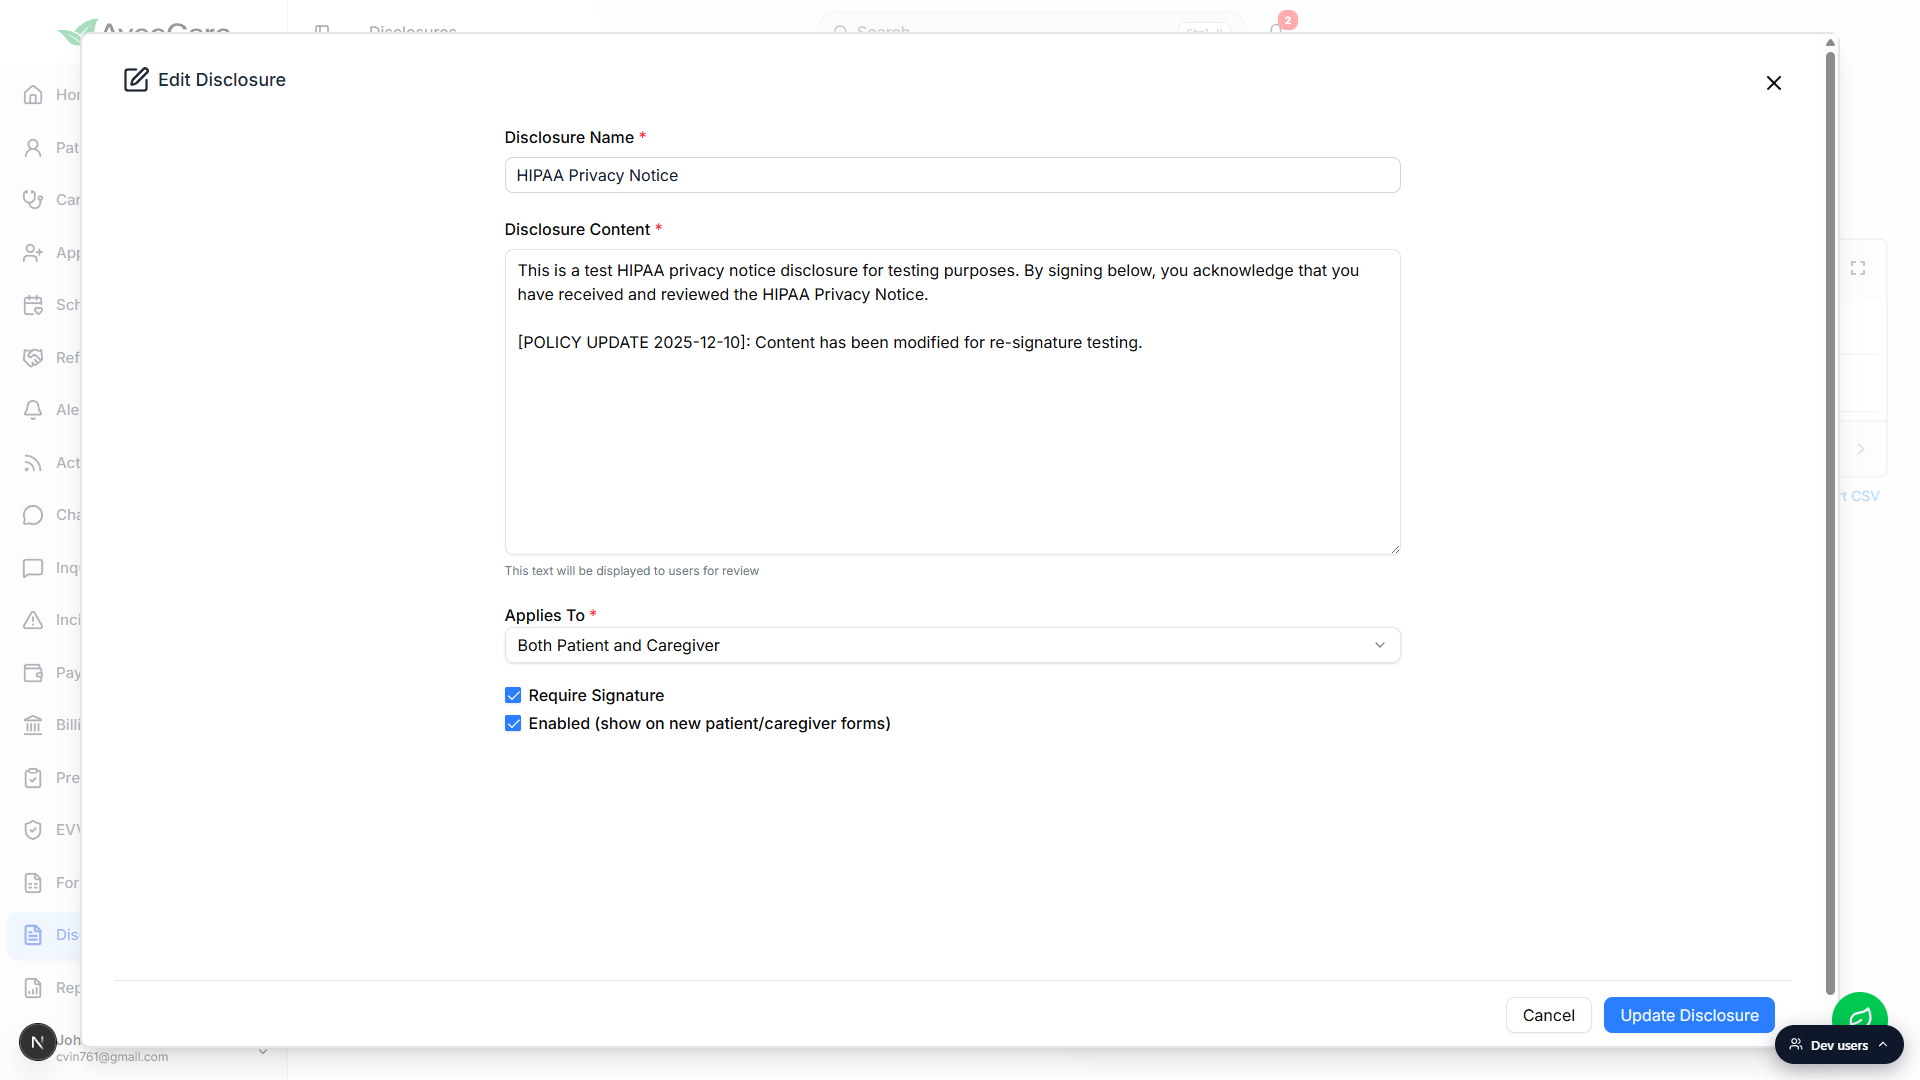
Click the eye icon to disable or re-enable.
Disabling keeps the disclosure on the record but stops it from appearing on new intake. The Status column flips between Enabled and Disabled, and the toolbar icon flips between eye-open and eye-off.Click the trash icon to delete.
You will be asked to confirm. Deleting only removes the disclosure from the library. Agreements that were already signed stay on the patient and caregiver records as a historical acknowledgment, so the audit trail is preserved.
Common pitfalls
- Editing changes do not re-prompt existing users. If you change the content of a disclosure, people who already acknowledged the old version do not get asked again automatically. Their existing record stands. To re-collect signatures, create a new disclosure or bulk-assign the updated one.
- Disable instead of delete when wording changes. Deleting a disclosure removes it from the library and from new intake. Past acknowledgments stay, but you cannot un-delete from the UI. If you only want to retire a disclosure, disable it first.
- Picking the wrong audience. Patient-only disclosures will not appear in caregiver intake and vice versa. If a new hire says they did not see a particular disclosure, check the Applies To column first.
- Forgetting Require Signature. Without it, users can click through without typing a name, which is fine for informational notices but not for anything legally binding. Default to Require Signature on for HIPAA, consent, and code of conduct.
Related
- Bulk assign disclosures to many people at once
- Patient disclosures tab
- Caregiver disclosures tab
- Form template gallery