Files is the per-caregiver document vault. Drop in ID scans, CPR cards, voided checks, or anything else you want pinned to that one caregiver. Every upload sits next to the rest of the caregiver record, so any office user with access can find it.
Quick answer
Open the caregiver, click Files on the tab strip. Click Select Files, pick one or more images, then click Upload N file(s). The new rows appear in the Caregiver Files table below with View, Download, Rename, and Delete actions on the right.
1. Open the caregiver and click the Files tab
Open Caregivers in the sidebar and click the row of the caregiver you want.
You land on the caregiver's Overview tab.Click Files on the caregiver tab strip.
Files sits between Forms and Disclosures, the fifth tab from the left. The URL becomes/caregivers/<name>/<uuid>/files.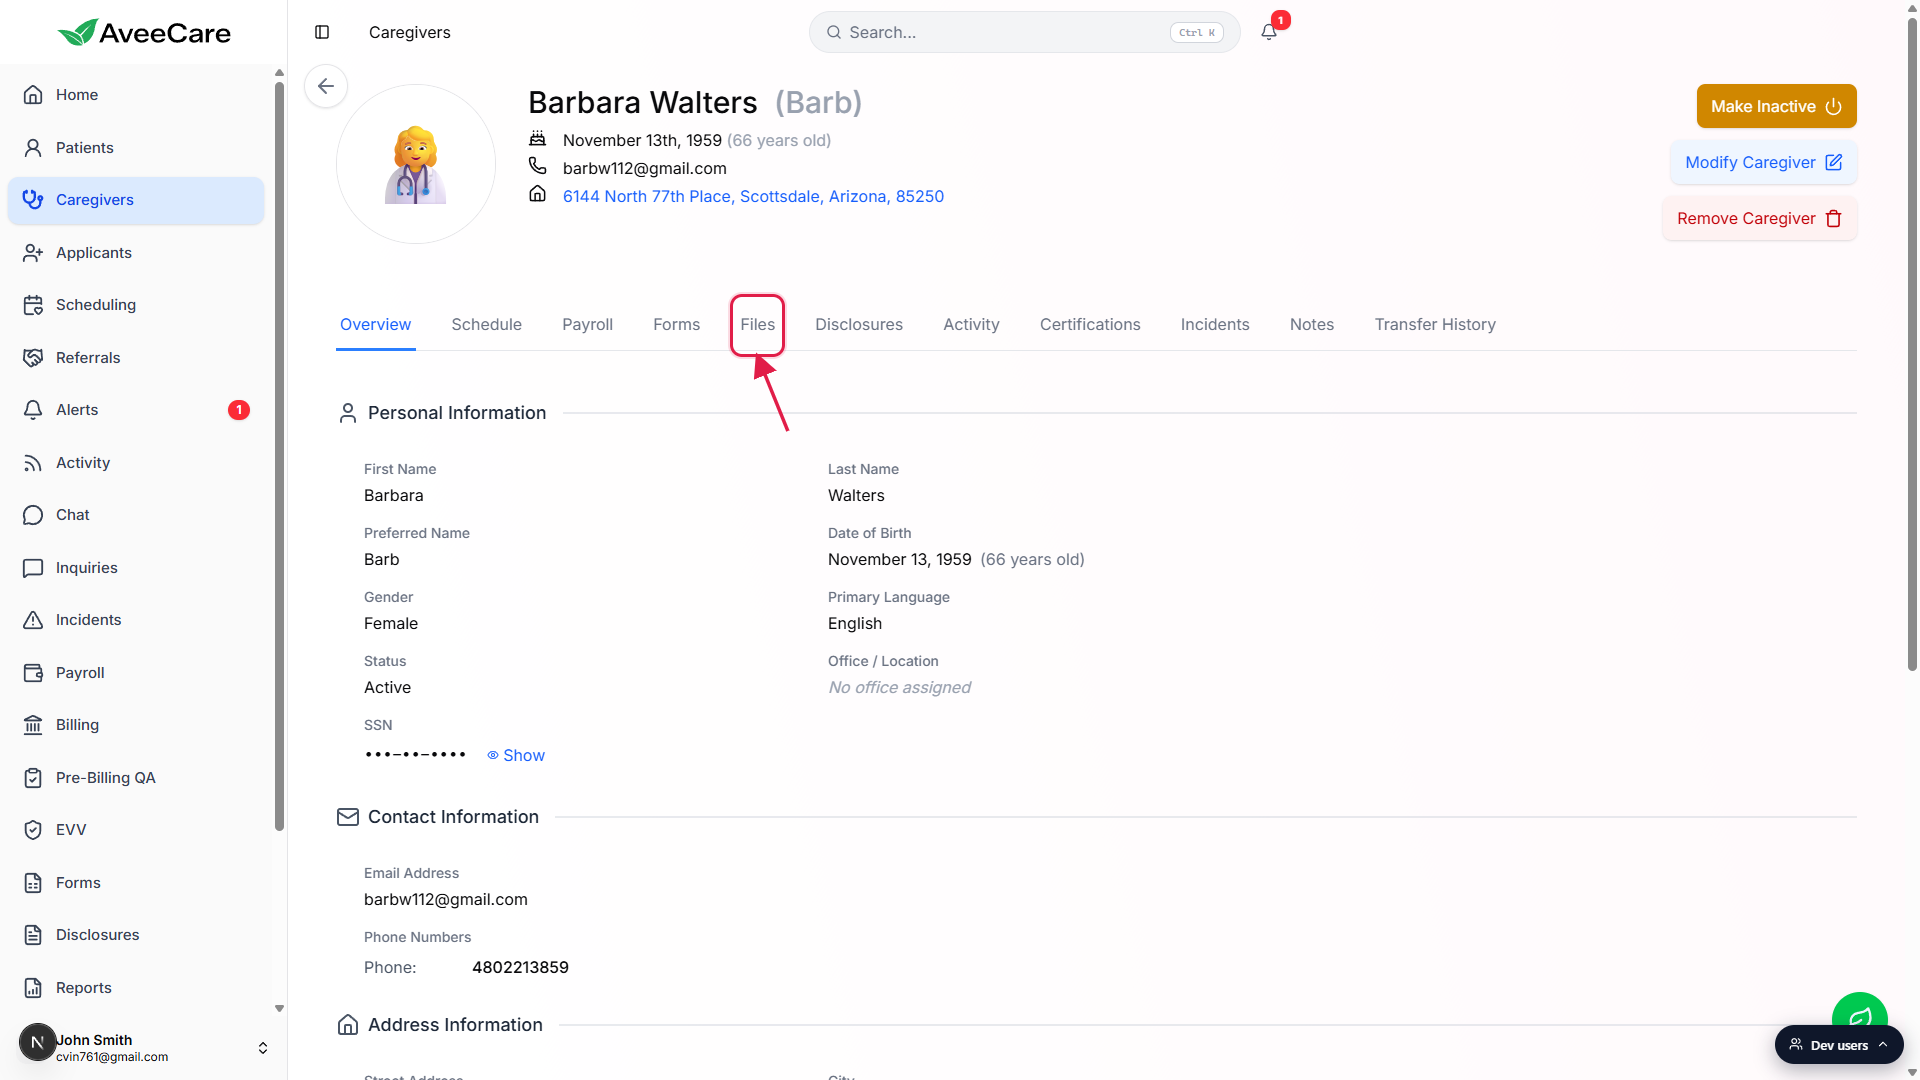
2. Click Select Files and pick an image
In the Upload New Files card, click Select Files.
Your browser's file picker opens. The picker is set to images only on this tab, so you pick PNG, JPG, JPEG, GIF, SVG, WEBP, or HEIC. Each file is capped at 50 MB. For non-image paperwork like signed PDFs, use the matching tab on the patient record or attach to a certification entry.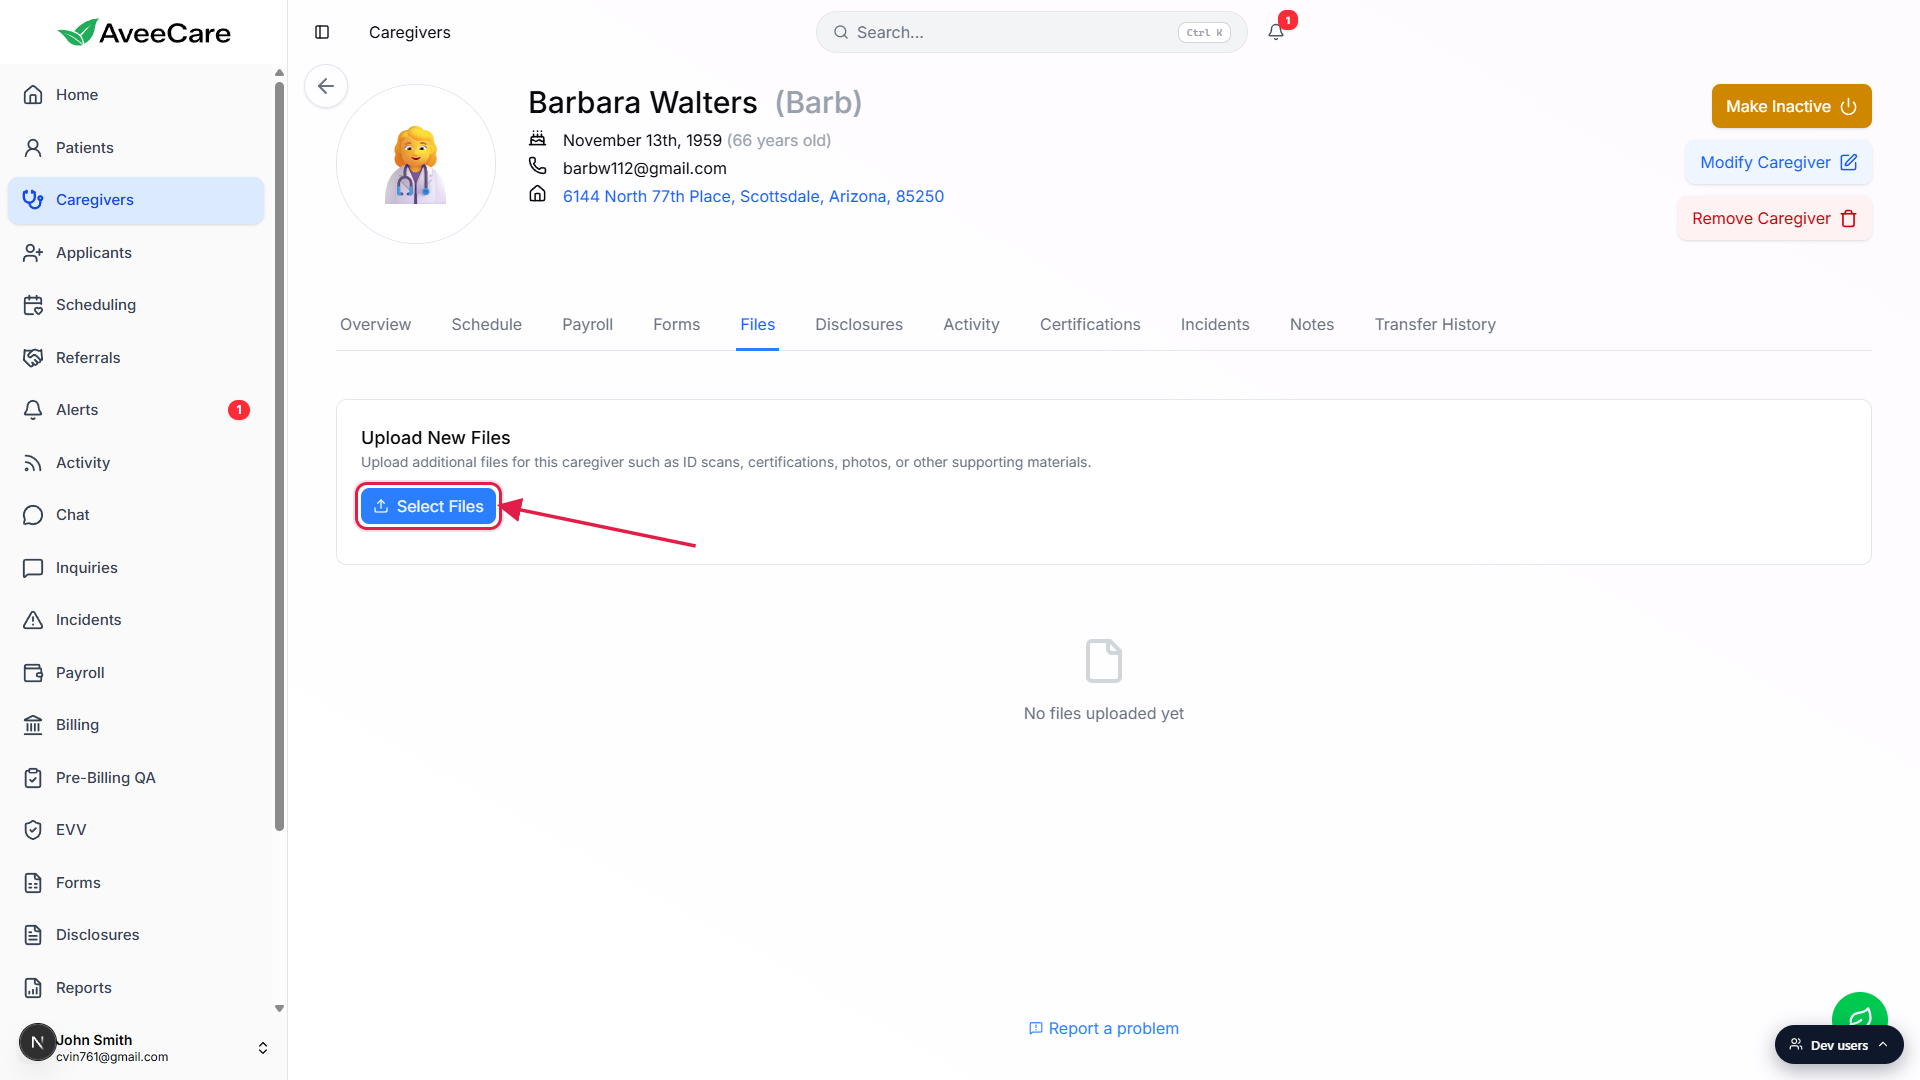
A Selected Files (N) preview shows up below the button.
Each pending file has its own row with the name, byte size, and MIME type, plus a red X to drop it before upload. The blue Upload N file(s) button only appears once at least one file is selected.
3. Upload, view, download, rename, or delete
Click Upload N file(s) to send the batch to AveeCare.
You see a success toast for each batch and the new rows appear in the Caregiver Files table below. Every upload lands in the General category by default. The selected files preview clears once the upload finishes.Each row carries four icon-buttons on the right.
View/Open opens images and PDFs in a new tab. Download always pulls the original file in a new tab. Rename opens a Rename File modal with the current name and a New File Name field. Delete opens a Delete File confirmation and removes the file from the caregiver.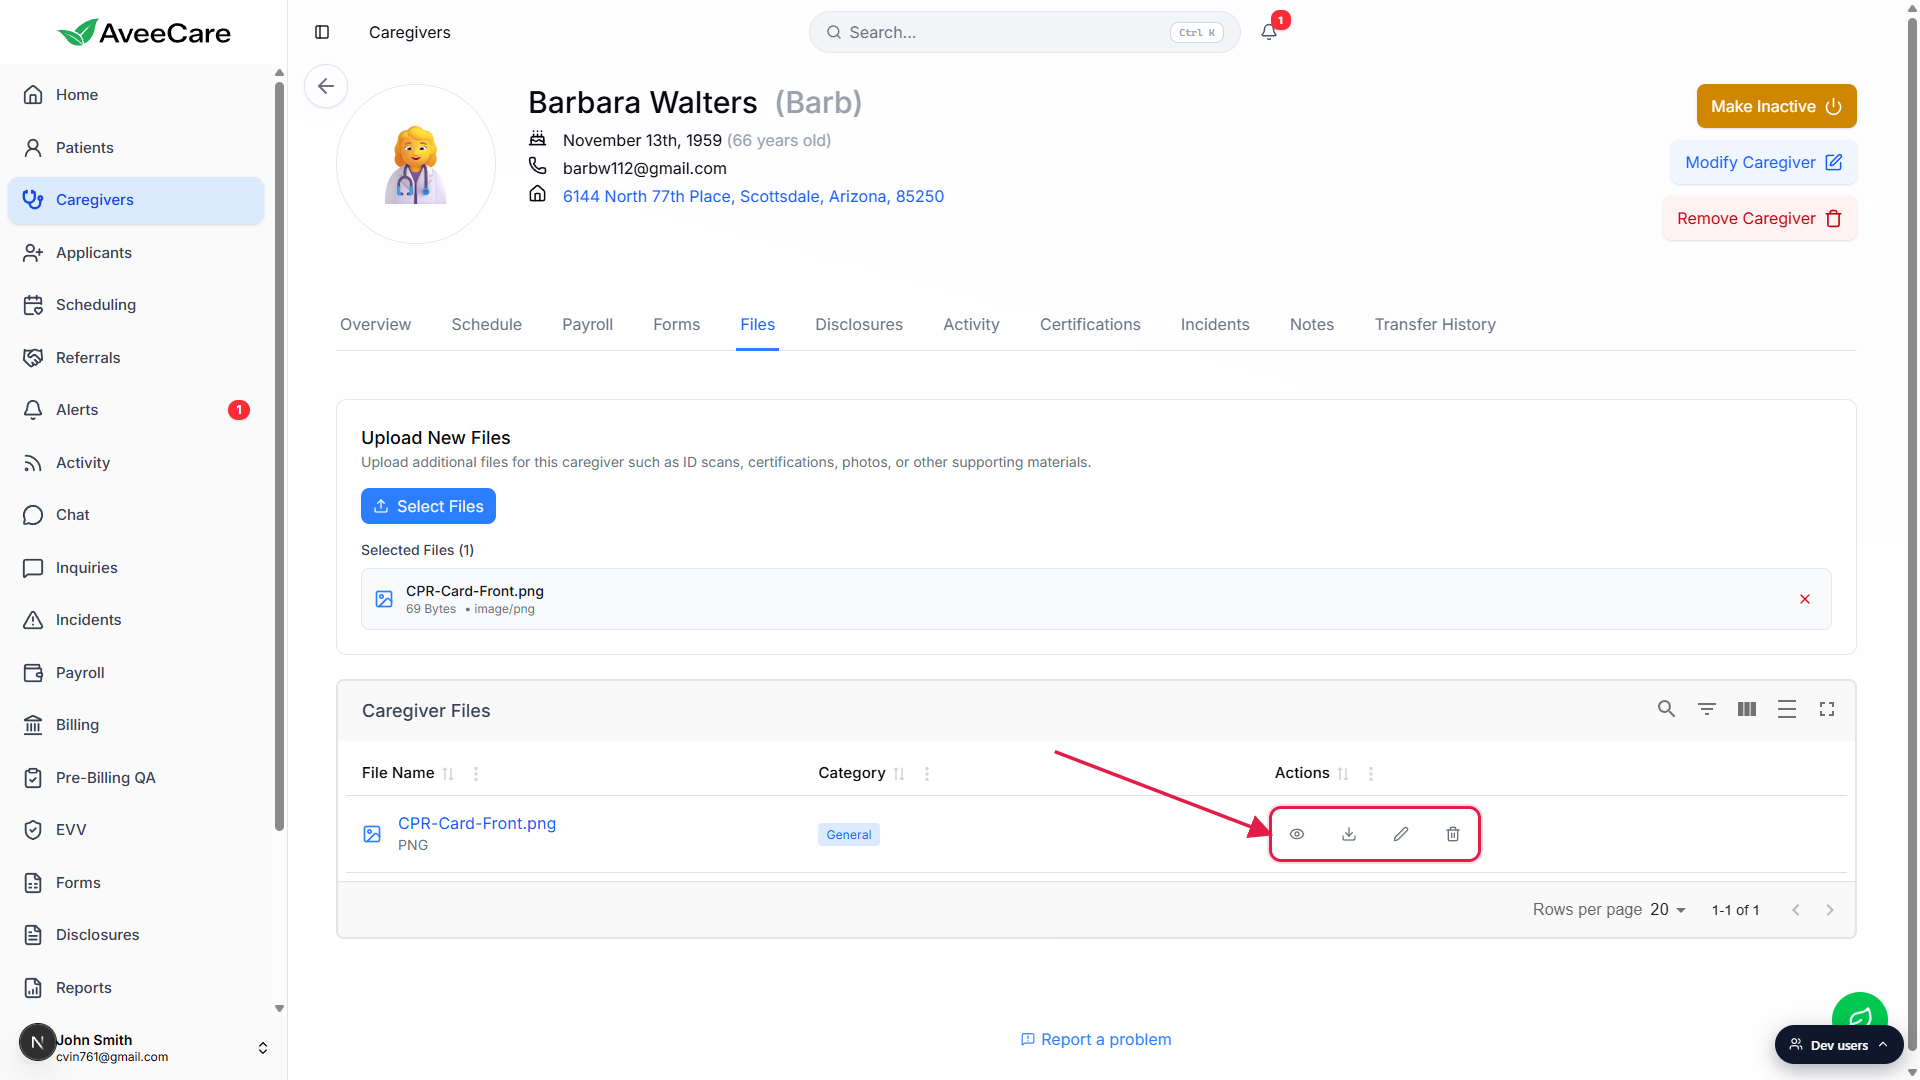
Use Rename to clean up a confusing filename.
The Rename File modal shows the Current File Name as plain text and a New File Name input pre-filled with the existing name. Type the new name and click Rename. Renaming preserves the underlying file in S3, only the display name changes.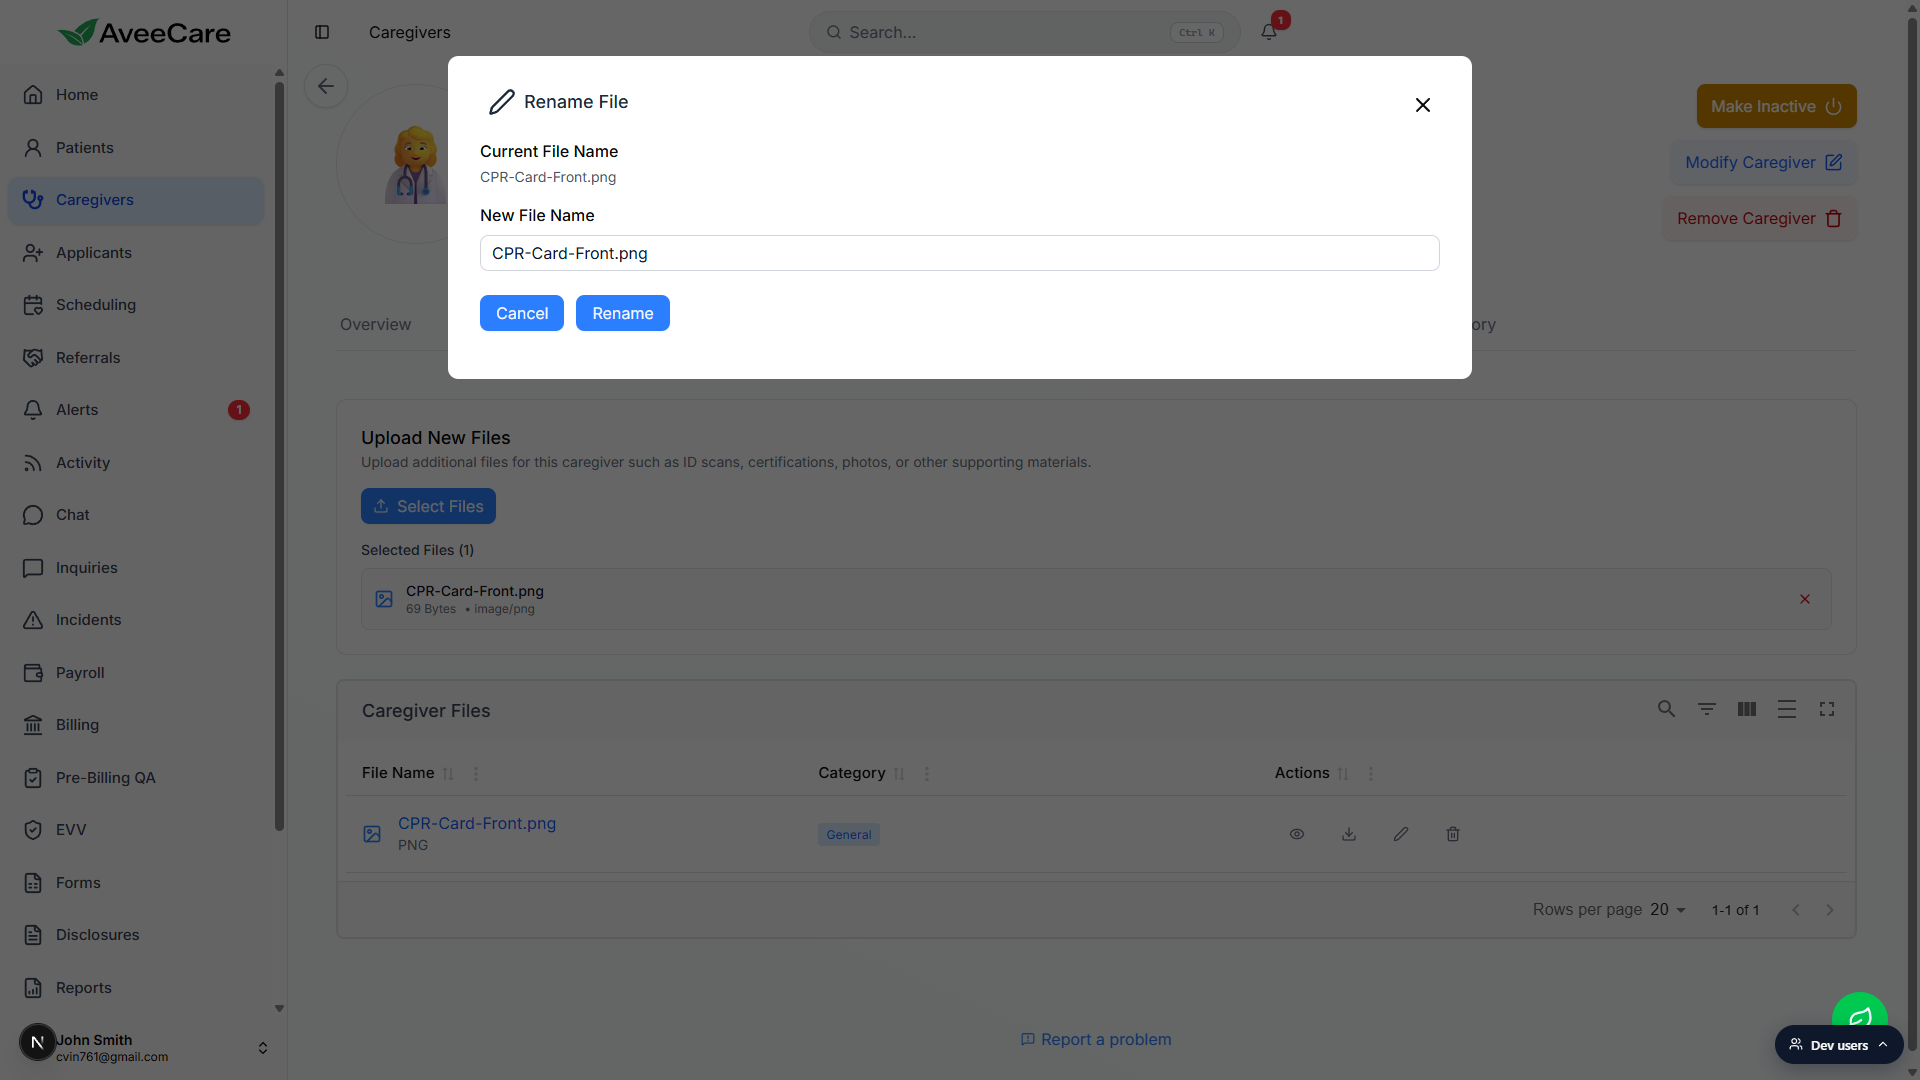
Click Delete to remove a file. The confirmation warns the action cannot be undone.
The Delete File modal asks “Are you sure you want to delete <file>?” and notes that the action cannot be undone. Confirming deletes the row from the database and removes the underlying object from S3. There is no soft-delete or trash bin to restore from. Download a copy first if you might need it later.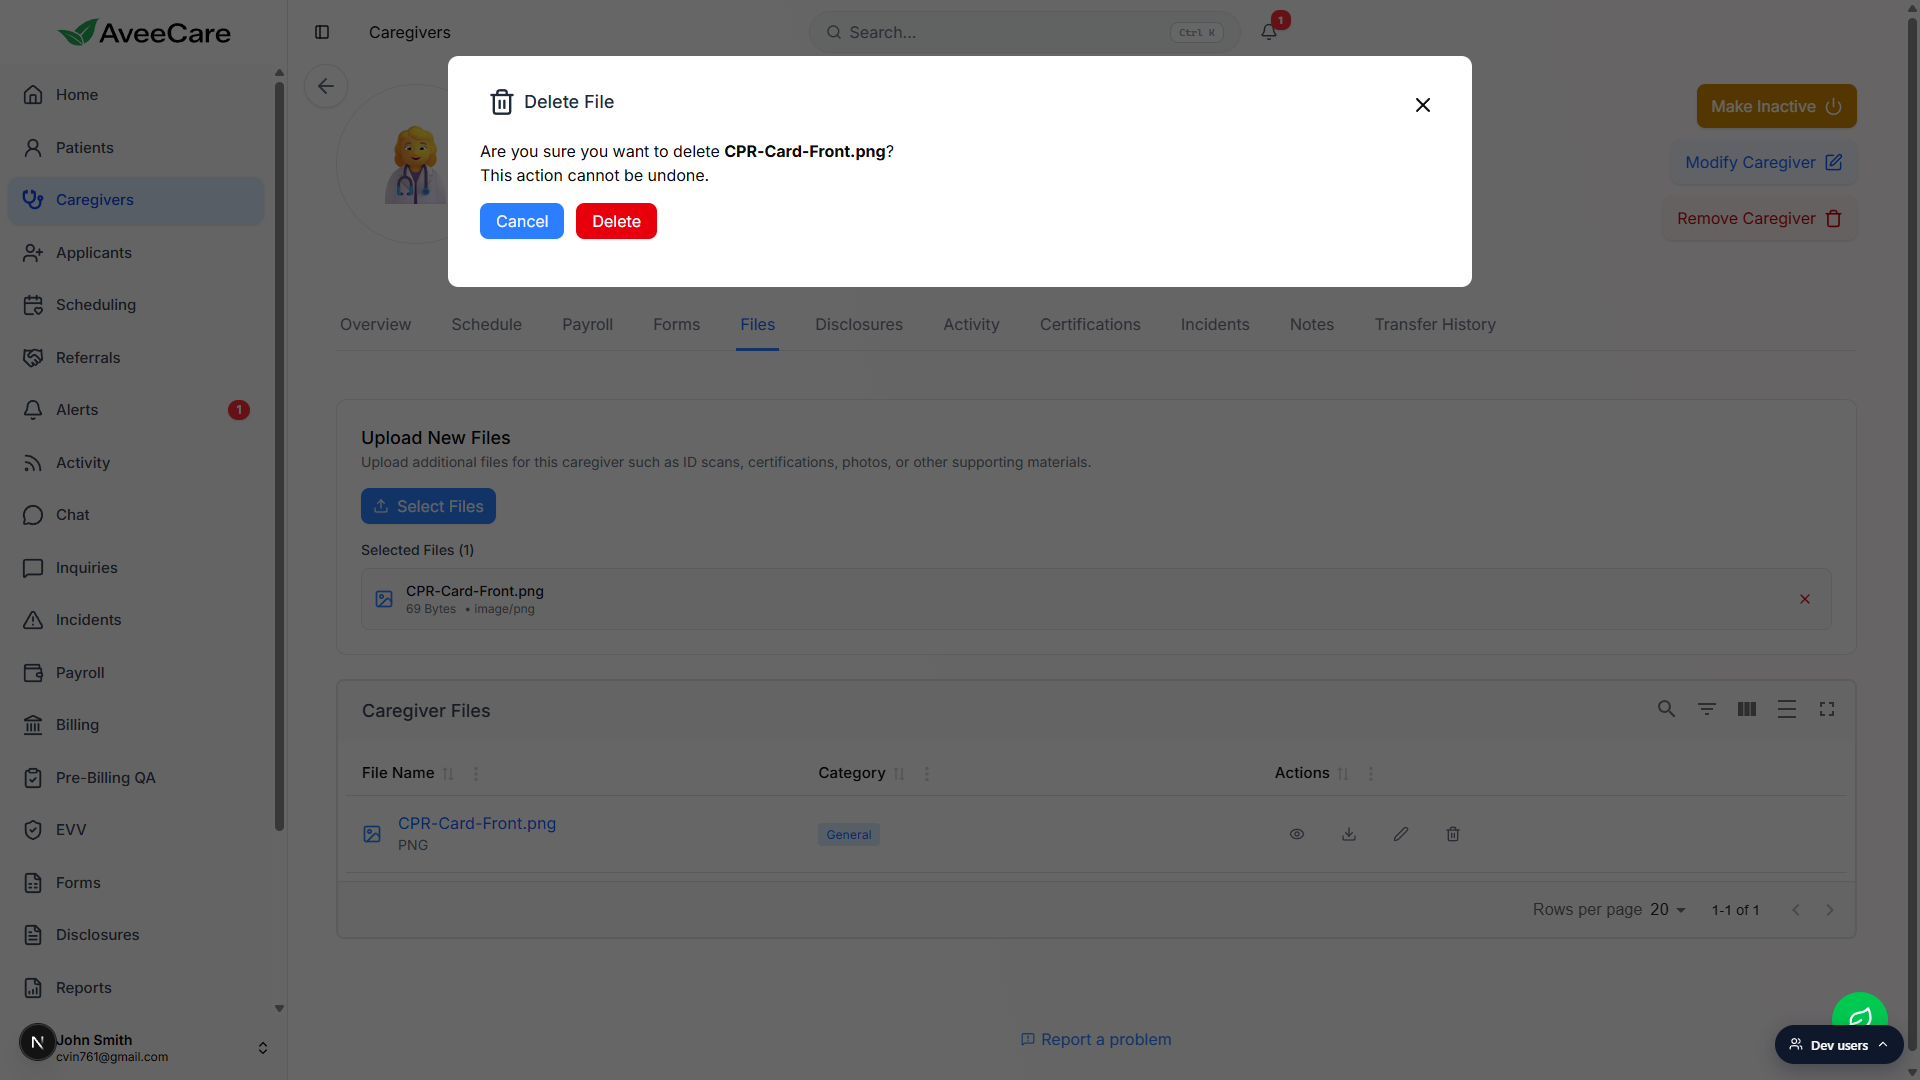
Click the file name itself to view or download in one tap.
The blue file name in the first column is also clickable. PDFs open in the AveeCare PDF viewer modal, everything else downloads through a new tab. Same as clicking the eye icon.
Common pitfalls
- Image picker only. The file picker on this tab accepts images, not PDFs or Office docs. For a signed PDF disclosure or Word doc, use the Disclosures tab or attach to a Certifications entry instead.
- Tracked credentials belong on Certifications. Files is the right place for raw image scans. Credentials with expiration dates (CNA, CPR, TB test) belong on the Certifications tab so the dashboard can warn you before they lapse.
- Patient paperwork goes on the patient. Upload patient-specific documents to that patient's own Files tab, not the caregiver's. Office staff lookups expect that split.
- Delete is permanent. The confirmation prompt warns that the action cannot be undone. The row is removed from the database and the file from S3, in one step. Download a copy first if you might need it later.
- 50 MB per file ceiling. Big multi-megapixel scans can fail. Compress the image first or capture a tighter frame before uploading.
- Everything lands in General. Files upload with the General category by default. There is no inline category picker during upload, so plan filenames so the file is searchable later.